Showing posts with label dogs. Show all posts

Sunday, January 18, 2009

Altered Calendar


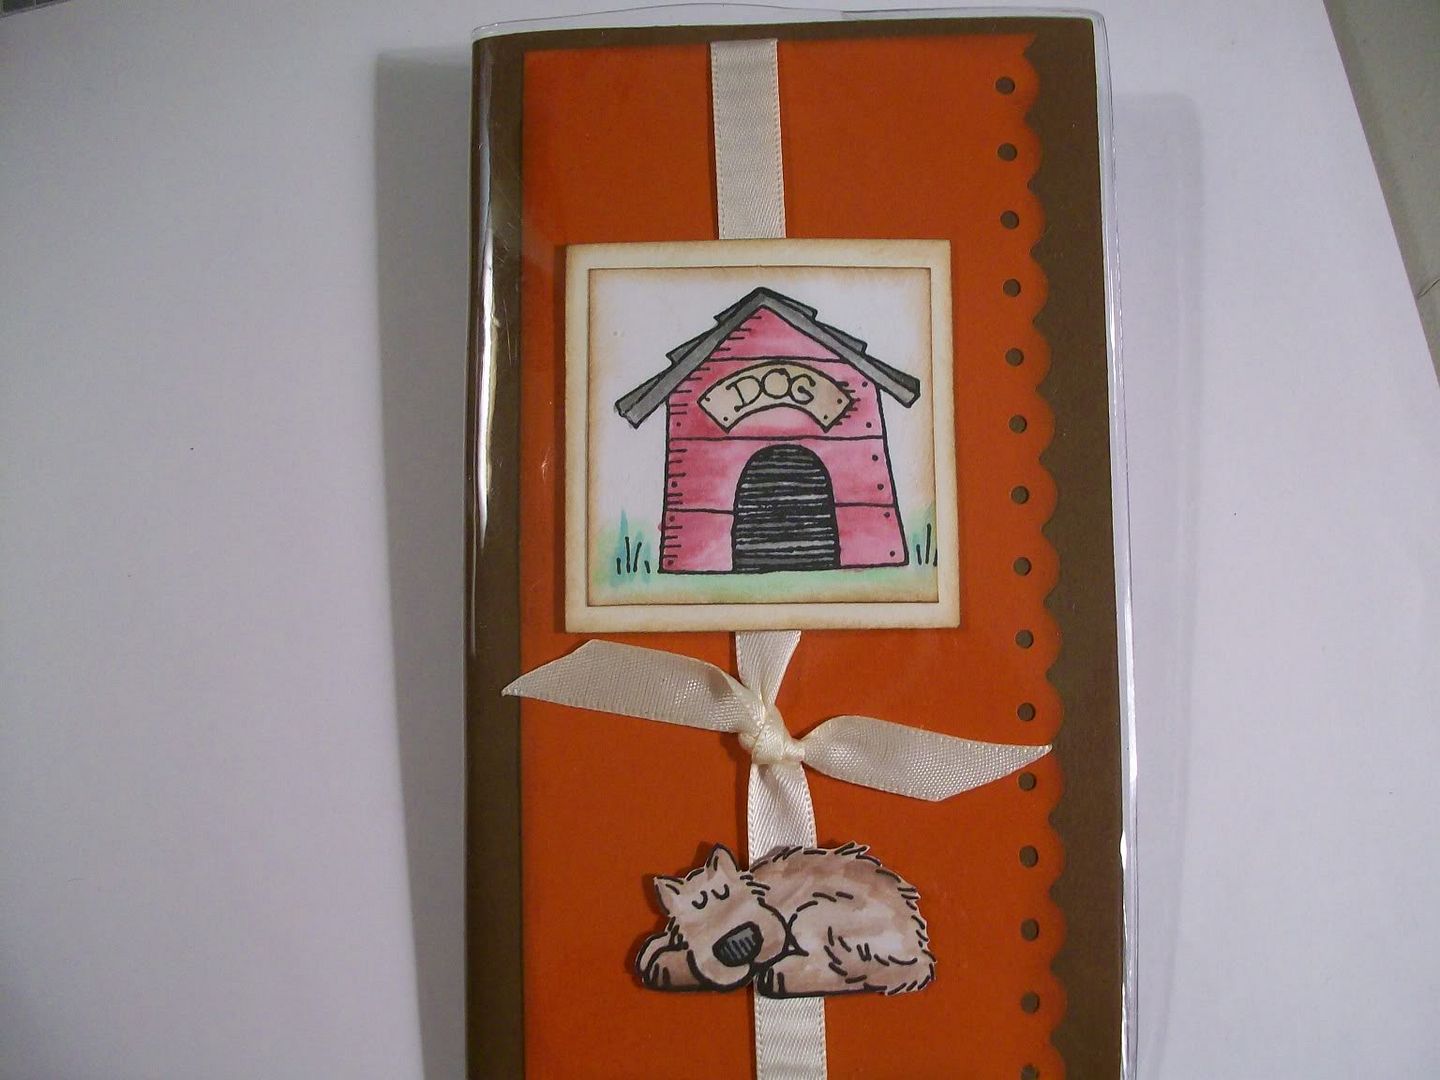
I was at Michael's the other day and had to wait in line. That is always bad for me because they put all that extra stuff near the register just for ME. I have time to stand there and think of things that I could do with it so I get it...well, I got home with several of those $1.00 purse calendars for 2009-2010. There was one with a dog on it and that is what really caught my eye but I didn't love the overall look. So, I changed it. Super simple to do and you could most likely use your scraps.
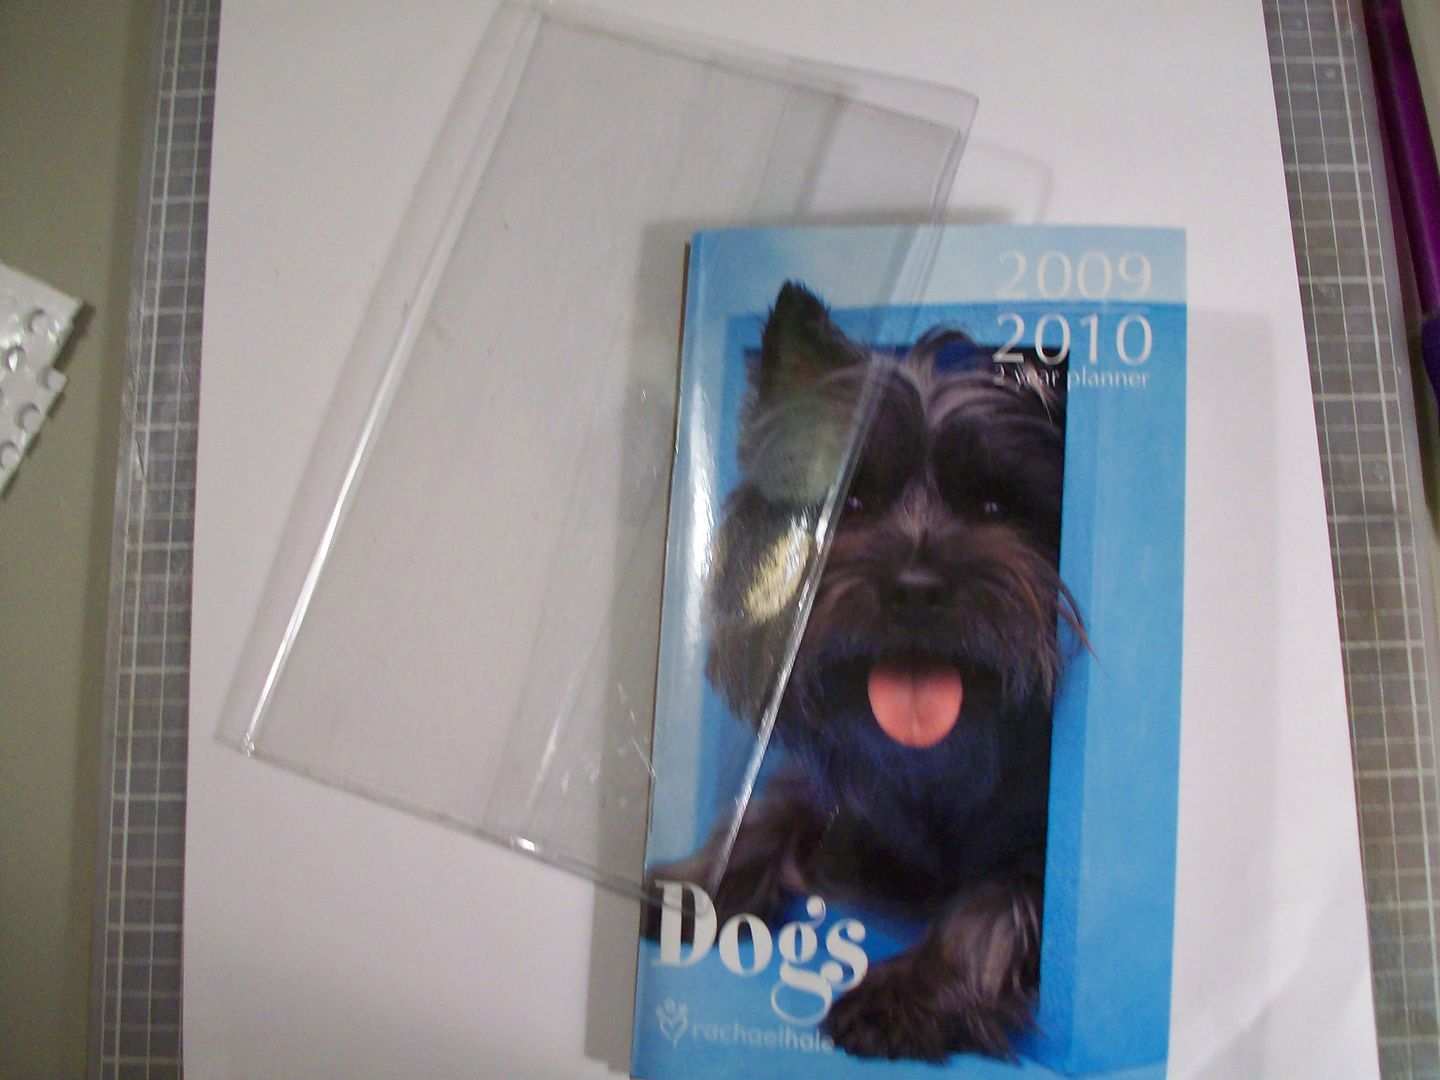


The following measurements are for the calendar I bought and may not be applicable for what you have/may find. First carefully take the calendar out of the protective plastic sleeve. Measure to make sure my numbers match or make your necessary adjustments. For mine I cut a piece of chocolate chip cardstock 7 9/16 x 6 7/16. I cut a piece of rust paper 6 1/8 x 3 1/8 then cut the long side with a scallop border punch. I cut a 2 1/4 x 2 1/4 off white square and a 13" piece of off white satin ribbon (cut in half). Heat set your ribbon edges with a quick swipe through a lighter flame. No glue mess and no FRAY! This is a good time to ink your edges if you like that look.
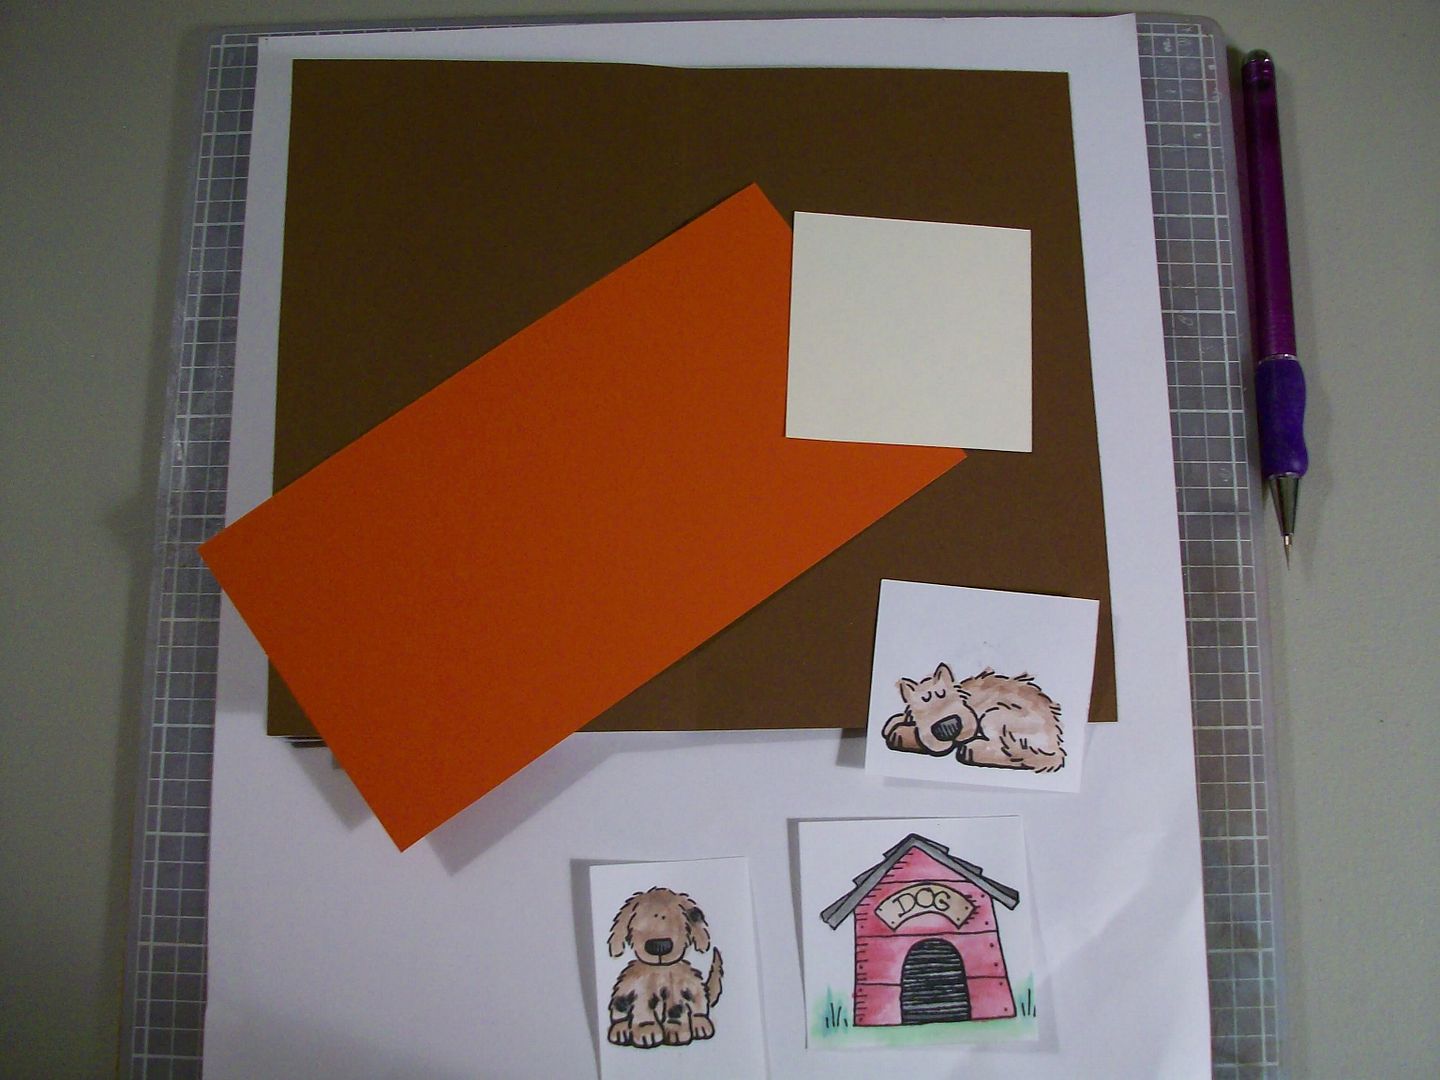
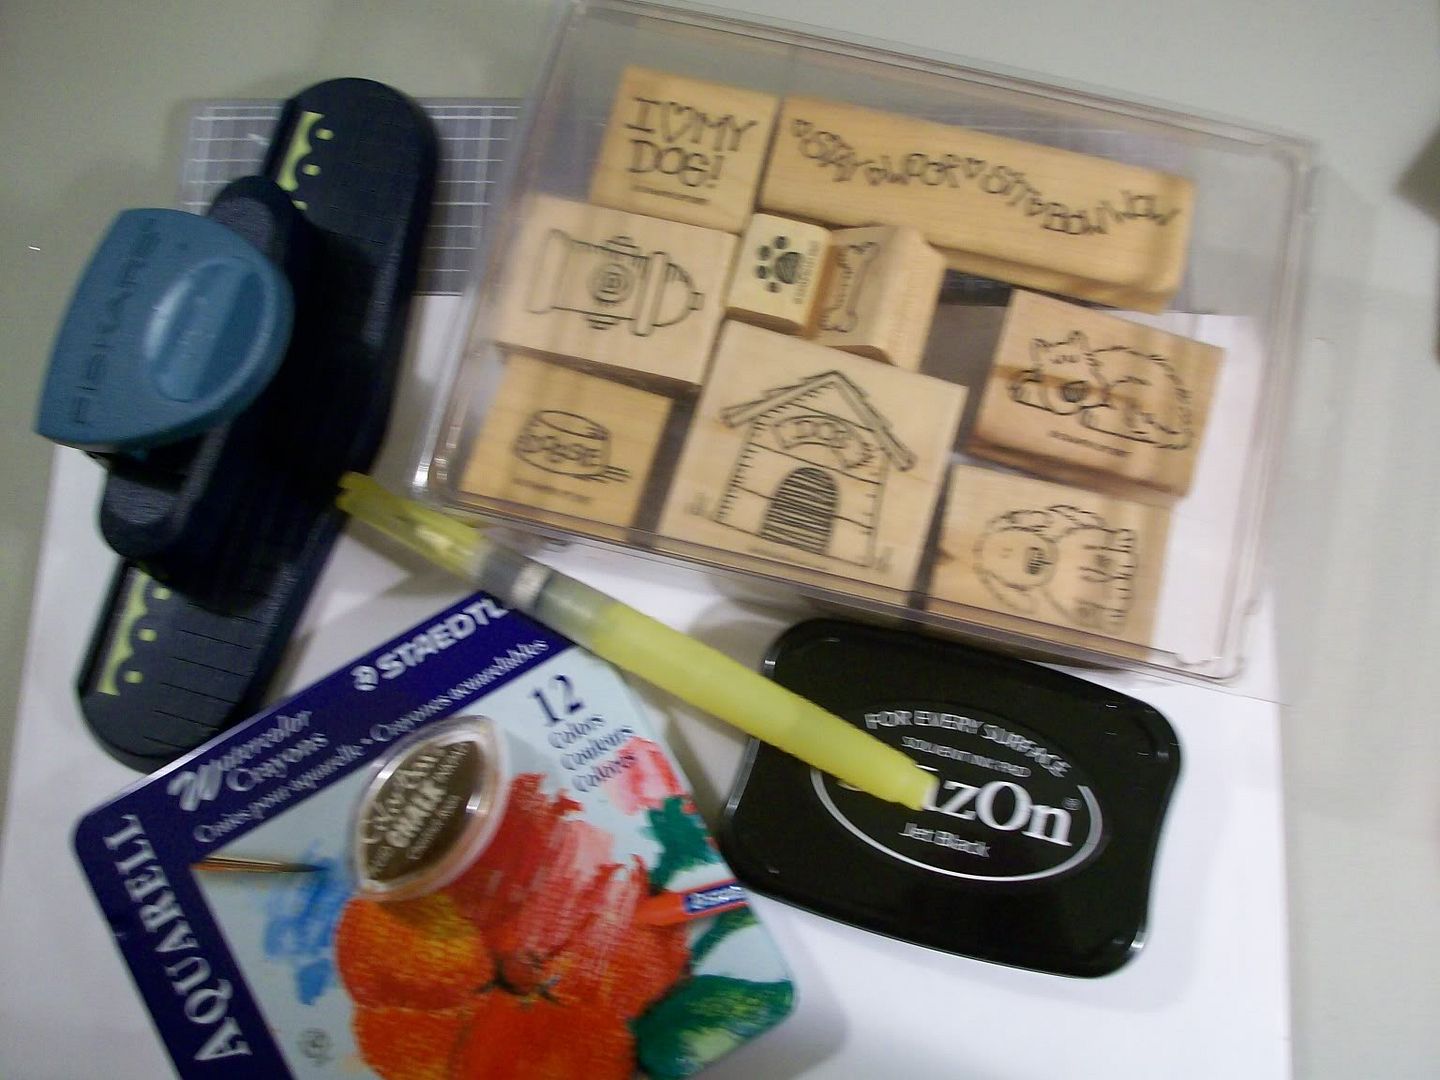


Take some watercolor paper and use Staz On black ink and stamp your images. I used the Bow Wow set from Stampin' Up's 1997 line. I chose the dog house and 2 dogs. Take your aqua pen and your watercolor crayons and paint in your stamped images. **If you pull the color directly from the crayon with the damp aqua pen your crayons will last forever!** Let your images dry completely. Cut the puppies out but not the house. Cut it out at 2 x 2.

Attach your ribbons to the back of the rust cardstock. I put mine in the middle, but whatever you like. Next tie your ribbon in a knot. I chose to put my knot lower than center but again, whatever you like. Next, attach the dog house to the off white square and put on the front with pop dots to add dimension. Decide what doggy you want on the front, I chose the sleeping one and attach him with pop dots. I put the sitting doggy on the back, again, with pop dots.
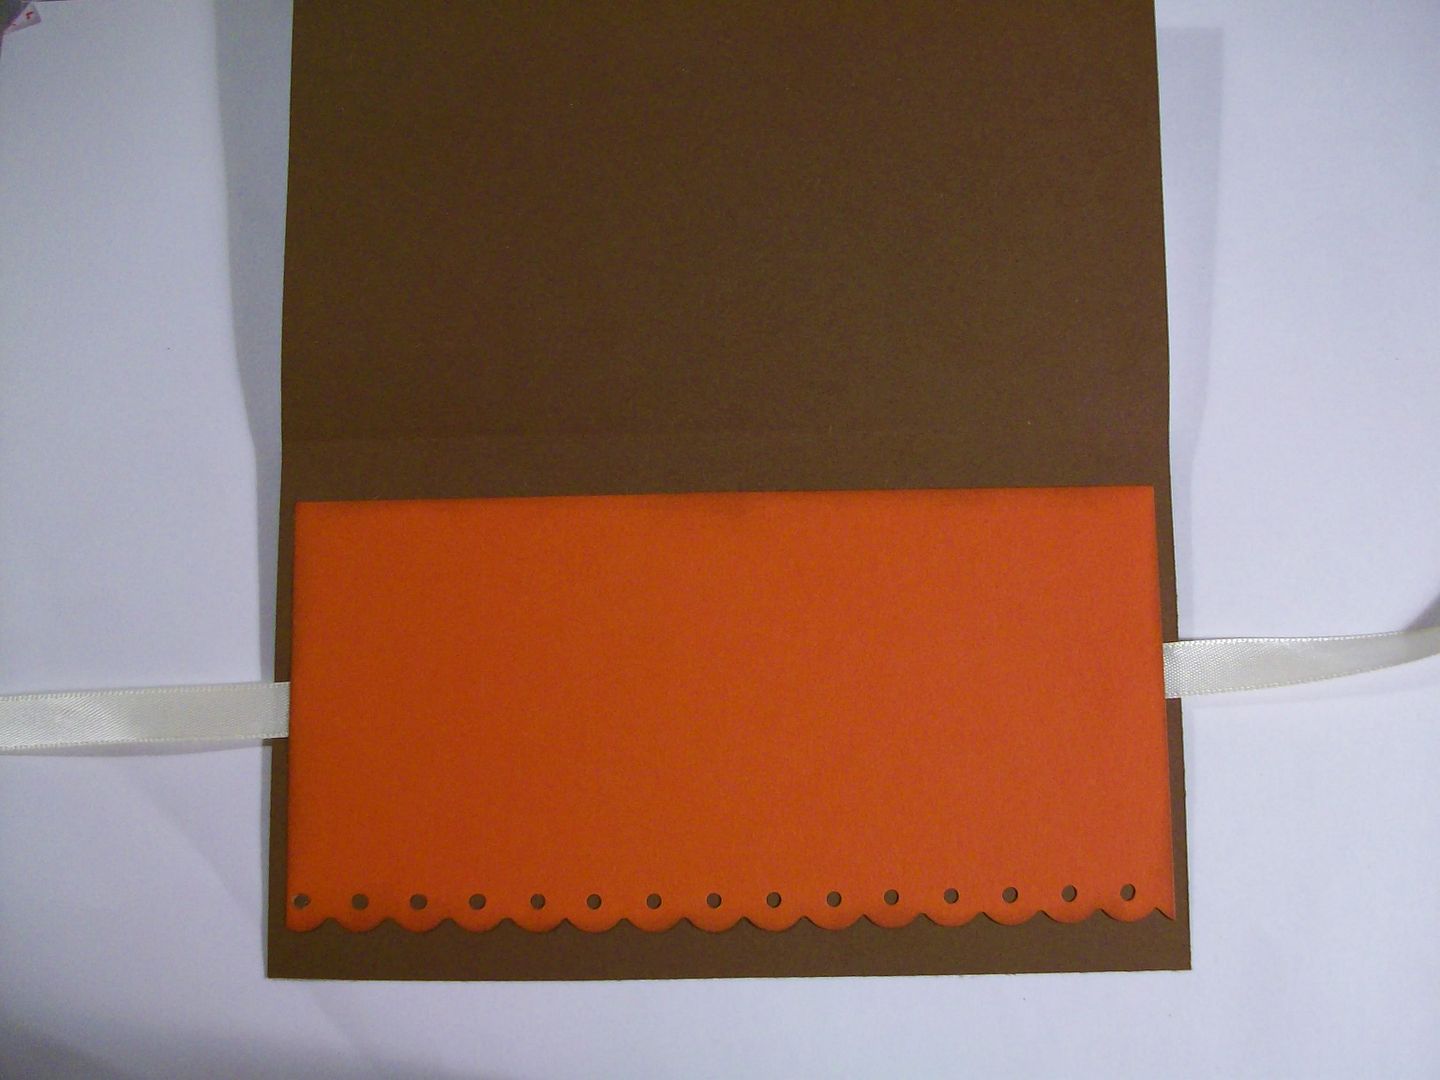
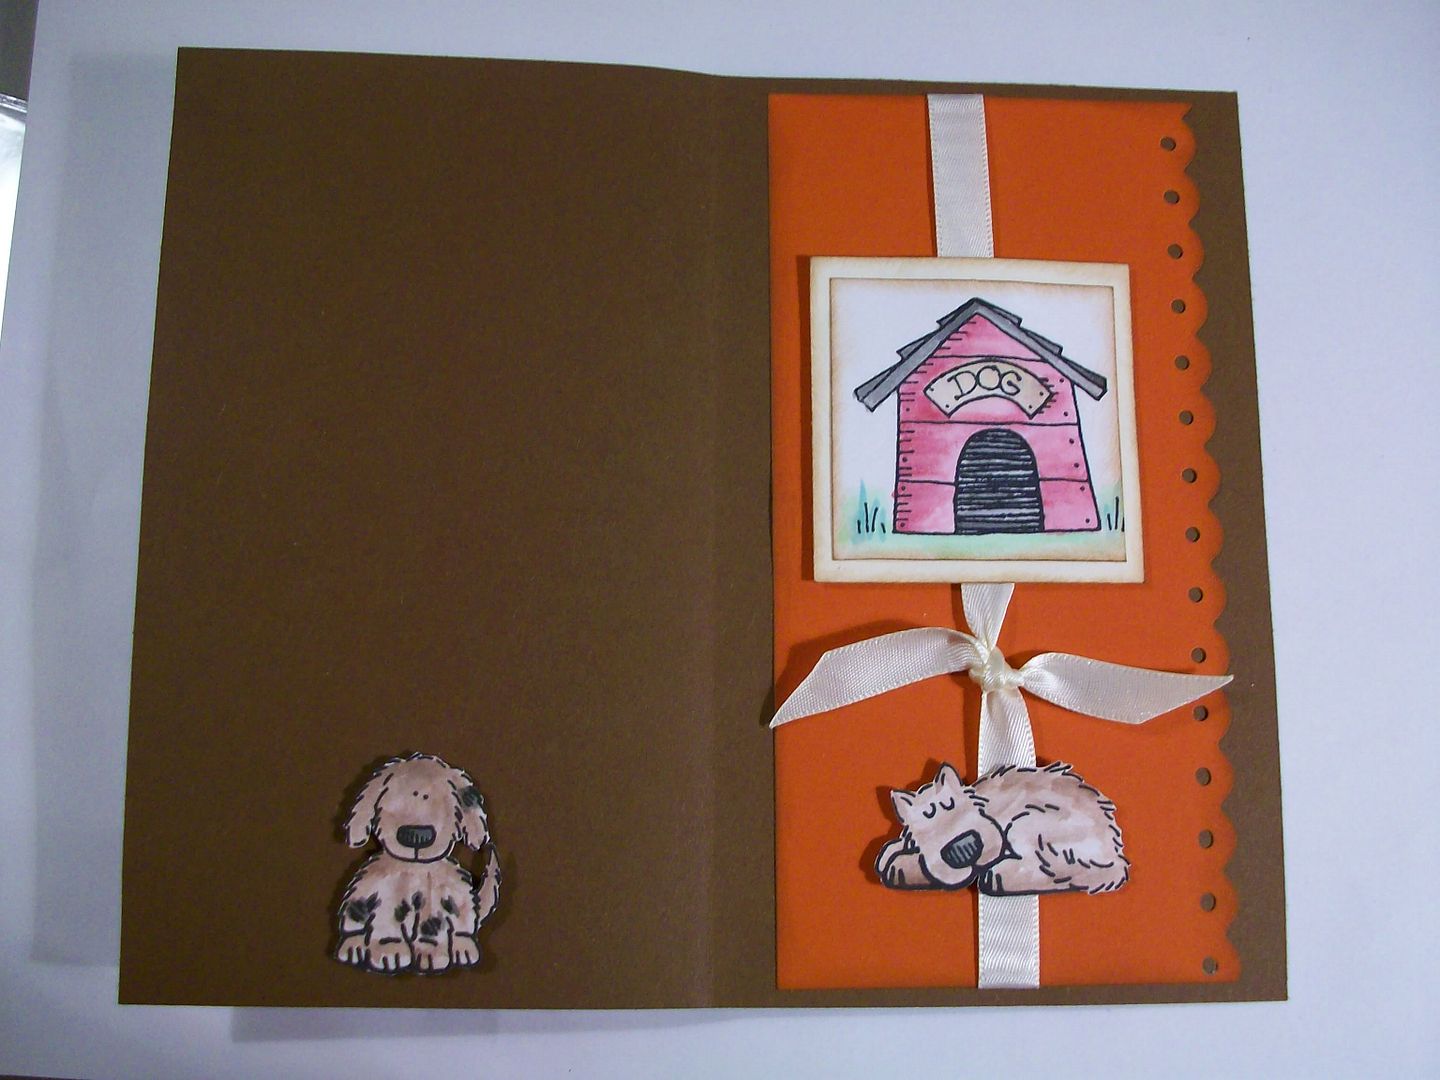
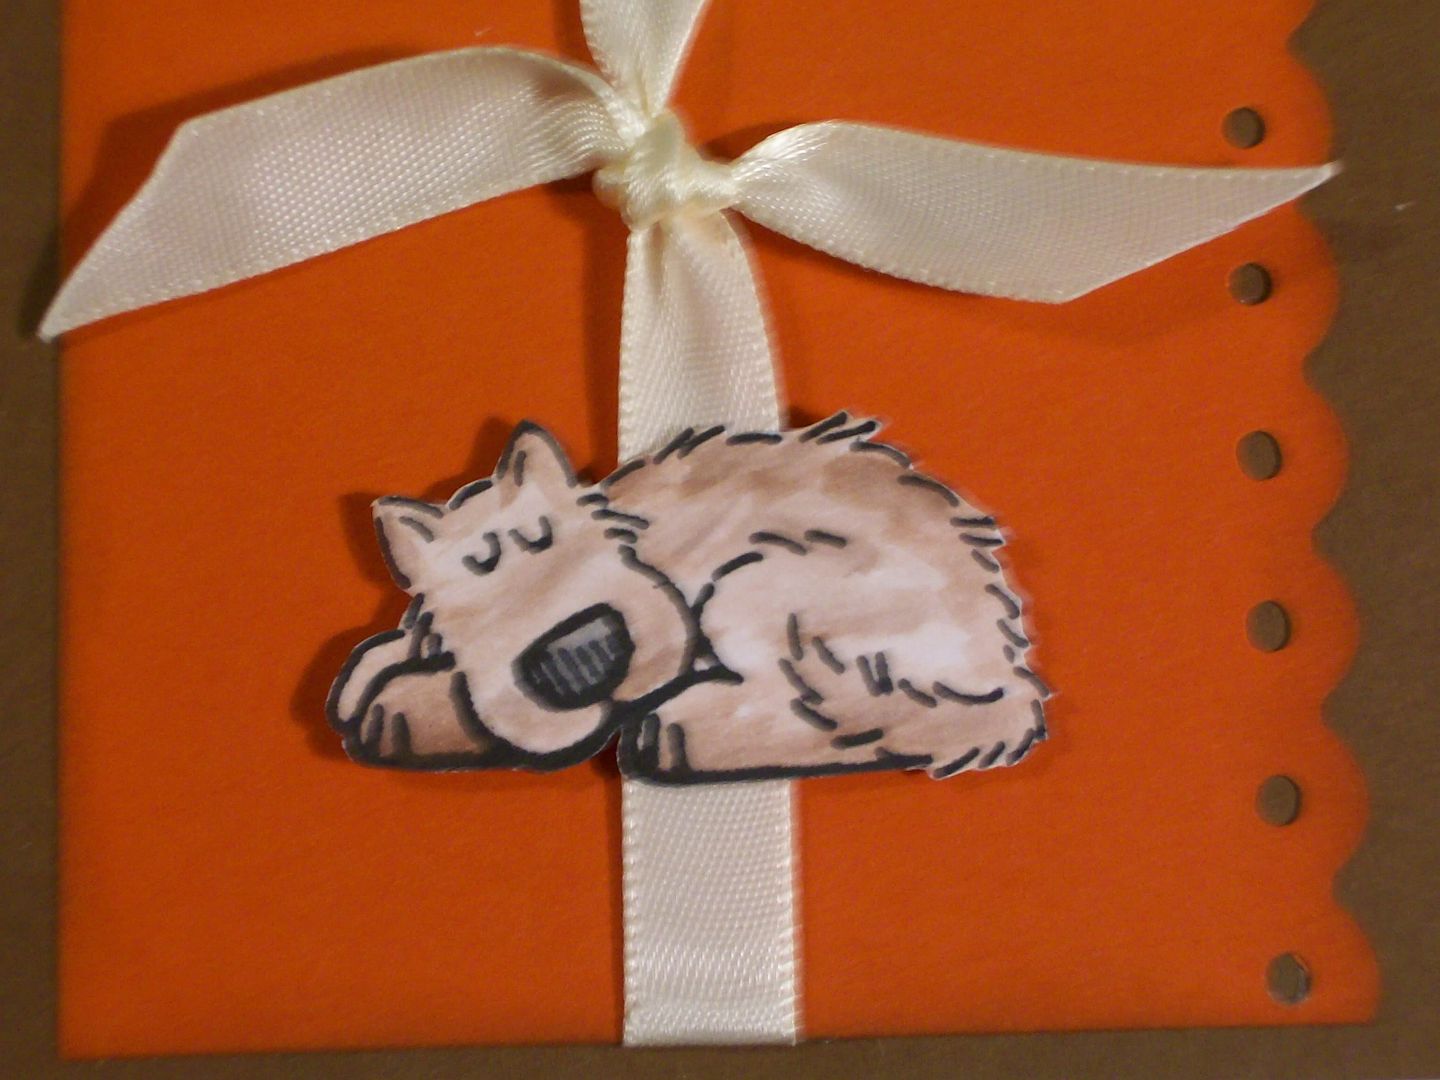


Put adhesive on the back cover of the calendar and match the edges of your cardstock exactly. Lightly crease your cardstock now by folding it over to the front. Put your adhesive on the front cover and match your edges. Put the calendar back into the clear plastic protective sleeve and you are done! So cute!
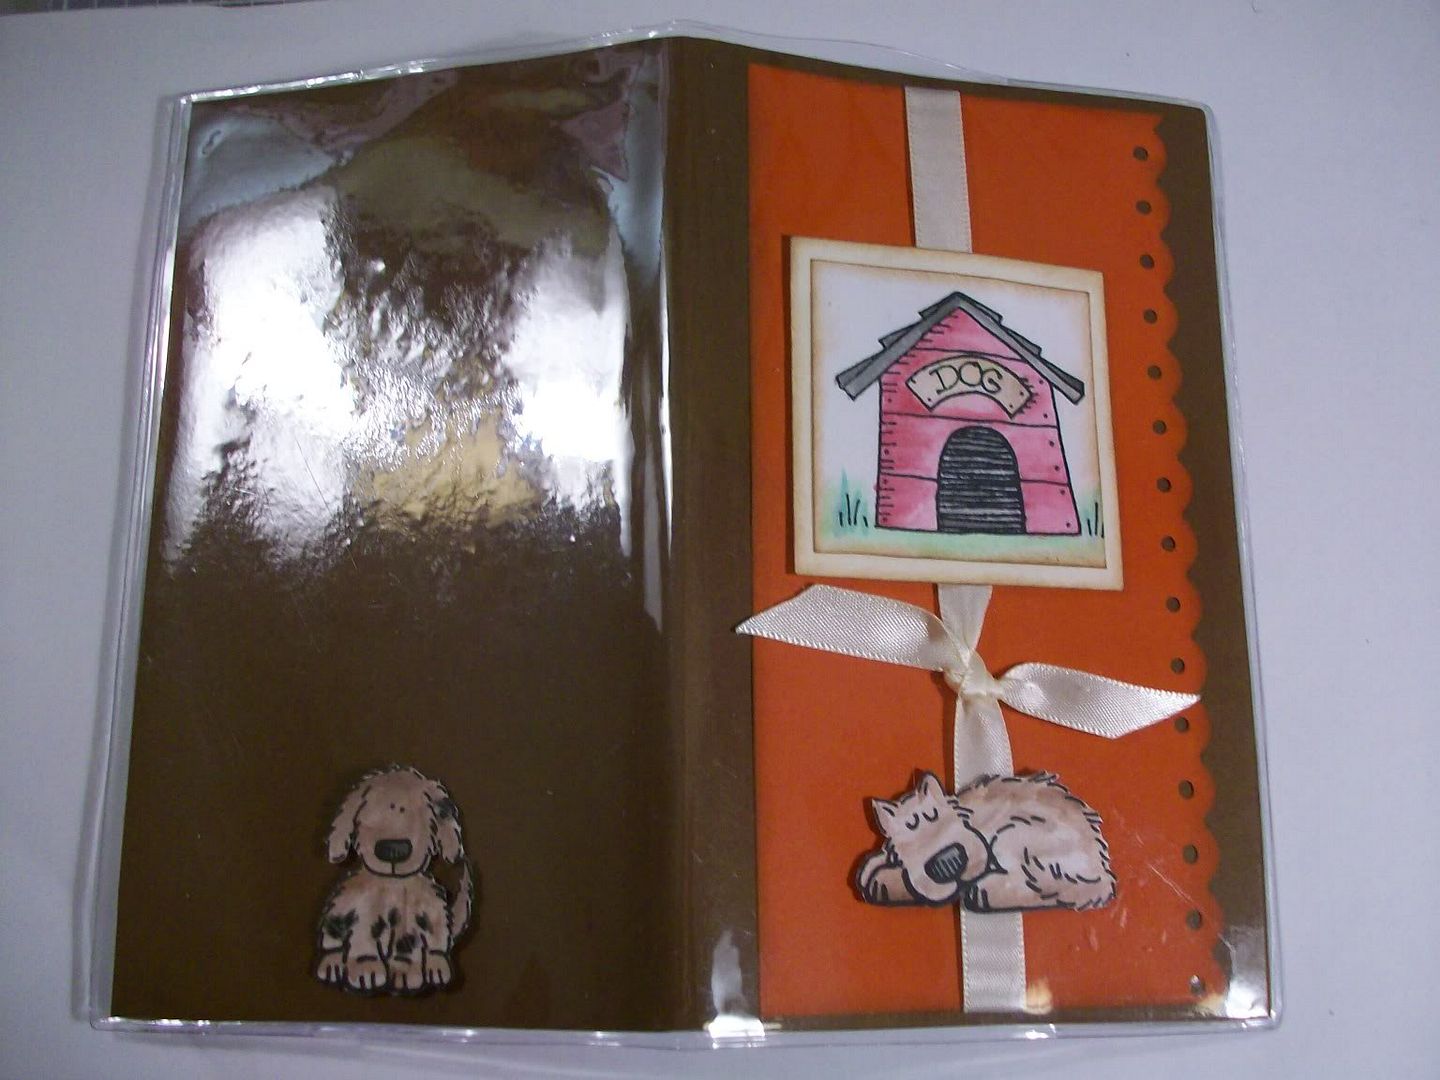


I made this one with a dog theme because, well, that is just ME. Also, there are dog pictures throughout this calendar. Choose your own theme and colors. Make them for friends. Use school themed papers, Valentine's Day, Easter, etc. for teachers, coaches, etc. You can also use a scallop circle and a slightly smaller round circle and an Alphabet set to make a monogramed calendar. Use Prima flowers, stickers, chipboard..... Have fun! =)
dee

Saturday, January 3, 2009

New Cards--I've Been Busy! =)

I am SO loving my new scrap space and yesterday I spent ALL day in there!! Just me, Blosomrose, Emmy and lots and lots of paper! =) I managed to complete 4 cards that I think are TOO CUTE! Mostly because they have moving parts!

The first is a Double Slide Pull out Dog Card


Check it out on Ebay! HERE


Next is a Dog Flip or Waterfall Card. You pull the tab and the squares begin to flip behind the other like a child's Pop Up book! These are SO FUN!!


Check it out on Ebay! HERE


Next I made the same Flip card but in a Kitty Cat theme, I know there are CAT people out there!! LOL =)


HERE


And finally, a Double Slide Baby Girl card. This one turned out really cute too! I love the soft sweet pastel colors. I started thinking that this would make a great Birth Announcement and you could add pictures and birth info. on the back side of the top and bottom pull out panels. Wouldn't that be the greatest Birth Announcement ever?


HERE


I am planning on making this card in BOY colors today!

Monday, December 22, 2008

BRRR!! It's COLD outside and there's SNOW!!

In my 40 years I've never seen SNOW. Not really, not here! My mother said it snowed heavily when I was about 2 years old but I do not remember it. I remember in college in the late 1980's that there was enough ice that Sam Houston closed down for a couple of days but that is it.

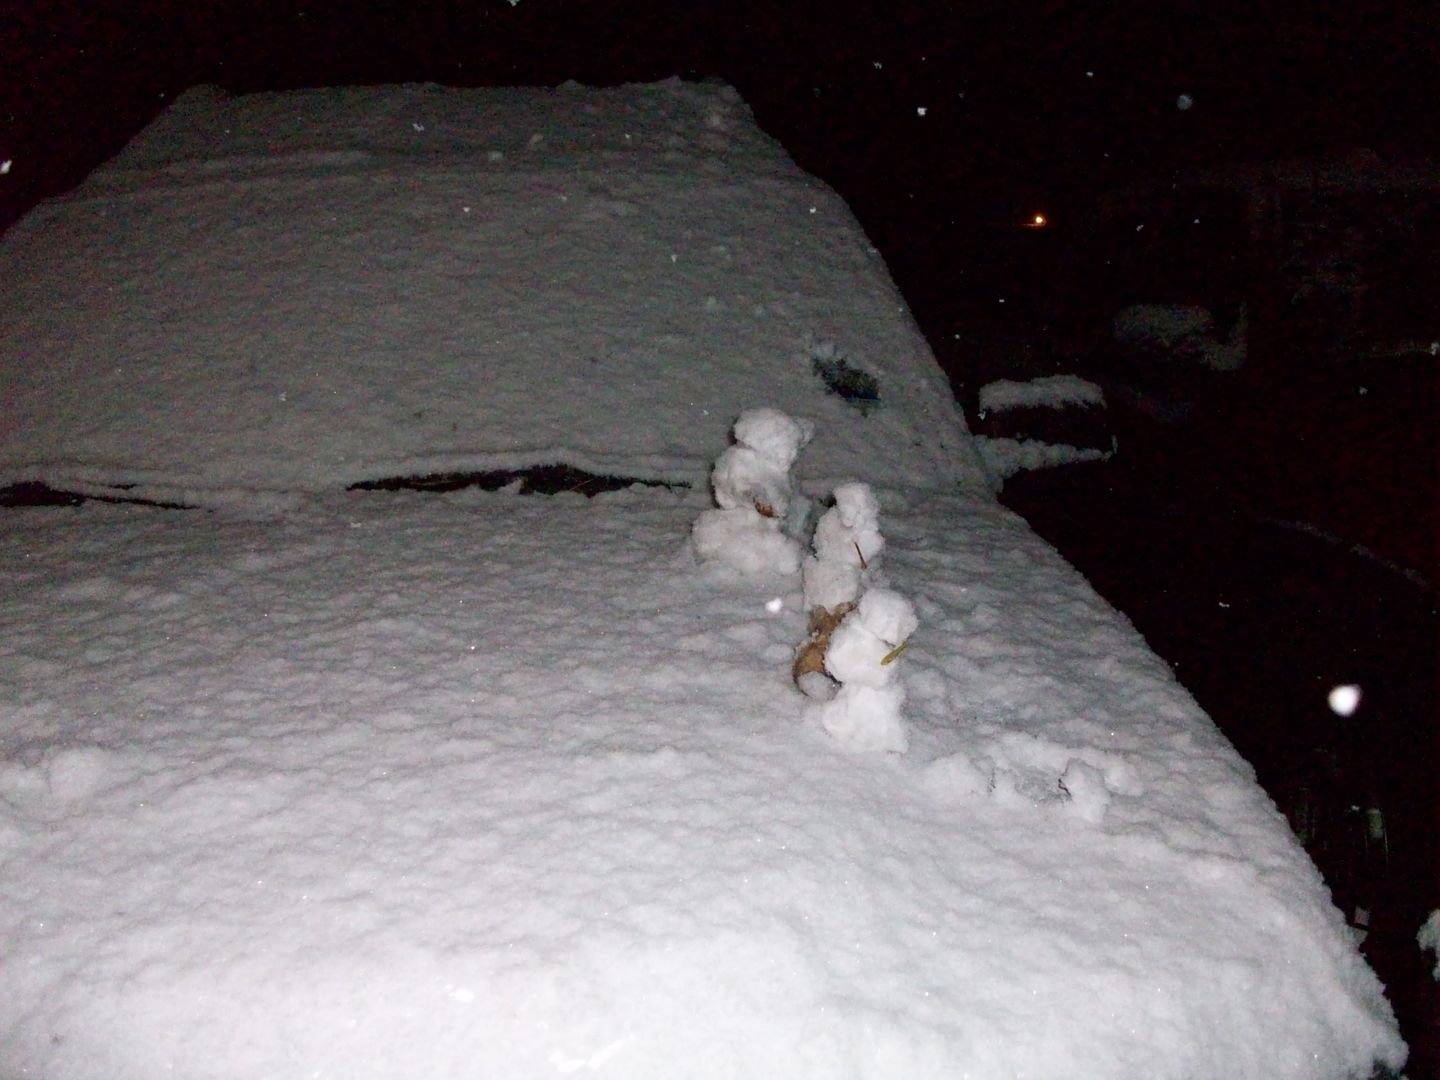
On my way down the hall to a meeting I glanced out the window and it was SNOWING! HERE! Snow is so pretty! The temperatures have been in the 60's so the ground was much too warm for any accummulation but there was a nice dusting on the plants and the cars!


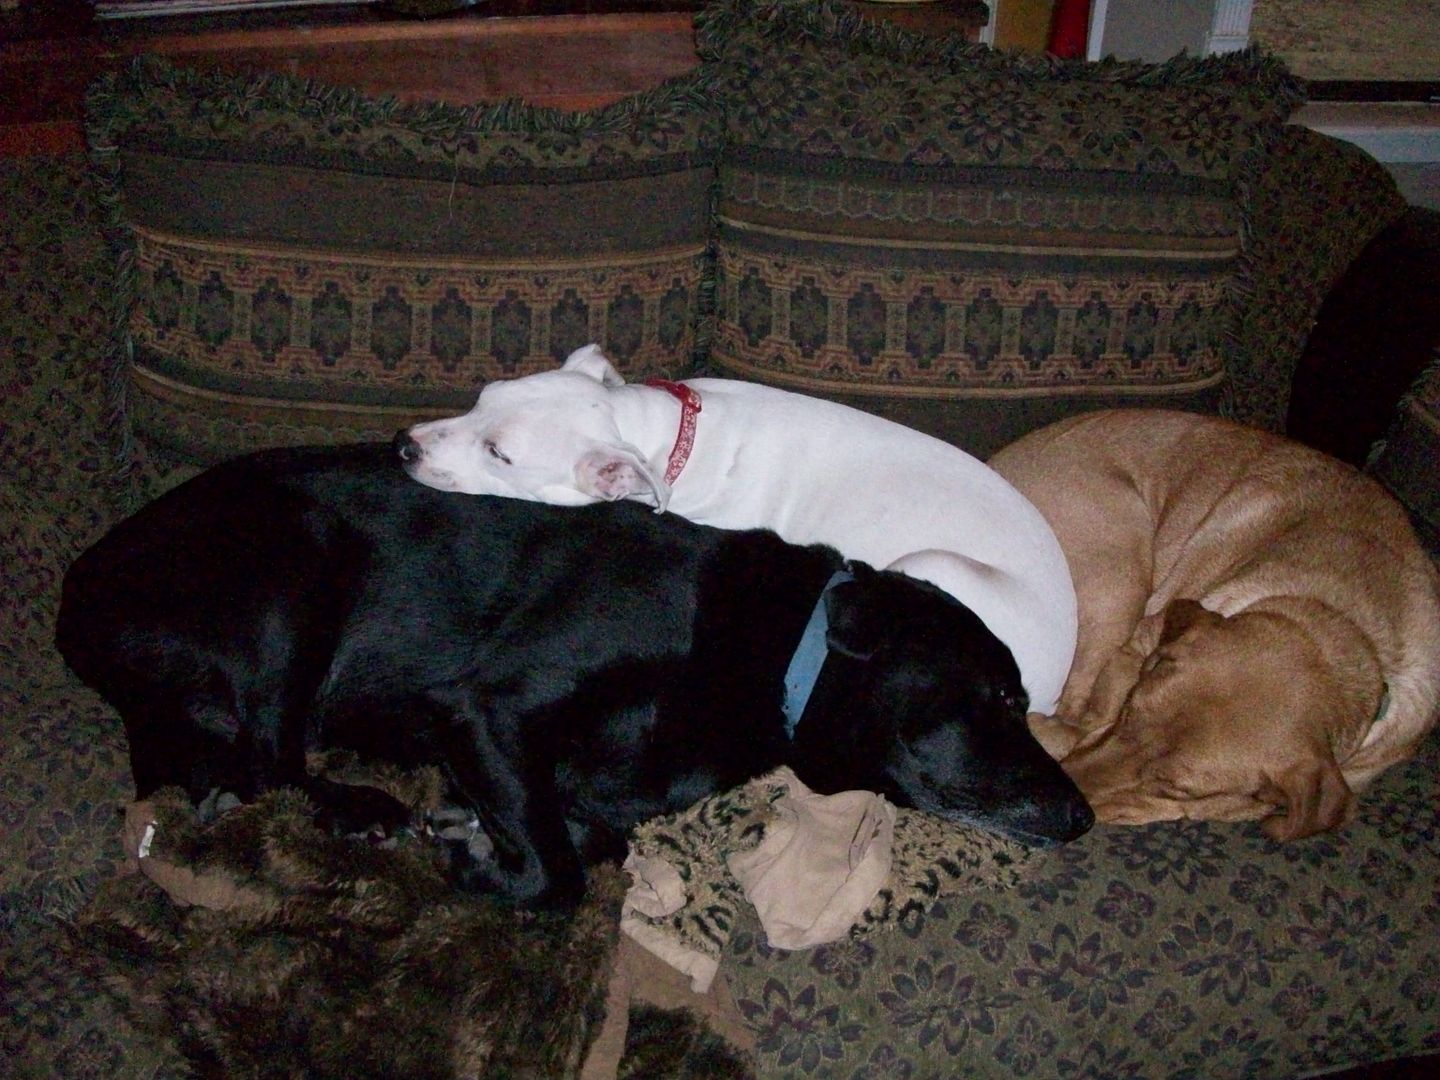
It was all gone by the morning and the tempuratures where once again in the 60's and 70's, right where we are supposed to be this time of year. The weather has been strange. Hot then cold and back again, like this morning. It is 30 degrees today! Ouch! 3 of my dogs decided it was cold enough to snuggle so I grabbed the camera to catch the pile up! LOL Beau, Emery and Allie on the couch trying to keep each other warm!

Treat Topper

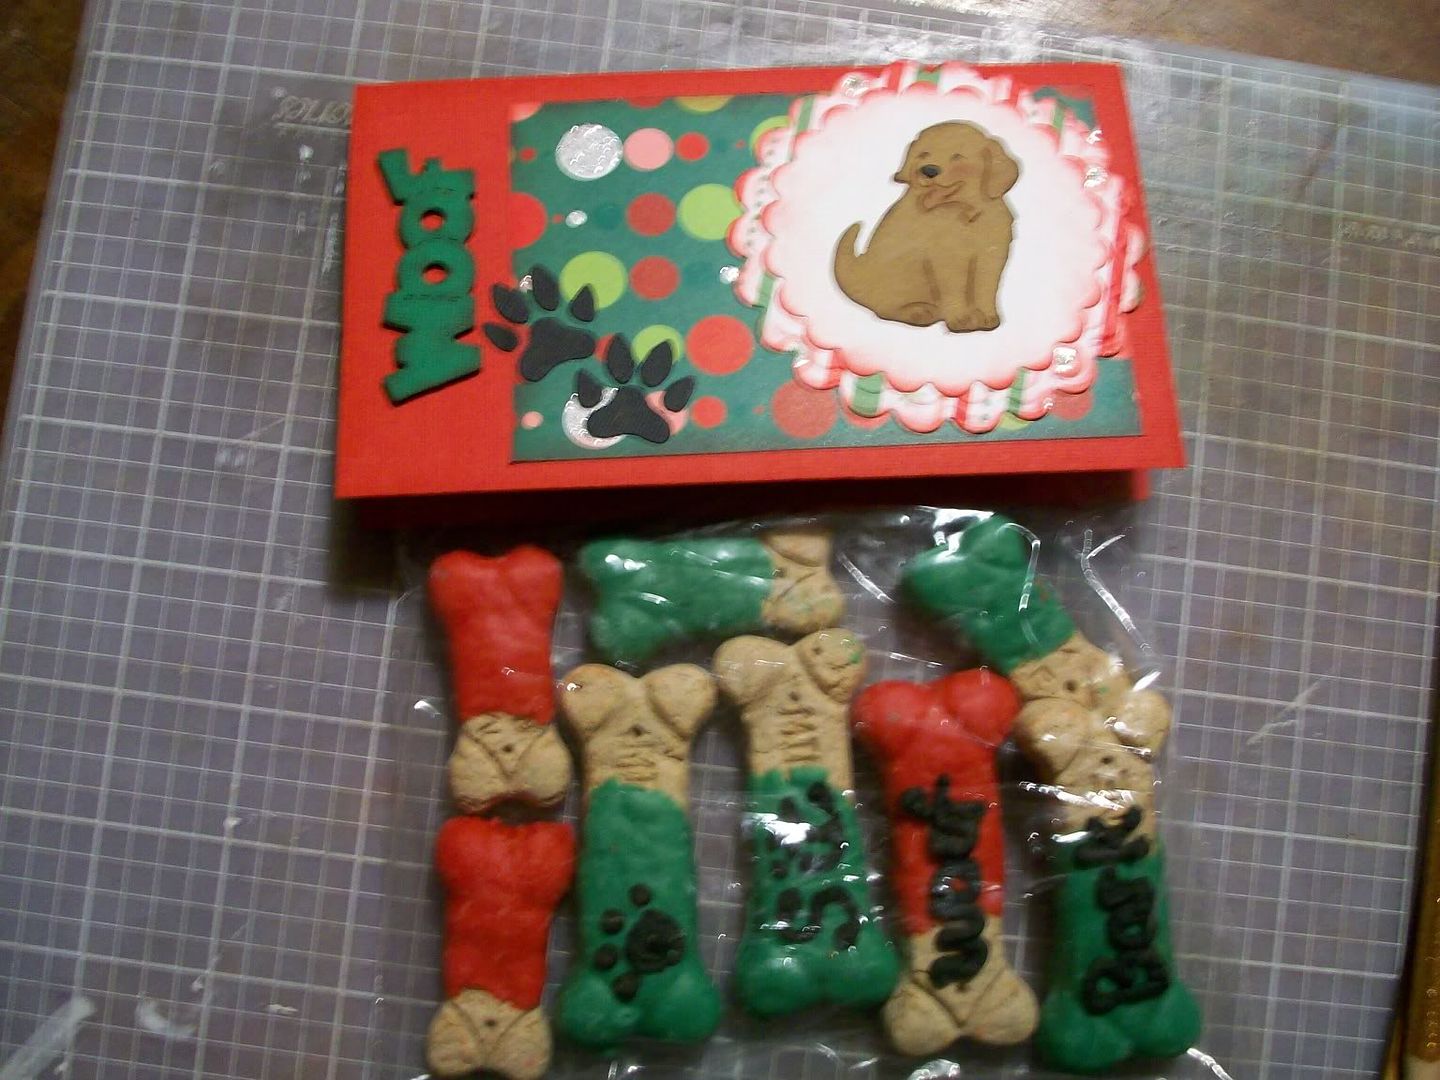
This is a quick easy way to create packaging for cookies, candy, little treats or toys to give as gifts. The package itself is a sandwich size ziplock baggie. You could also use a snack size baggie for smaller items but you will need to adjust the size of your paper topper so that it does not overwhelm your package.

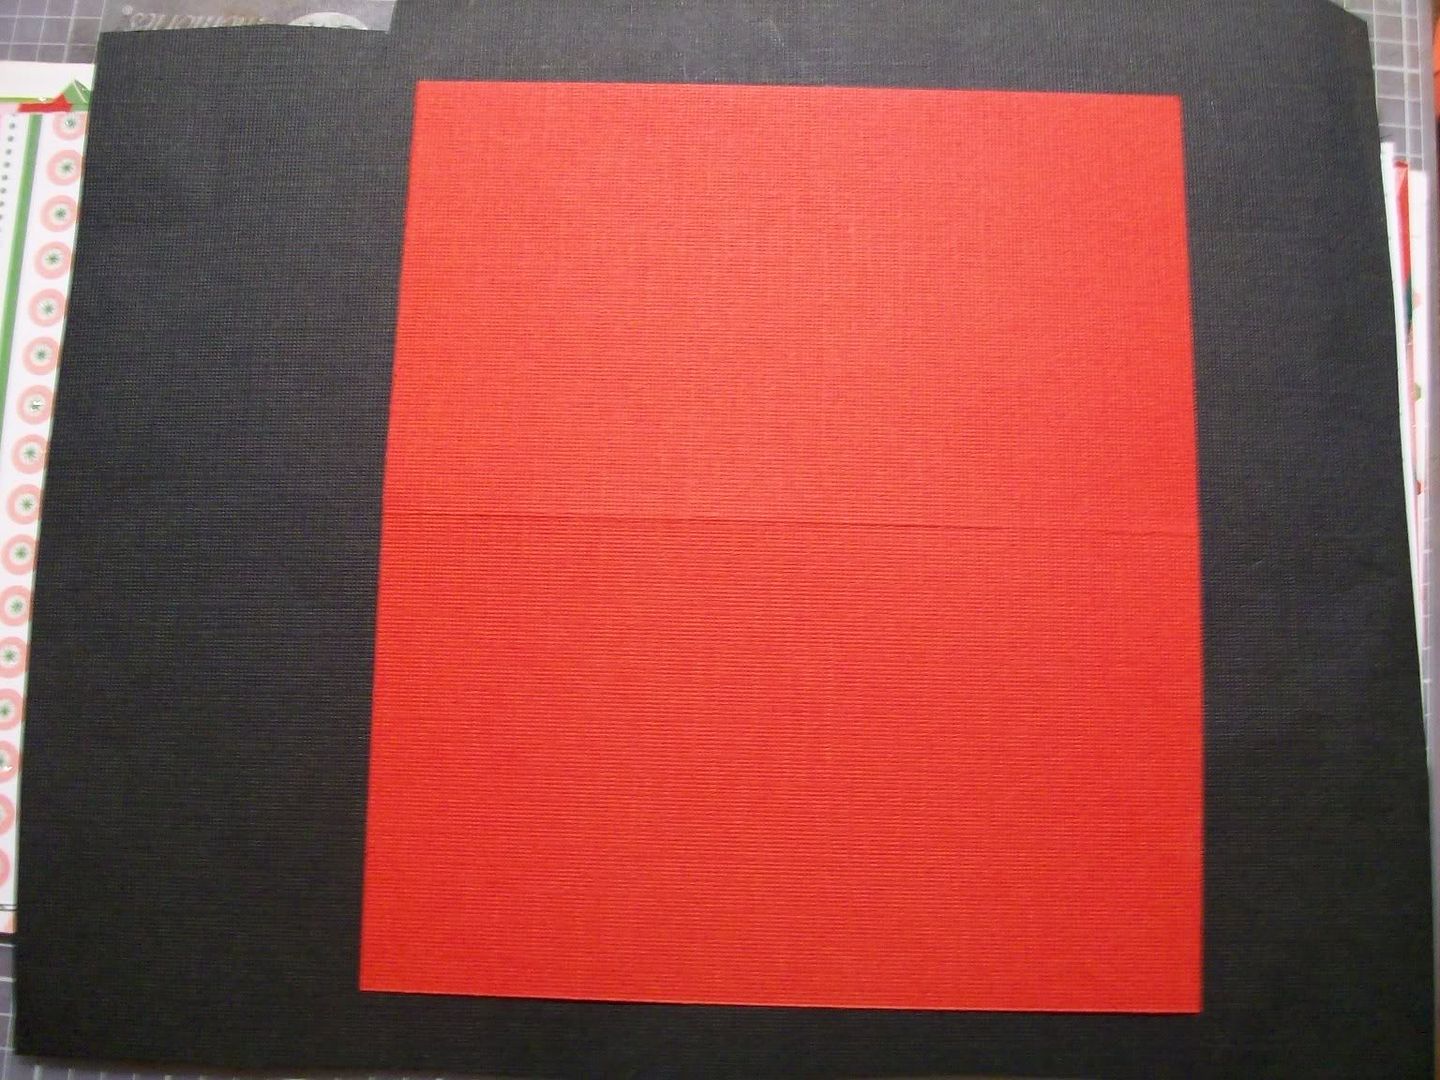
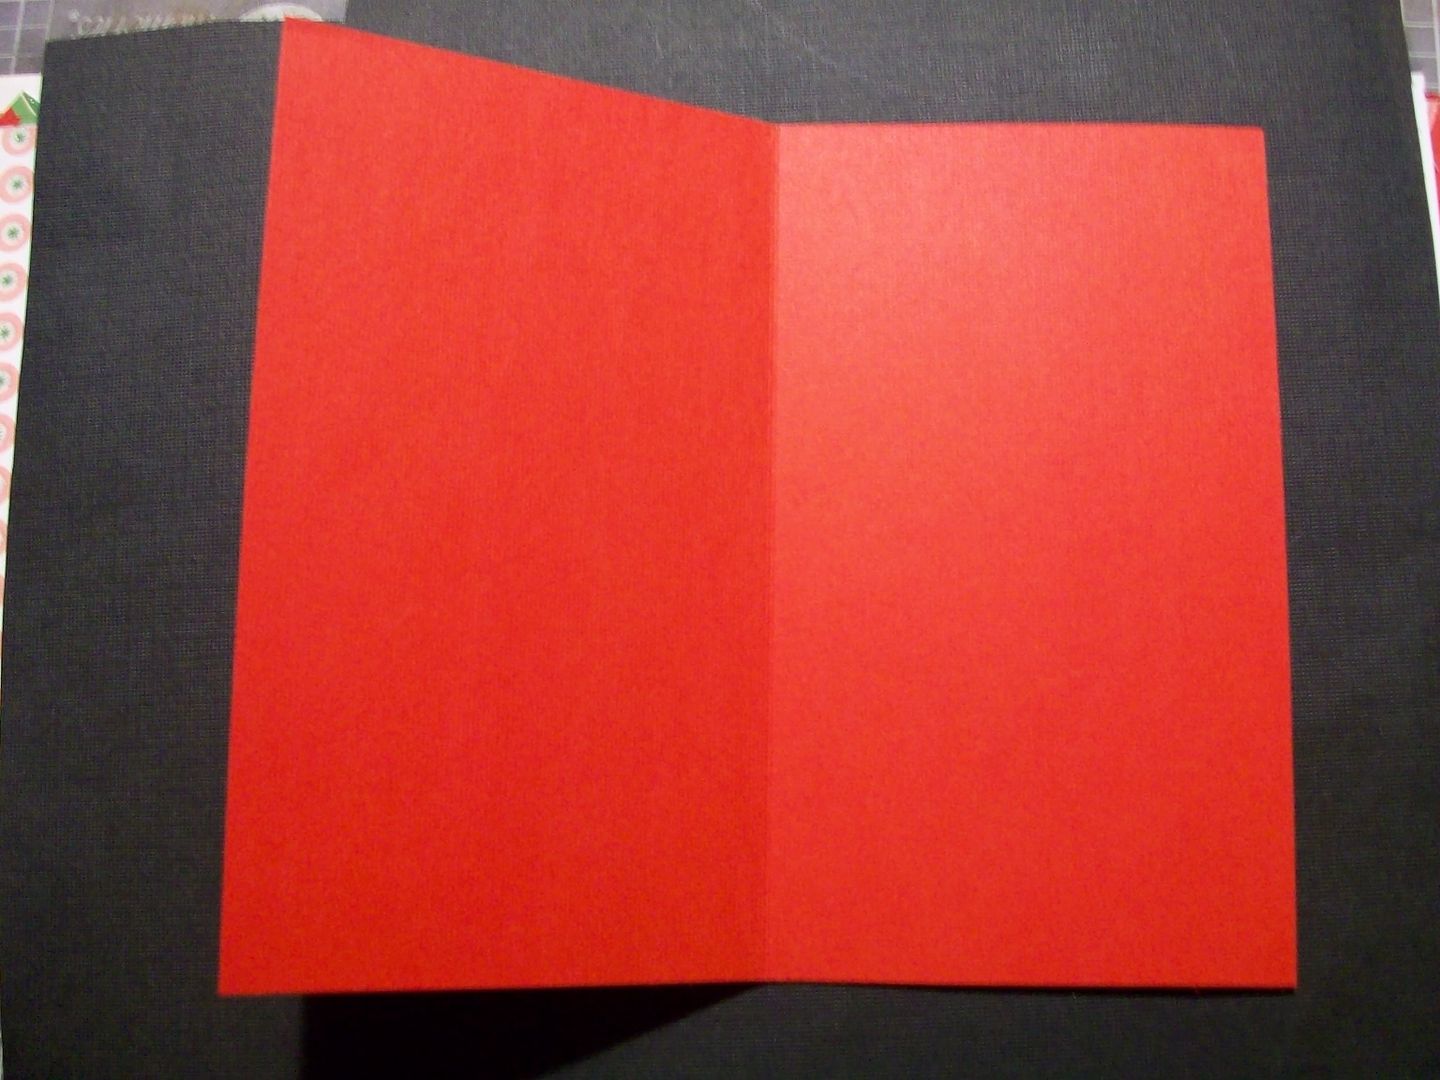
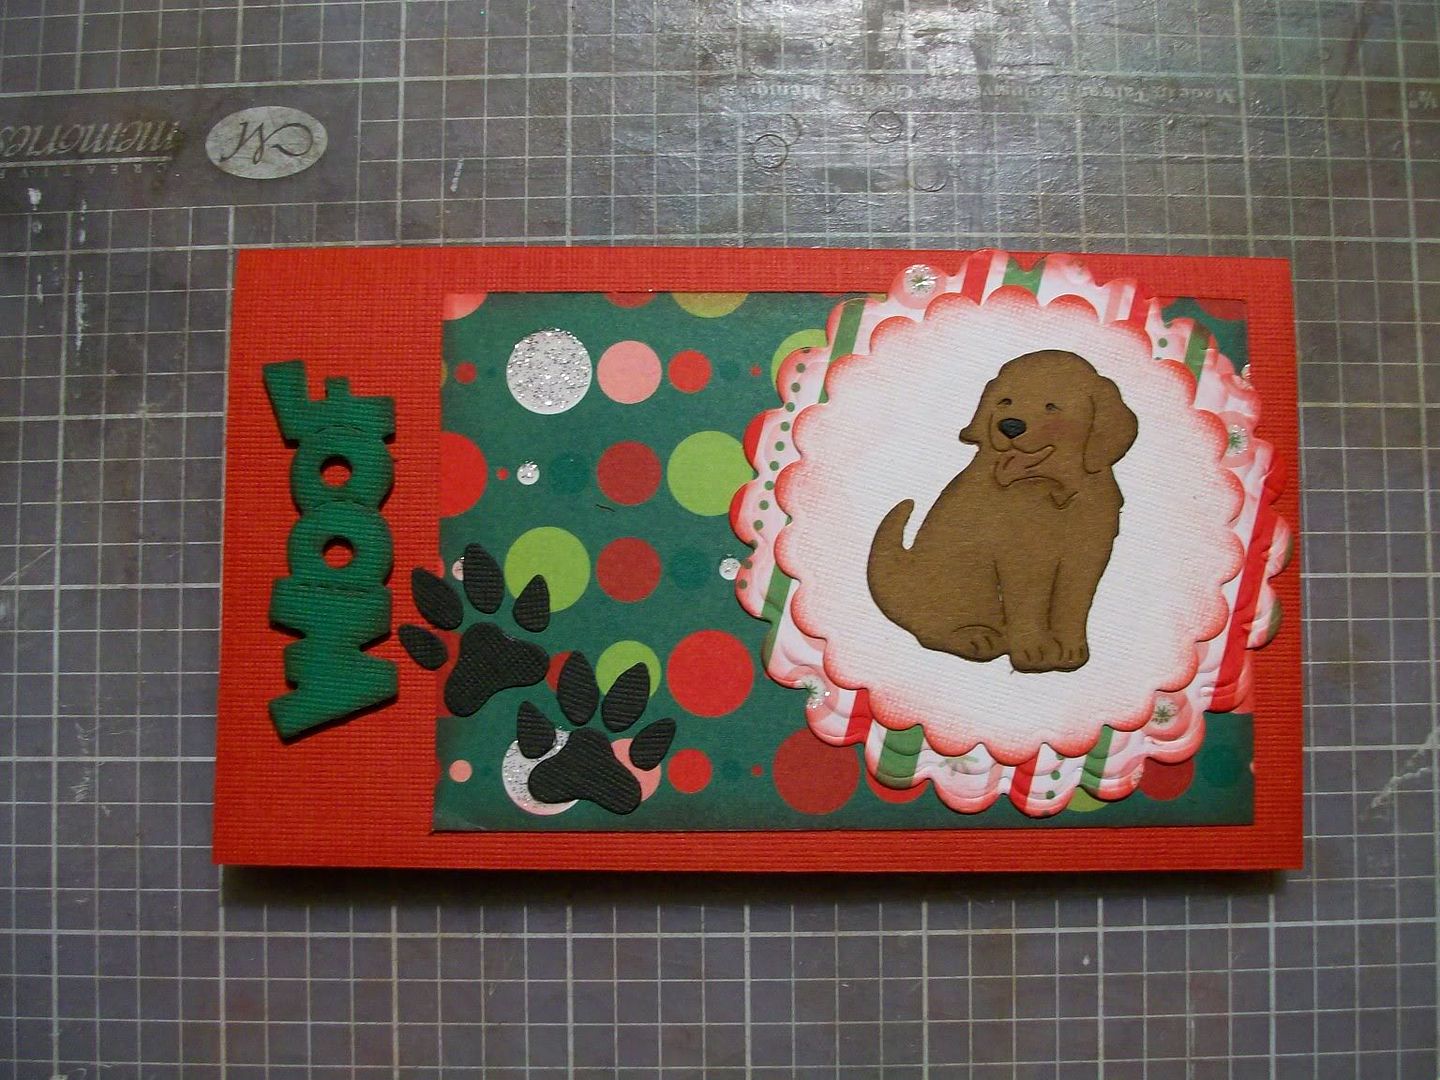
I started with a solid red piece of textured cardstock cut in a 7" x 7" square. I scored the paper in the middle (3.5") to fold.


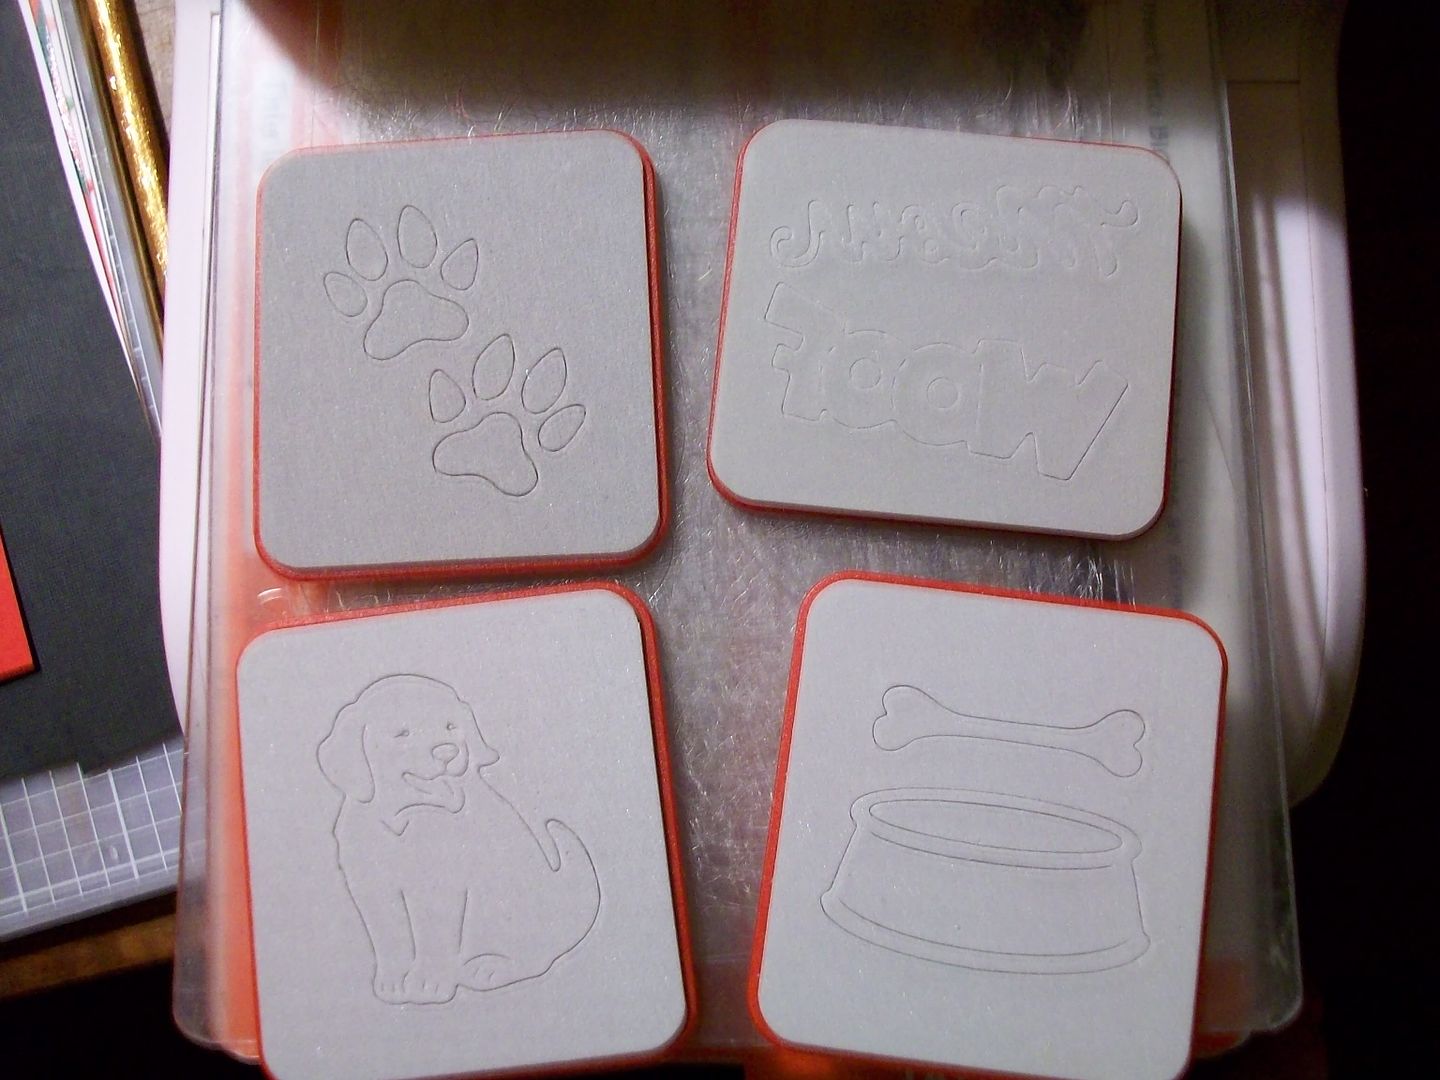
I used these dog themed Sizzix Sizzlets dies to decorate the topper. I cut the pieces out of different colored textured cardstock, pieced the dog's nose and inked the edges of all the pieces.


I also used 2 different patterned papers from last seasons DCWV Christmas Glitter Stack. The green patterned paper I cut 5" x 2 3/4" to leave a slight border around the 3 sides and a 2" border on the left for the word WOOF. I used SpellBinder Lg nesting scalloped circle dies in two different sizes to create the mat for the dog. I inked the edges of all. I used pop dots under the word WOOF and under the scalloped circles to add dimension.


Now, fill your ziplock with your goodies and close. Place the topper over the baggie and postion where you like. Use staples to complete and secure the topper to your baggie. How cute and how simple! Have fun! =)

Monday, December 15, 2008

Candy Melts Dipped Dog Bones

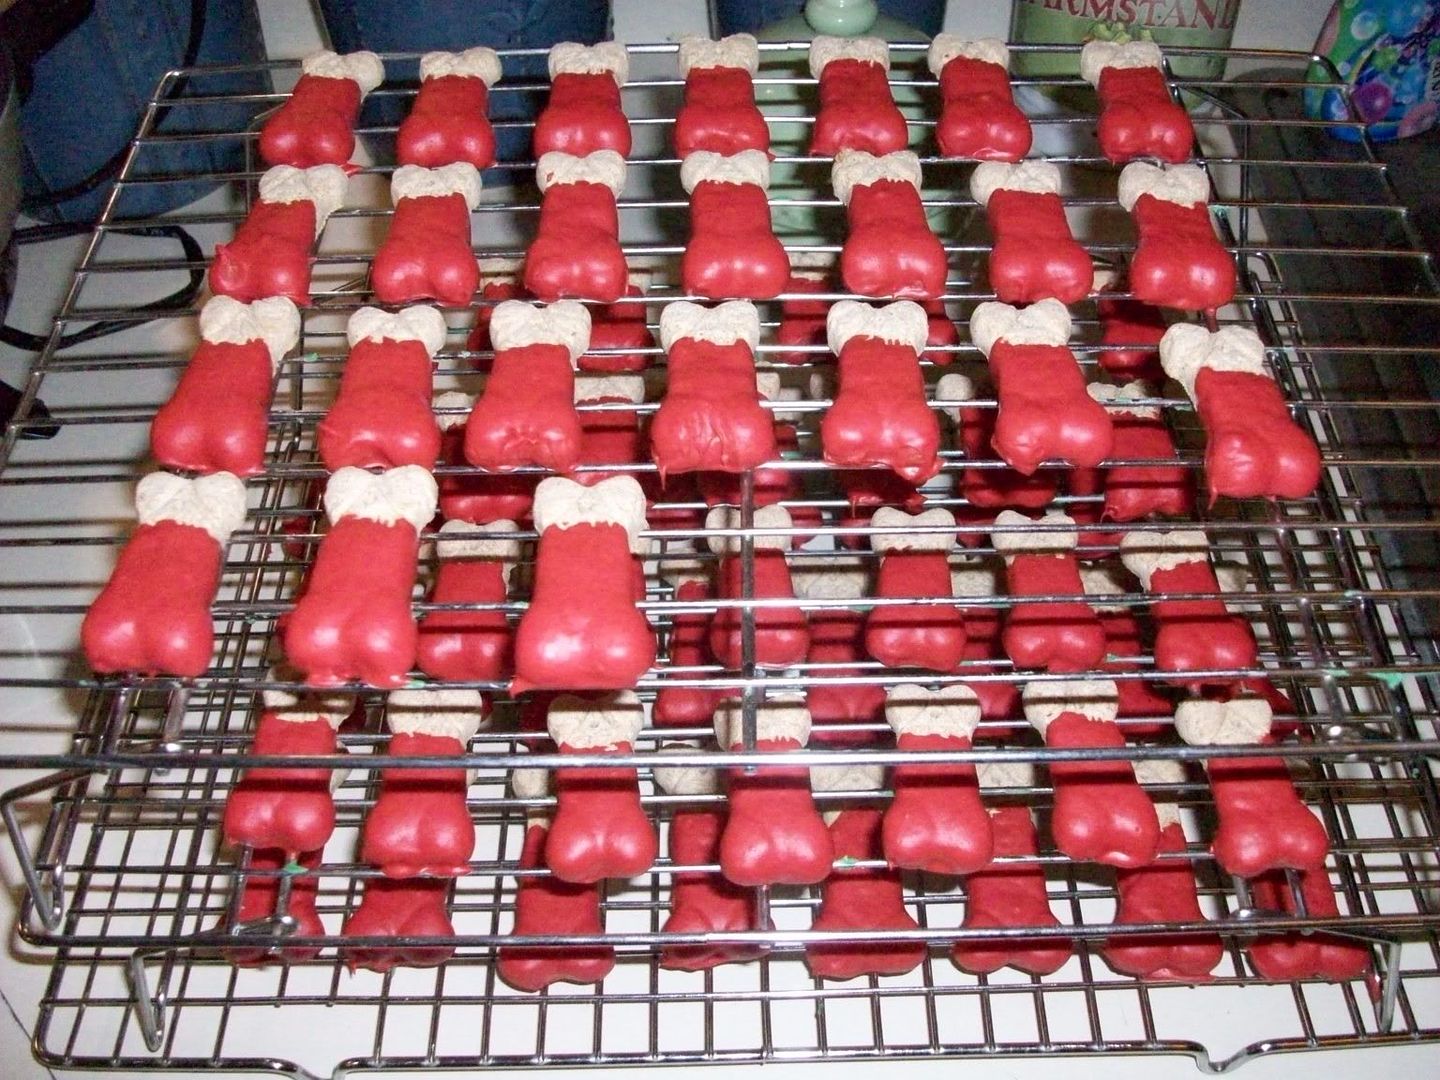
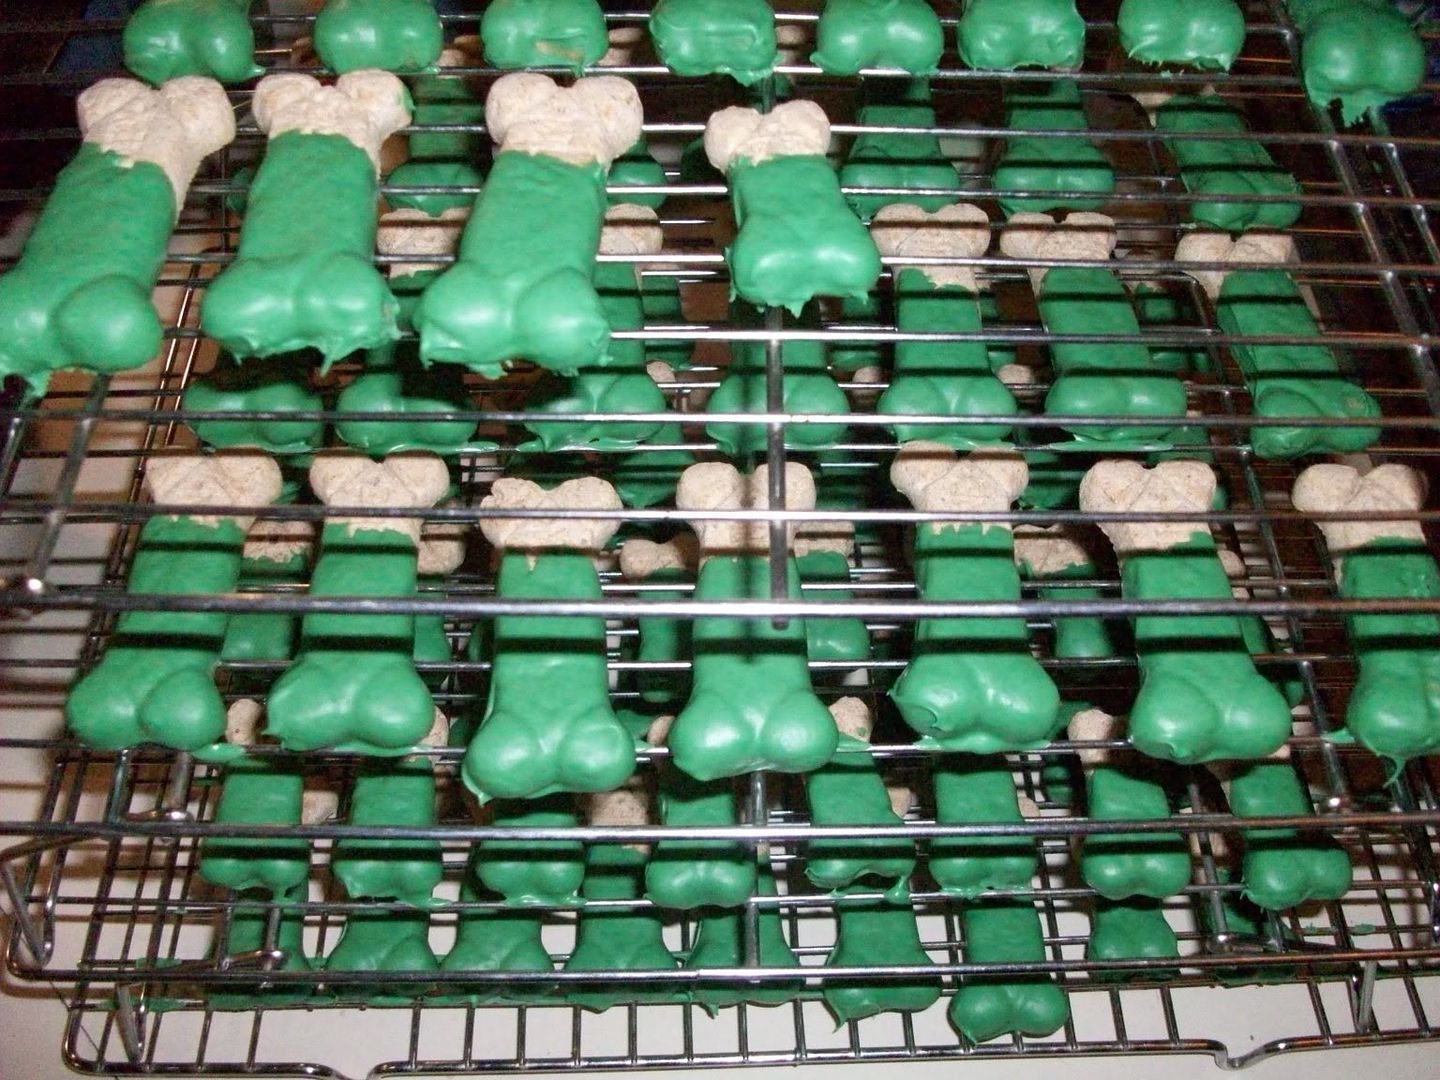
Every Christmas my dogs give other dogs gifts. This year they are giving all of their furry friends Dipped Dog Bones in a super cute and easy paper crafting package. I thought I would share the process in case you needed to get some dog gifts together before Christmas.

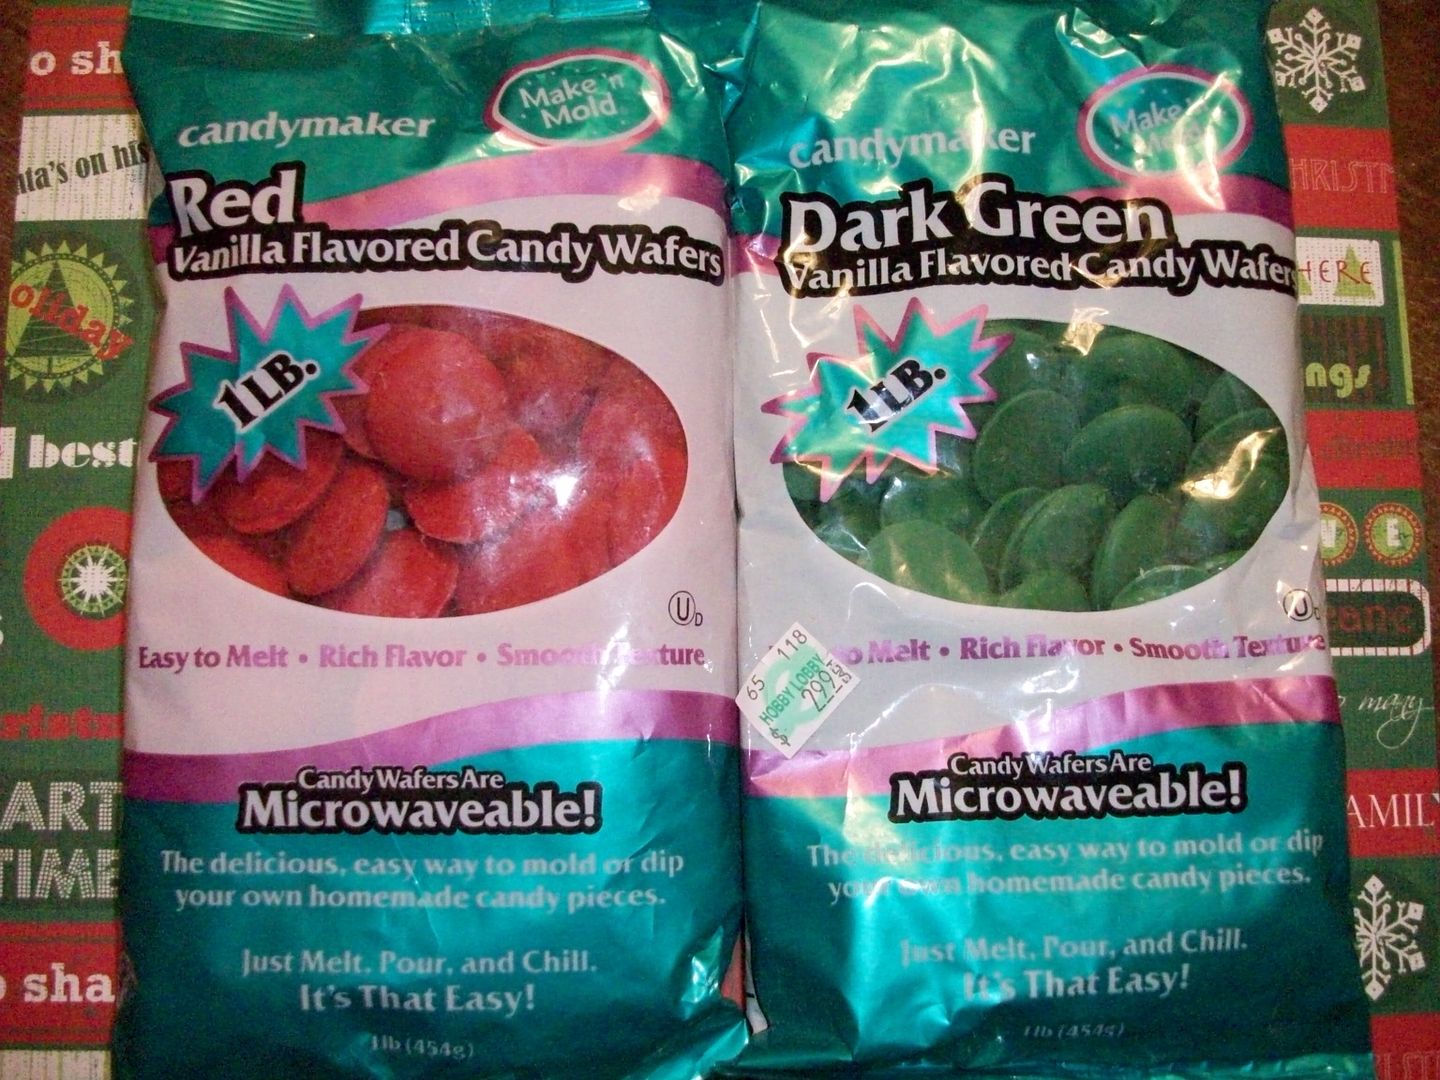
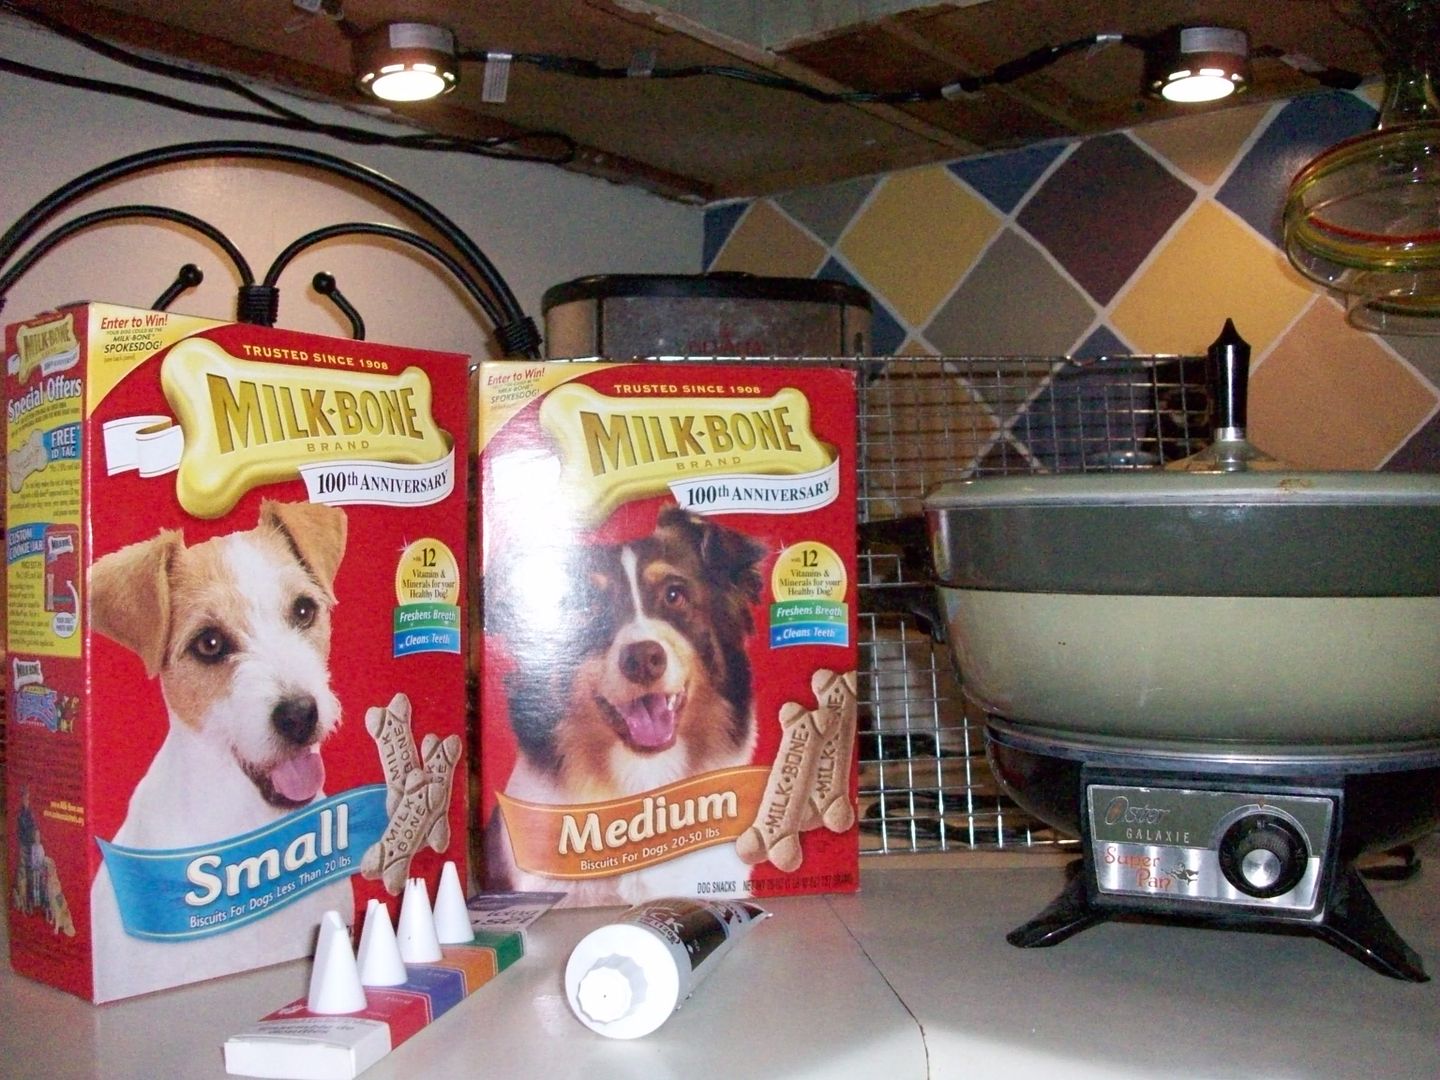
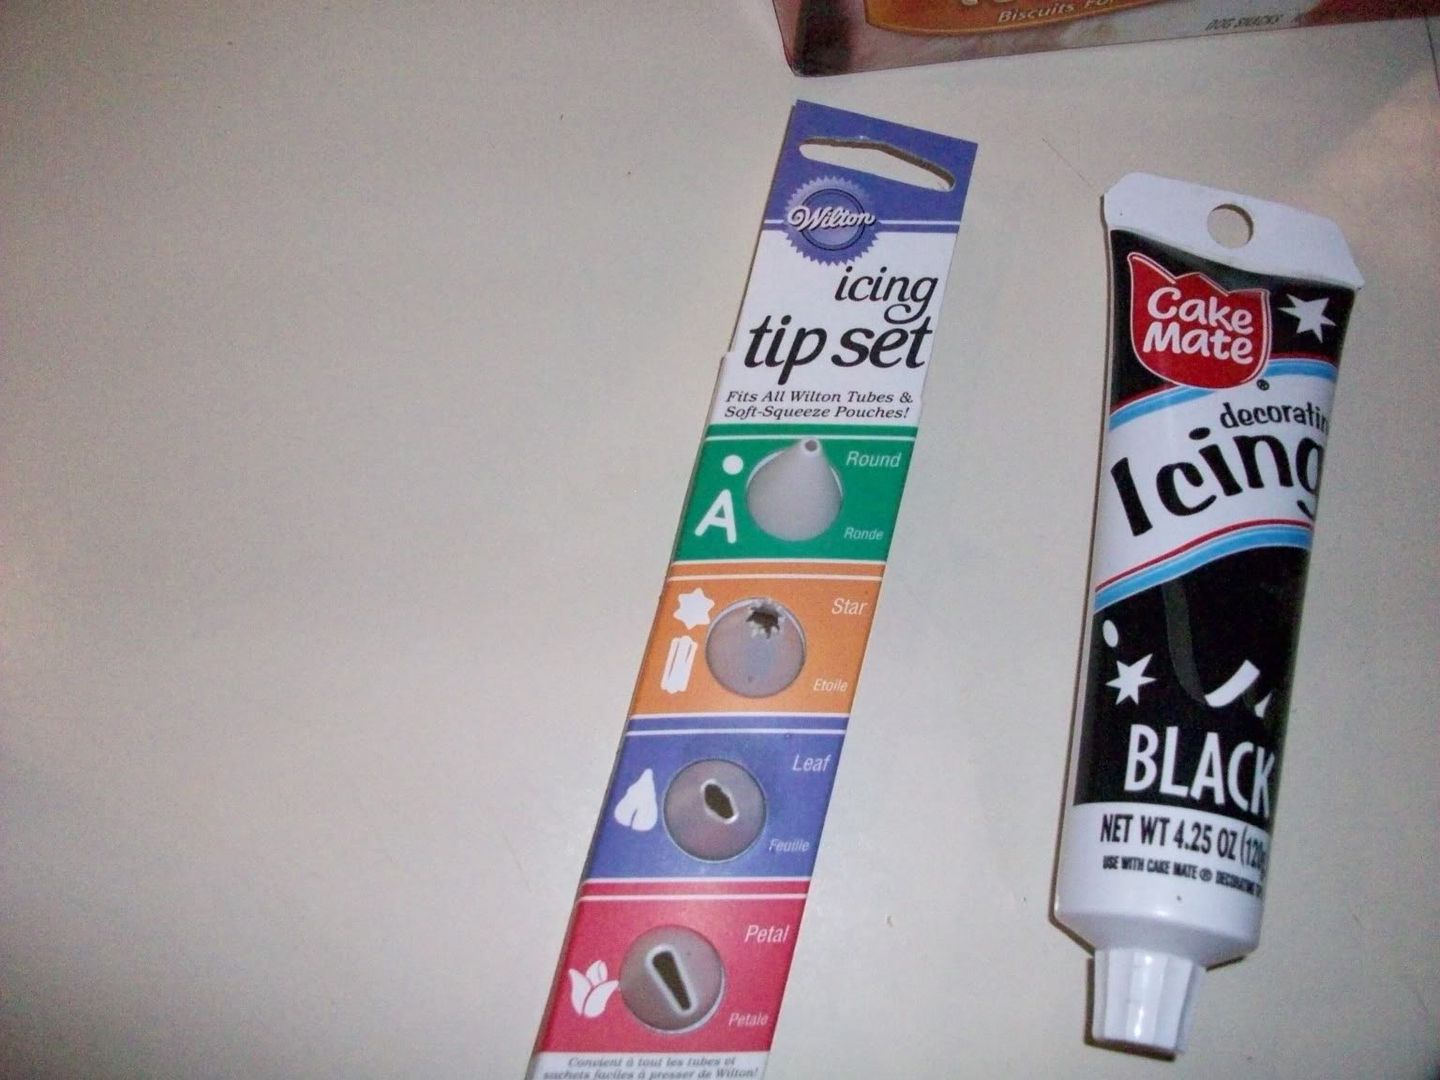
First, gather your supplies/ingredients. Dog bones, colored candy melts, icing and tips, cooling/drying racks, fondue pot or two nesting pots to create a water bath.


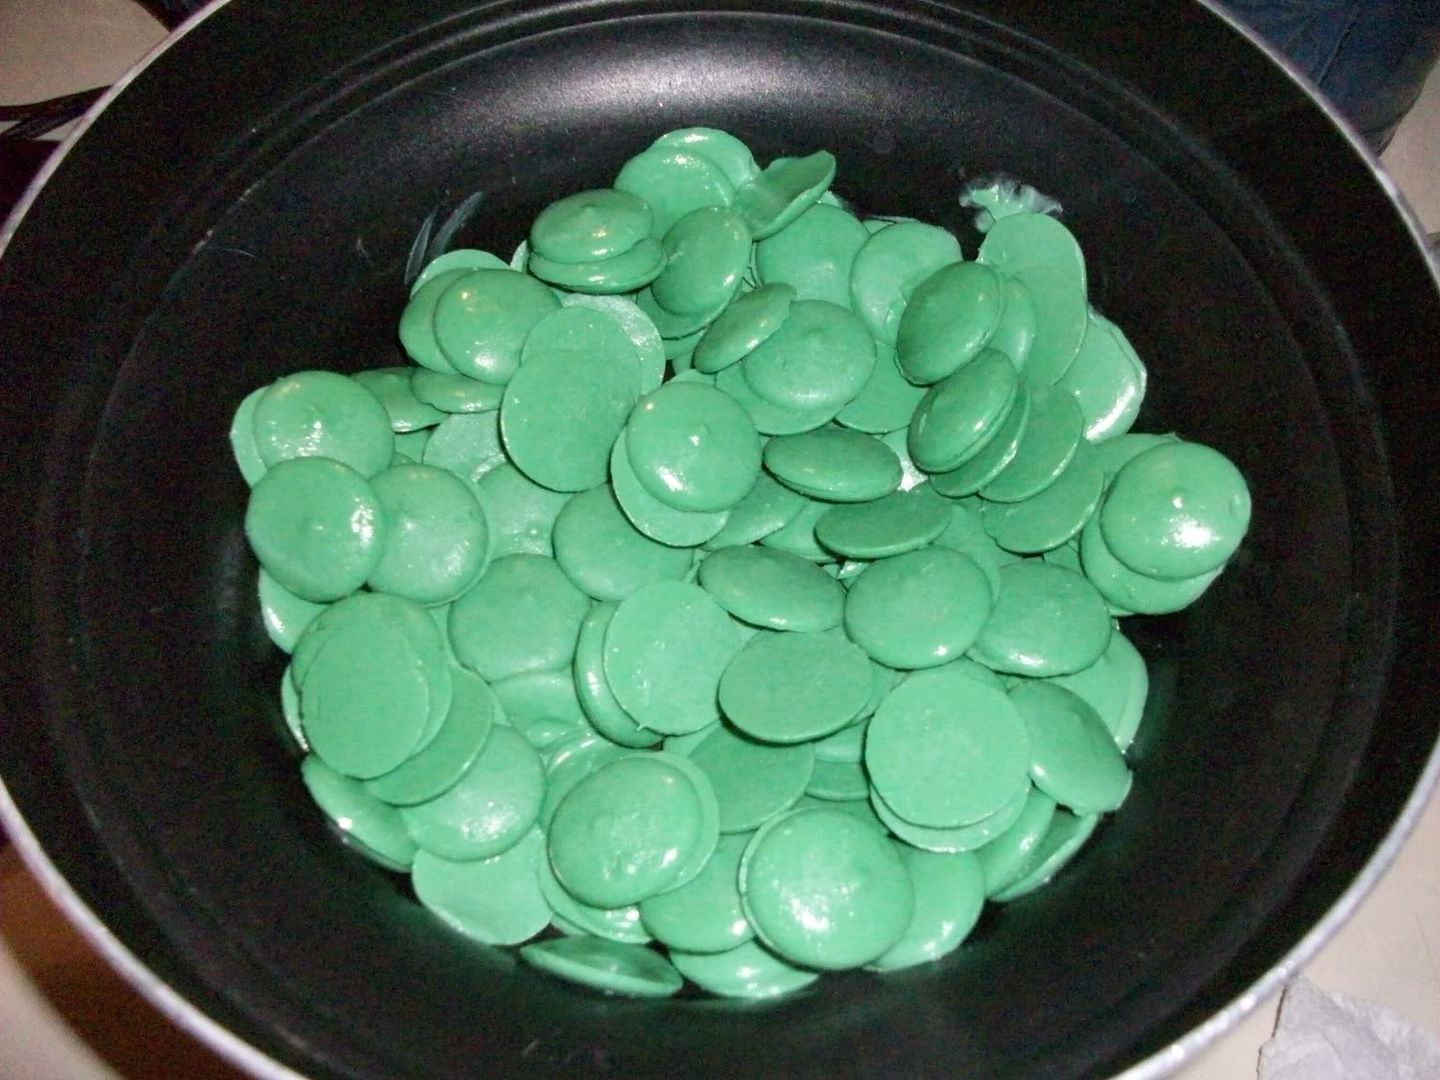
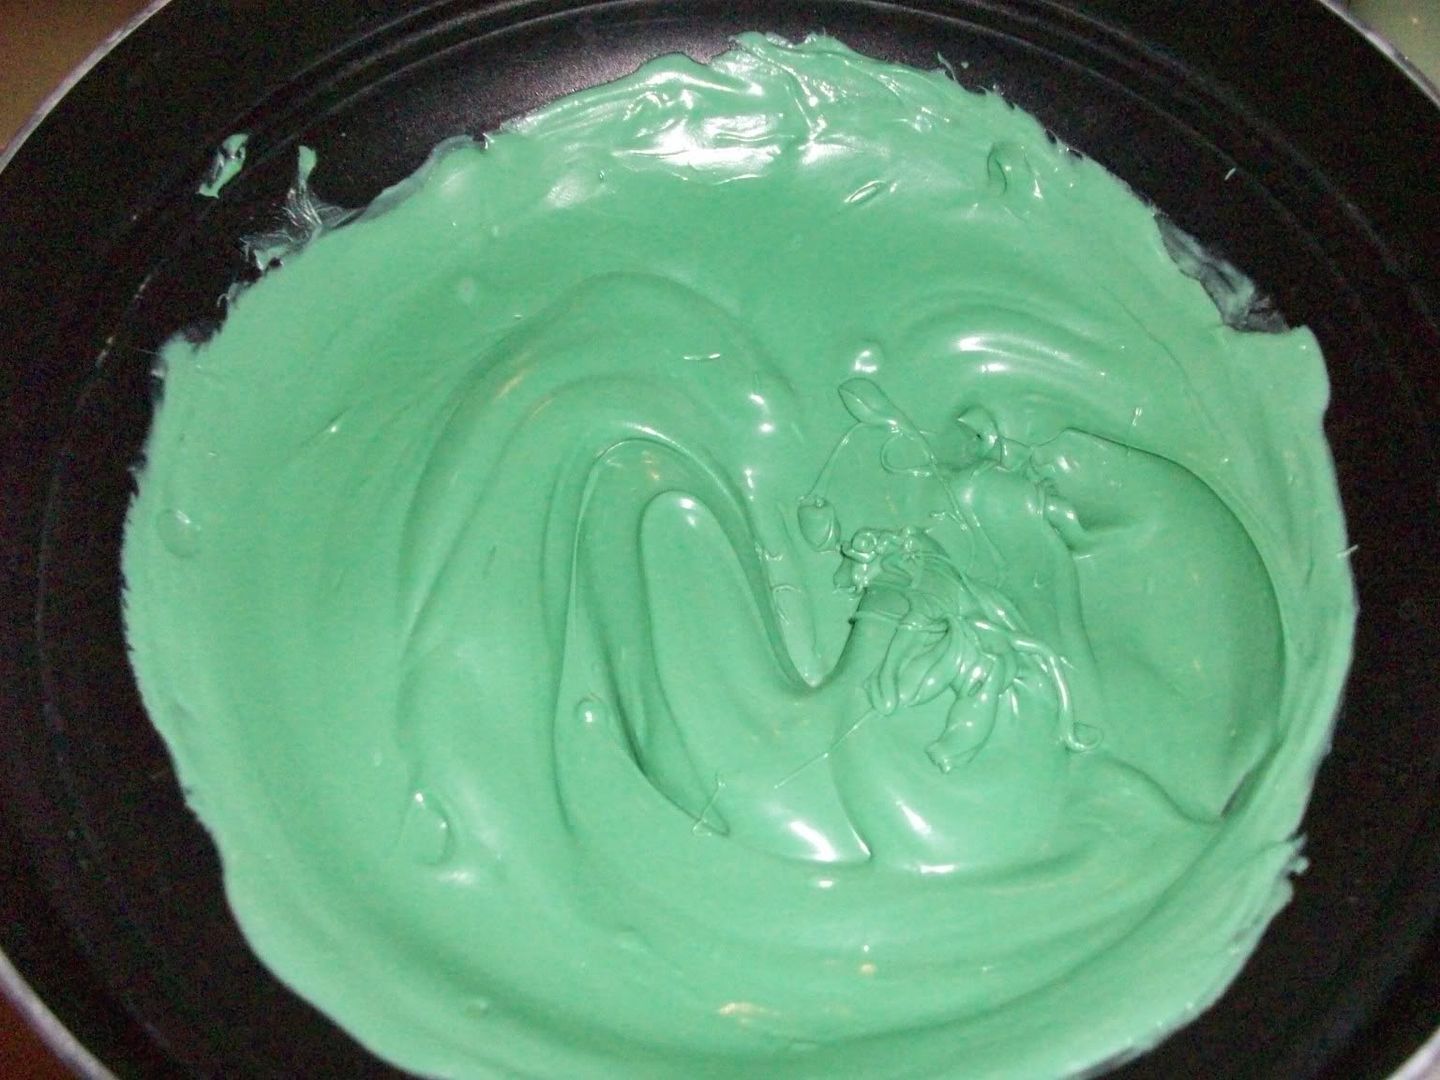
Once your water is boiling and your top pot is nice and warm, pour in the candy melts. They are really soft and take very little time to melt. Stir until smooth.


Now for the FUN part! Start dipping those bones! I like to only cover about half the bone with the candy but if you want to cover the entire thing go right ahead. I just stick the bone down into the candy melts and use a spoon to help get an even coating. If the coating is too thick just tap the bone gently with the spoon until you like they way it looks. Even my son Mike likes to help!


Put the bones on the racks to harden. I like to leave mine overnight so I will be back tomorrow to show you how to personalize the bones for any occasion! Then, the really cute homemade packaging idea!