Showing posts with label treats. Show all posts

Wednesday, December 31, 2008

Empty Prima or Frappacino Bottles

Do you have empty glass Prima flower bottles? What about those cute little Frappacino bottles? It is a shame to just toss them out even if you recycle. Why not turn them into super cute, super easy treat jars? Valentine's Day is coming and these would make great teacher, co-worker, troop leader gifts! Just use scraps and empty bottles then fill them with Hershey Kisses! In the example I used leftover Valentine paper, glitter paper, Valentine ribbon, and a couple of Prima Flowers!

First, gather your supplies and some coordinating craft paint. I like to paint my lids but if you like them silver then you can bypass this step. I used irridescent glitter on the Valentine bottle lid to add some shimmer!


Next, measure your bottle and cut a strip of patterned paper to fit. You can make this piece as wide as you like, personally I like to view the contents of the jar. Next, cut a label from a solid or a coordinating paper. On the example I machine stitched around the label to add interest. Don't need to do that though. Cut out your letters, this one reads "Kisses" and tie on a ribbon. I cut out a small tag for the To: From: and I added 2 Flowers. Ta Da! See, too easy. Fill the treat jar with kisses or other goodies and you are good to go!


You can't forget the Puppies!! I created this treat jar to hold Small Milkbone Dog Bones. Again, choose your papers, measure, cut and adhere! Voila! Everyone will LOVE their Treat Jars and you've recycled a cute little glass bottle! Have Fun!


Monday, December 15, 2008

Candy Melts Dipped Dog Bones

Every Christmas my dogs give other dogs gifts. This year they are giving all of their furry friends Dipped Dog Bones in a super cute and easy paper crafting package. I thought I would share the process in case you needed to get some dog gifts together before Christmas.

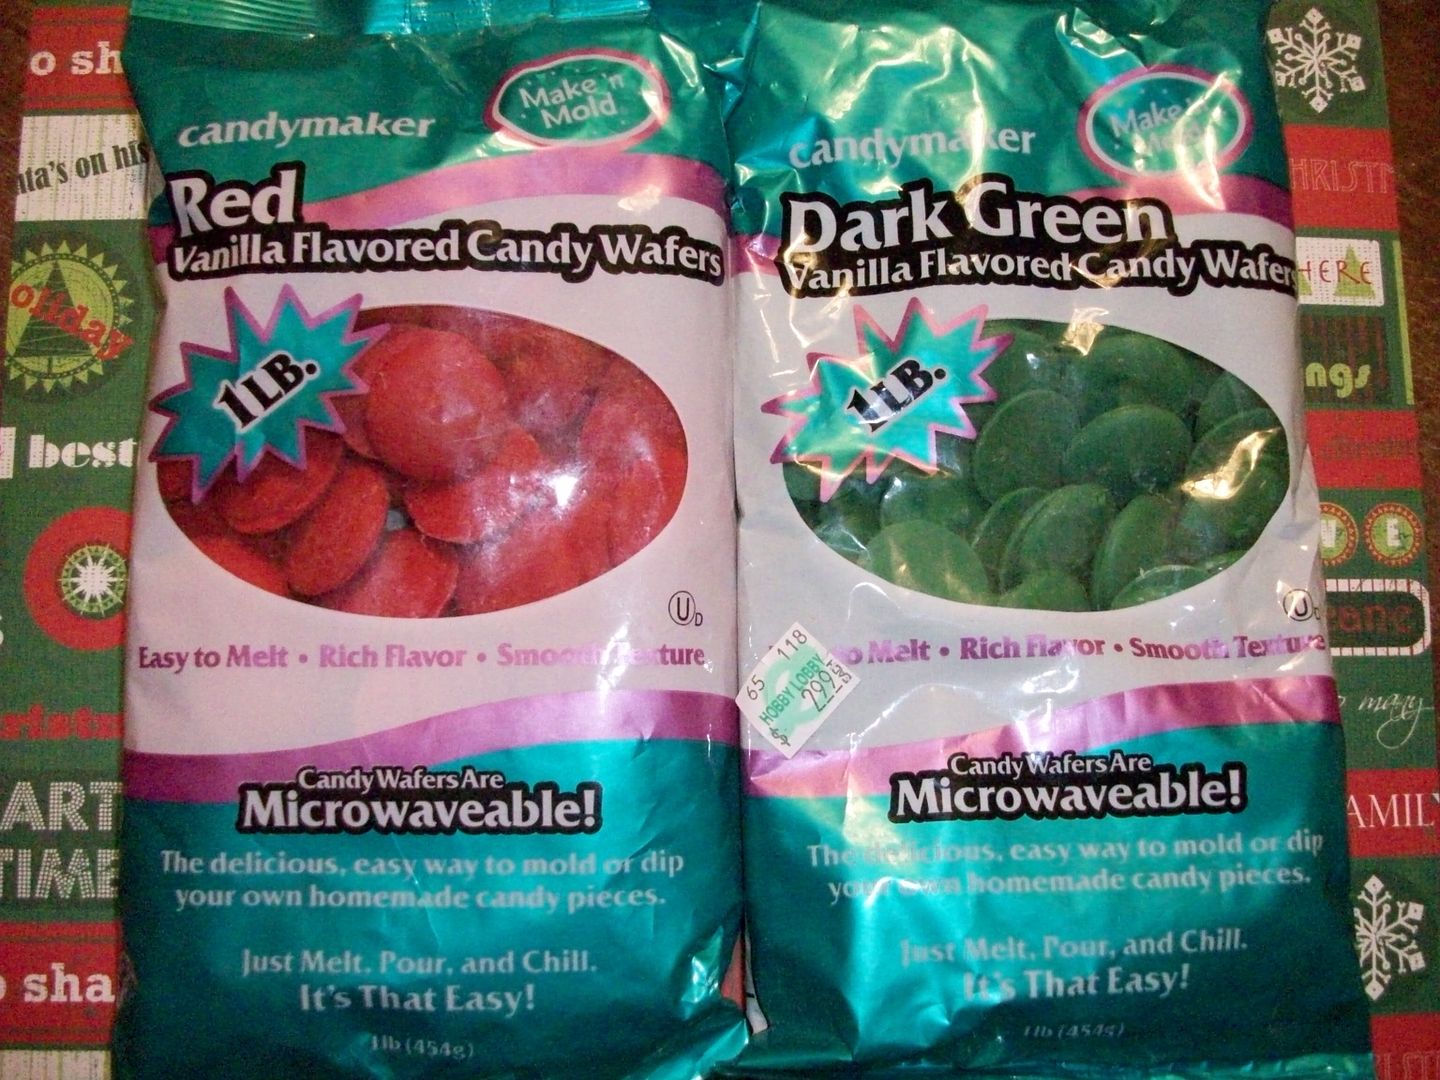
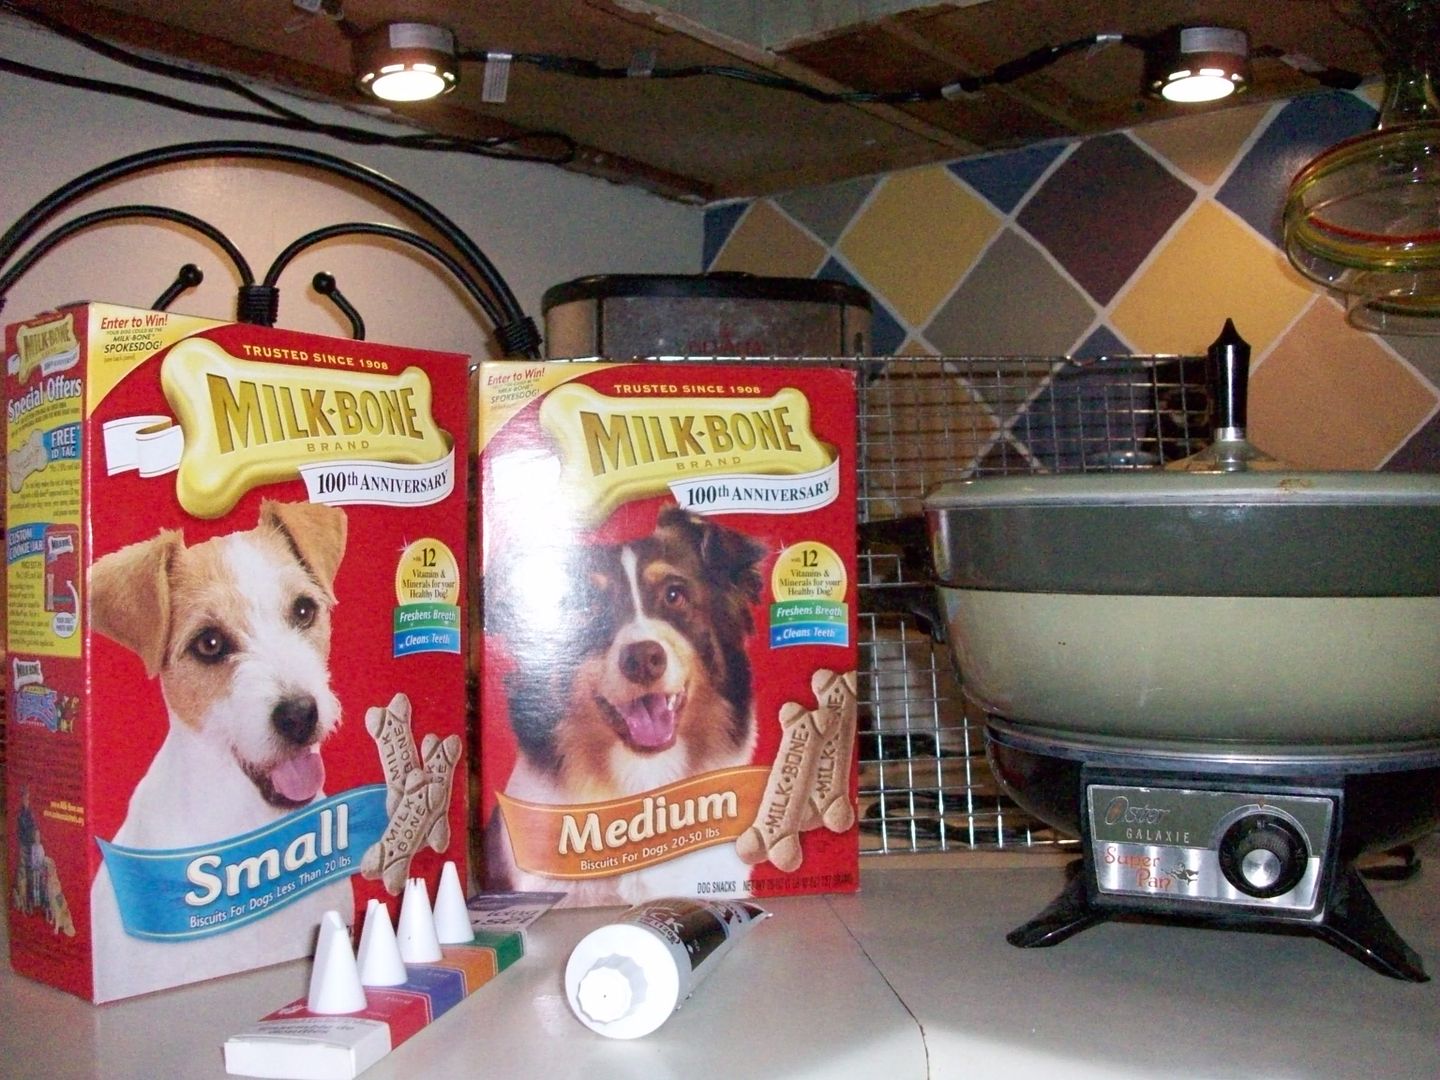
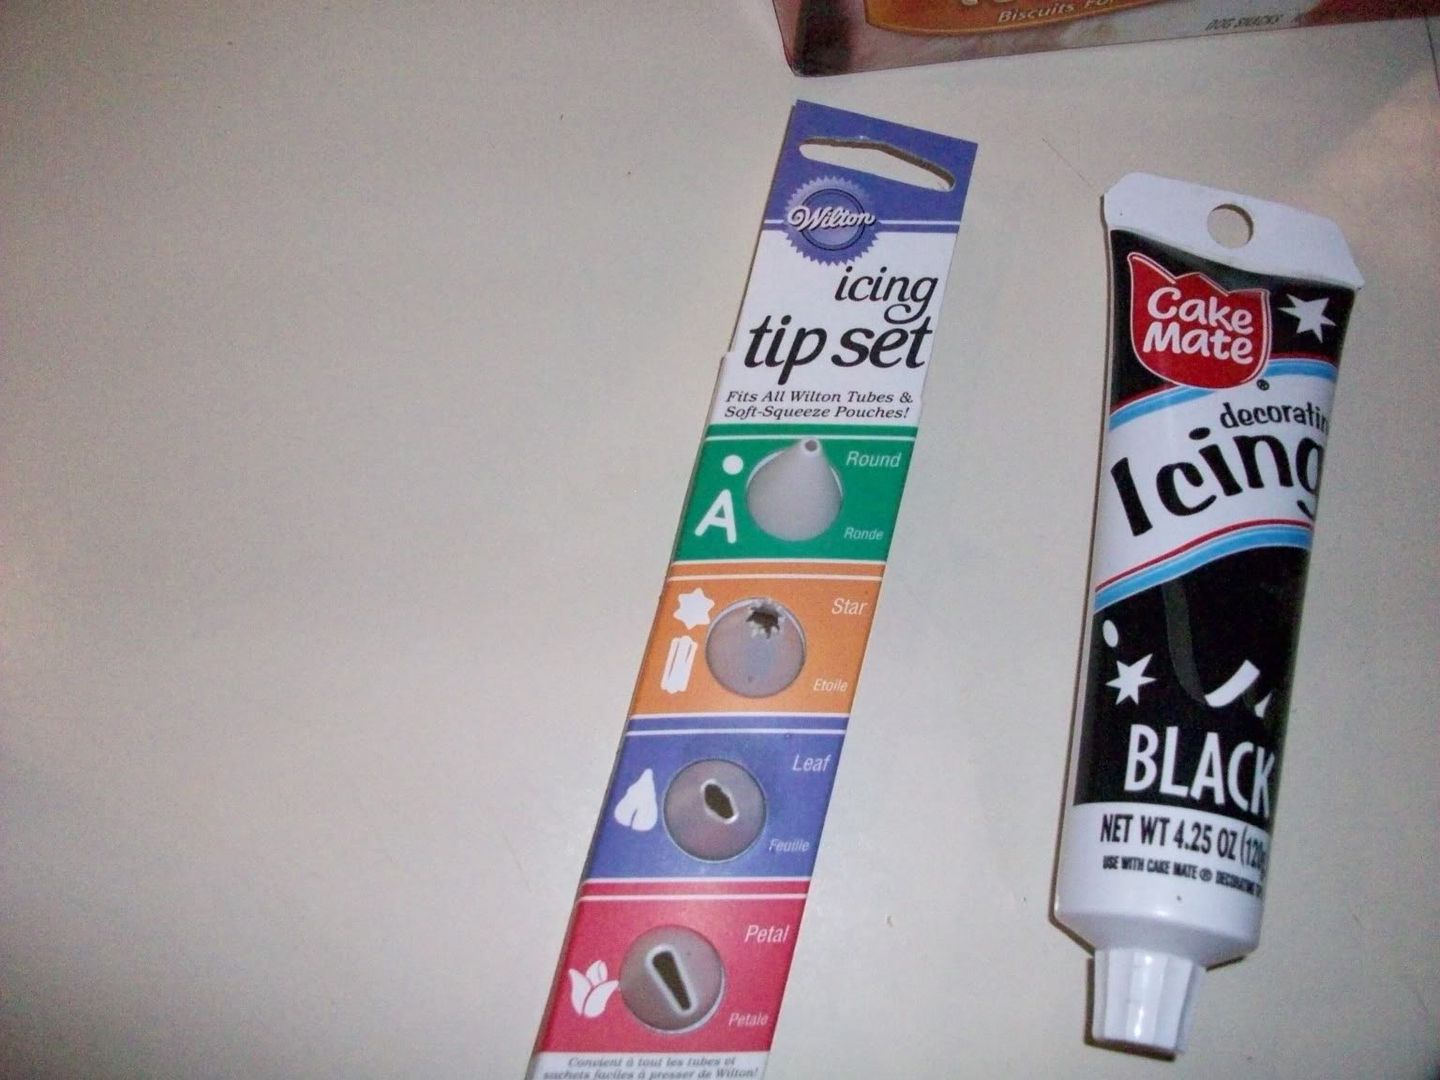
First, gather your supplies/ingredients. Dog bones, colored candy melts, icing and tips, cooling/drying racks, fondue pot or two nesting pots to create a water bath.


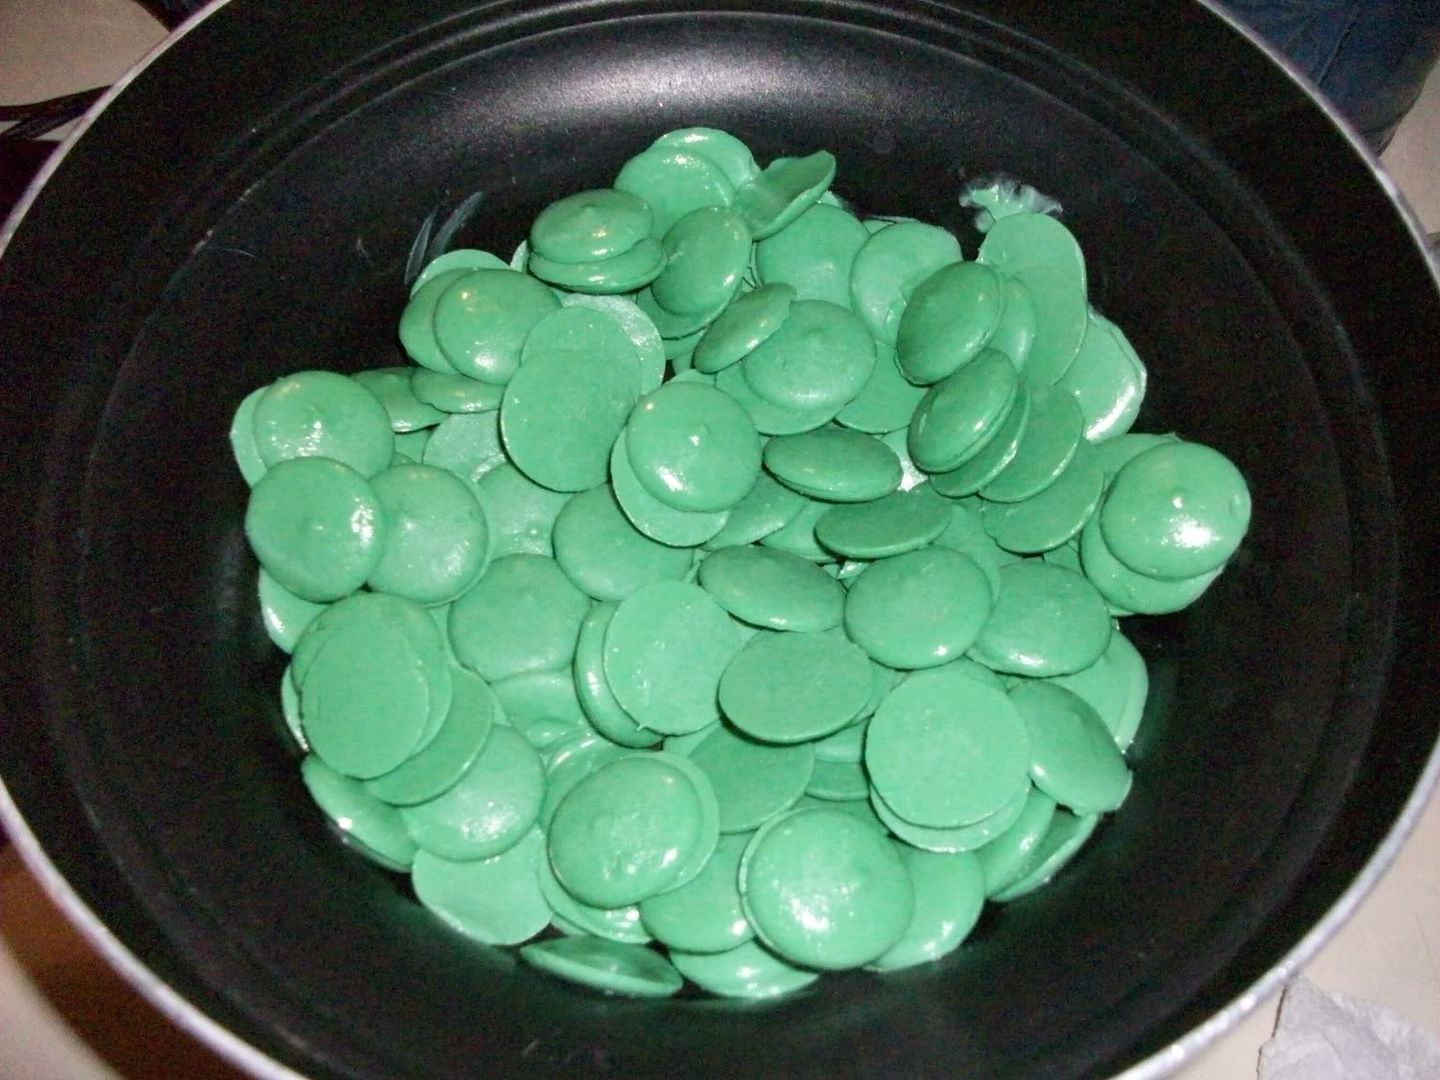
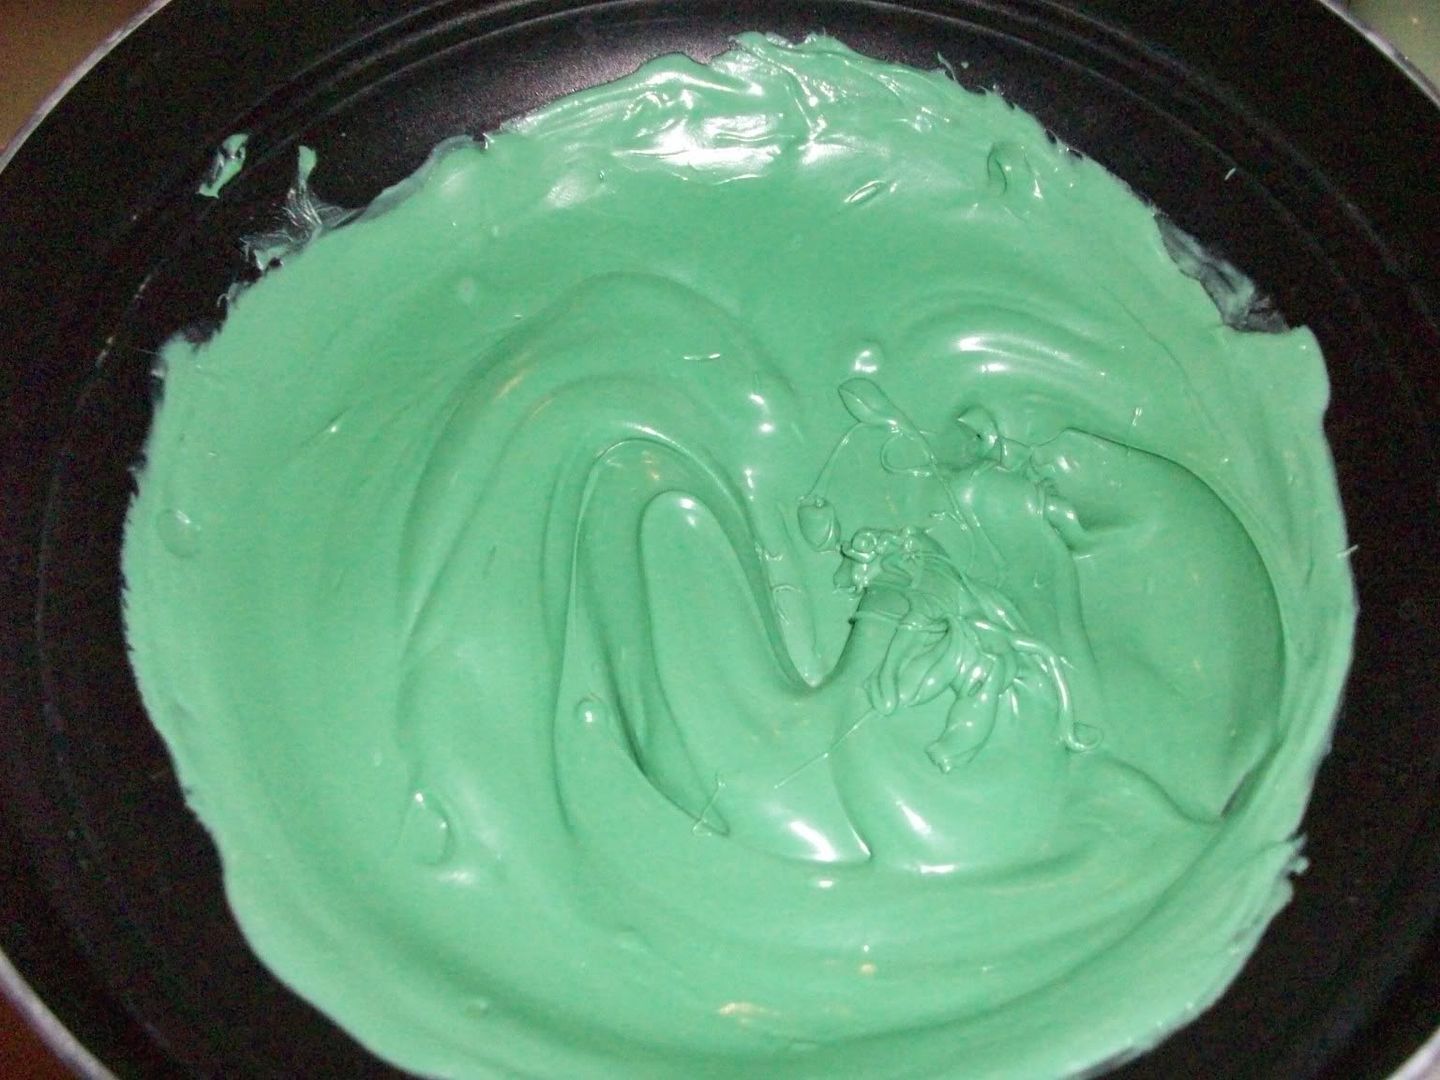
Once your water is boiling and your top pot is nice and warm, pour in the candy melts. They are really soft and take very little time to melt. Stir until smooth.


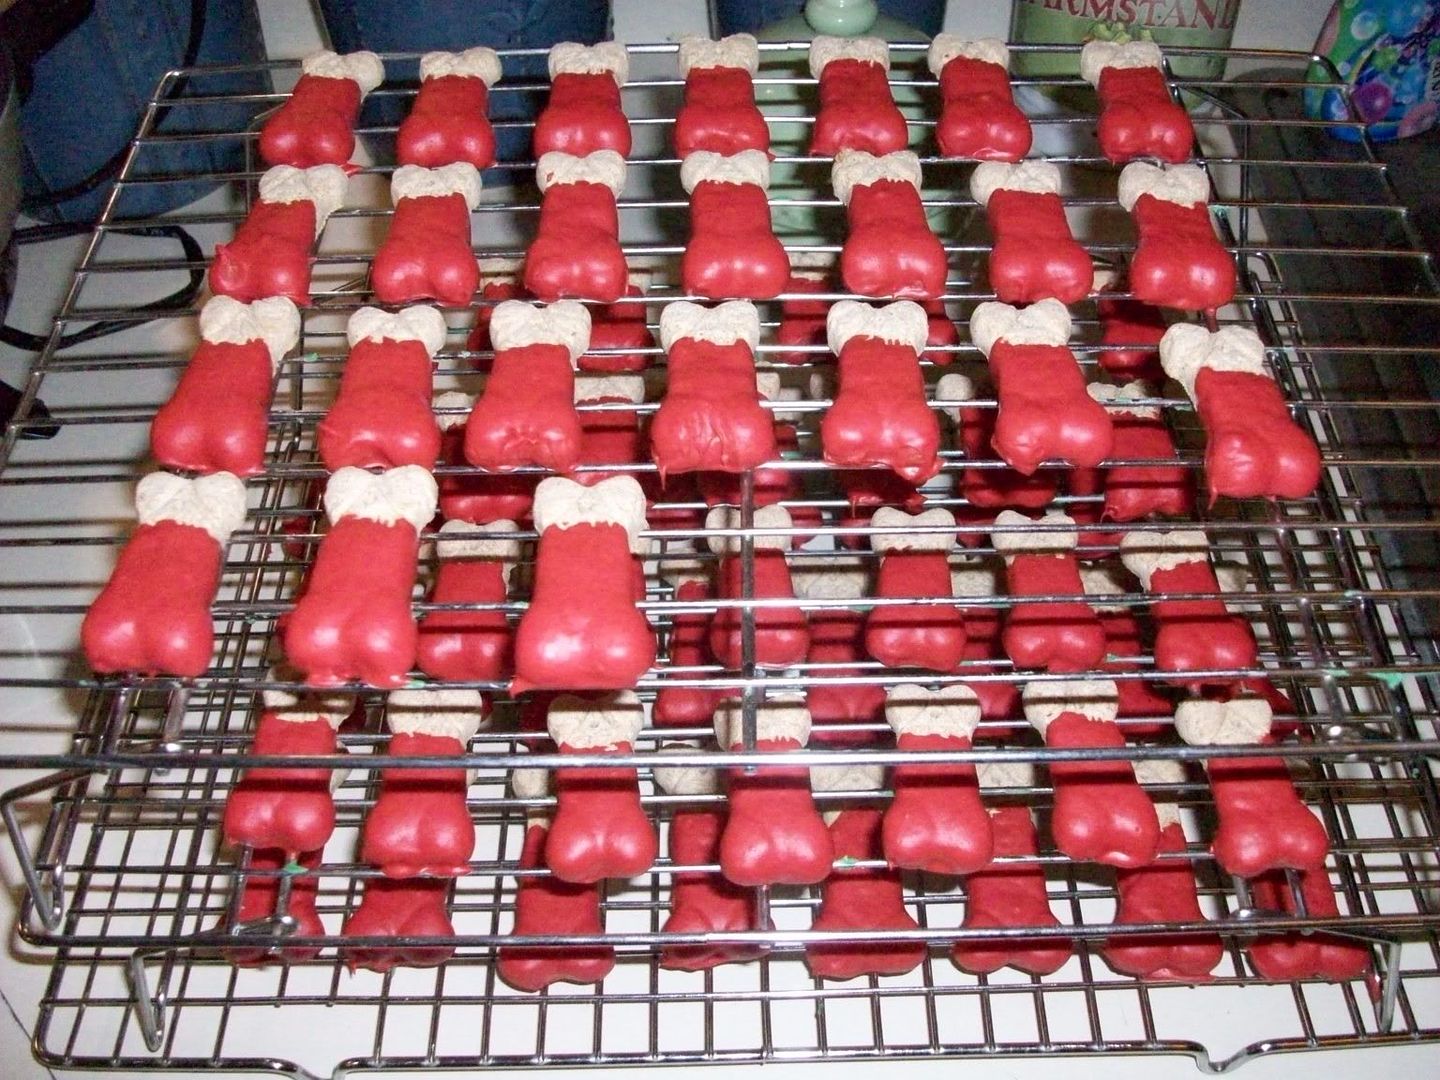
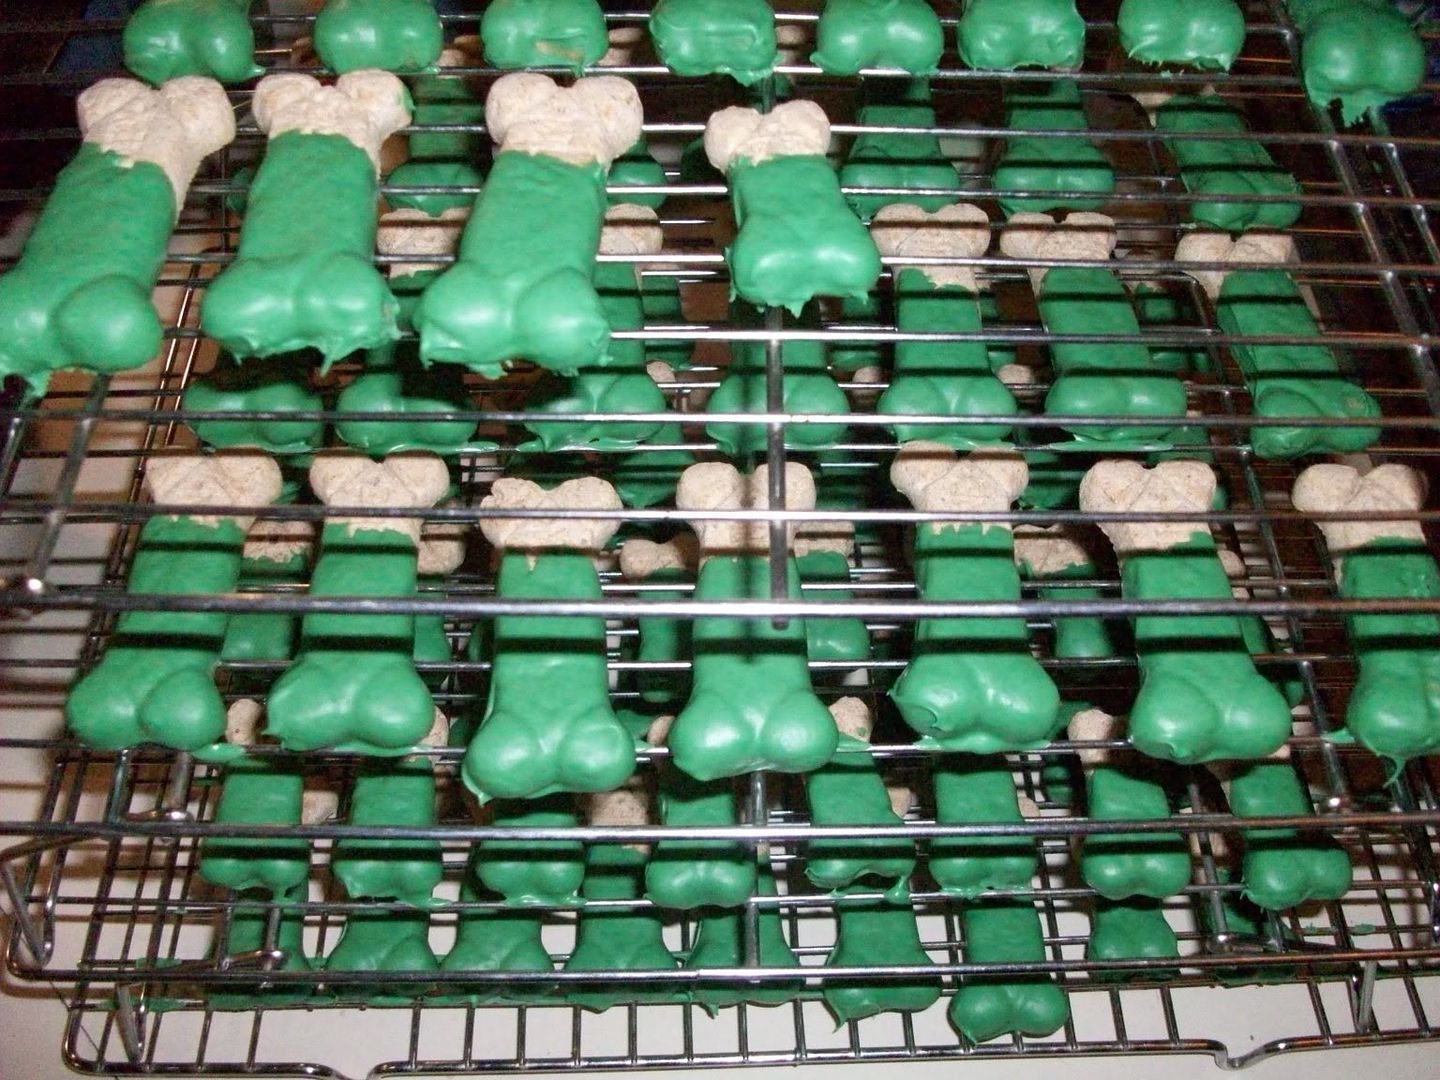
Now for the FUN part! Start dipping those bones! I like to only cover about half the bone with the candy but if you want to cover the entire thing go right ahead. I just stick the bone down into the candy melts and use a spoon to help get an even coating. If the coating is too thick just tap the bone gently with the spoon until you like they way it looks. Even my son Mike likes to help!


Put the bones on the racks to harden. I like to leave mine overnight so I will be back tomorrow to show you how to personalize the bones for any occasion! Then, the really cute homemade packaging idea!