Wednesday, December 31, 2008

Empty Prima or Frappacino Bottles

Do you have empty glass Prima flower bottles? What about those cute little Frappacino bottles? It is a shame to just toss them out even if you recycle. Why not turn them into super cute, super easy treat jars? Valentine's Day is coming and these would make great teacher, co-worker, troop leader gifts! Just use scraps and empty bottles then fill them with Hershey Kisses! In the example I used leftover Valentine paper, glitter paper, Valentine ribbon, and a couple of Prima Flowers!

First, gather your supplies and some coordinating craft paint. I like to paint my lids but if you like them silver then you can bypass this step. I used irridescent glitter on the Valentine bottle lid to add some shimmer!


Next, measure your bottle and cut a strip of patterned paper to fit. You can make this piece as wide as you like, personally I like to view the contents of the jar. Next, cut a label from a solid or a coordinating paper. On the example I machine stitched around the label to add interest. Don't need to do that though. Cut out your letters, this one reads "Kisses" and tie on a ribbon. I cut out a small tag for the To: From: and I added 2 Flowers. Ta Da! See, too easy. Fill the treat jar with kisses or other goodies and you are good to go!


You can't forget the Puppies!! I created this treat jar to hold Small Milkbone Dog Bones. Again, choose your papers, measure, cut and adhere! Voila! Everyone will LOVE their Treat Jars and you've recycled a cute little glass bottle! Have Fun!


Sunday, December 28, 2008

MyScrapChick

I hope everyone had a fabulous Christmas! I am SO lucky because I am off work until January 5, 2009! I have decided to convert my garage into my very own work space so that is what I will be doing for all those days! I will post pics if things work the way I invision.

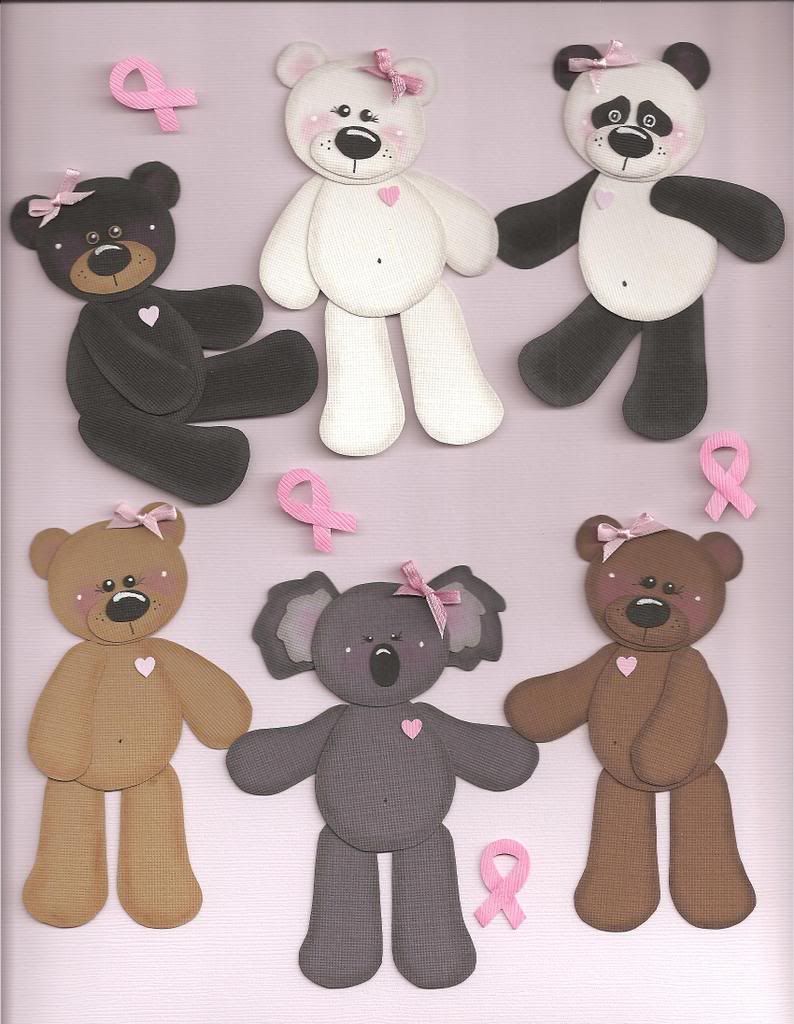
Have any of you ever seen these paper piecing patterns? If you are a scrapbooker, card maker or paper crafter you HAVE to check these out! Below is just one of the many different cds to choose from! The newest is Fairy Bears! To Die For!


So cute! Not only can you size and print out the patterns to cut out the old fashioned way (LOL!!) but they come in all sorts of file formats to be used with all the various electronic cutters! I will admit that I am not the most tech-savy but I do have a Gazelle and I do plan on trying these. I've printed the patterns and used them that way, they are SO stinking cute! I am a BIG fan! Check them out on their website www.myscrapchick.com or search on Ebay! Have Fun!


See Mine? Cute, huh? You know you want 'em!

Tuesday, December 23, 2008

NeverEnding Cards


I've been trying to find a pattern for a Neverending Card for forever! When I couldn't find a pattern I decided that I would just purchase one on Ebay. Well, I've watched probably 8 auctions and missed everyone! Something has come up or I have just plain forgotten that I was watching it, etc. but for whatever reason I've never gotten one. Last week I went to a crop with a group of stampers and there was a sweet lady there with one. She shared the instructions with me and OMG! what fun! I would have NEVER figured it out just having purchased one. I will be trying more details over the Christmas break like inking, stitching and maybe the use of brads. I know that you can't use much dimension or the card will not flip over and over again but I will experiment and let you know!

Monday, December 22, 2008

BRRR!! It's COLD outside and there's SNOW!!

In my 40 years I've never seen SNOW. Not really, not here! My mother said it snowed heavily when I was about 2 years old but I do not remember it. I remember in college in the late 1980's that there was enough ice that Sam Houston closed down for a couple of days but that is it.

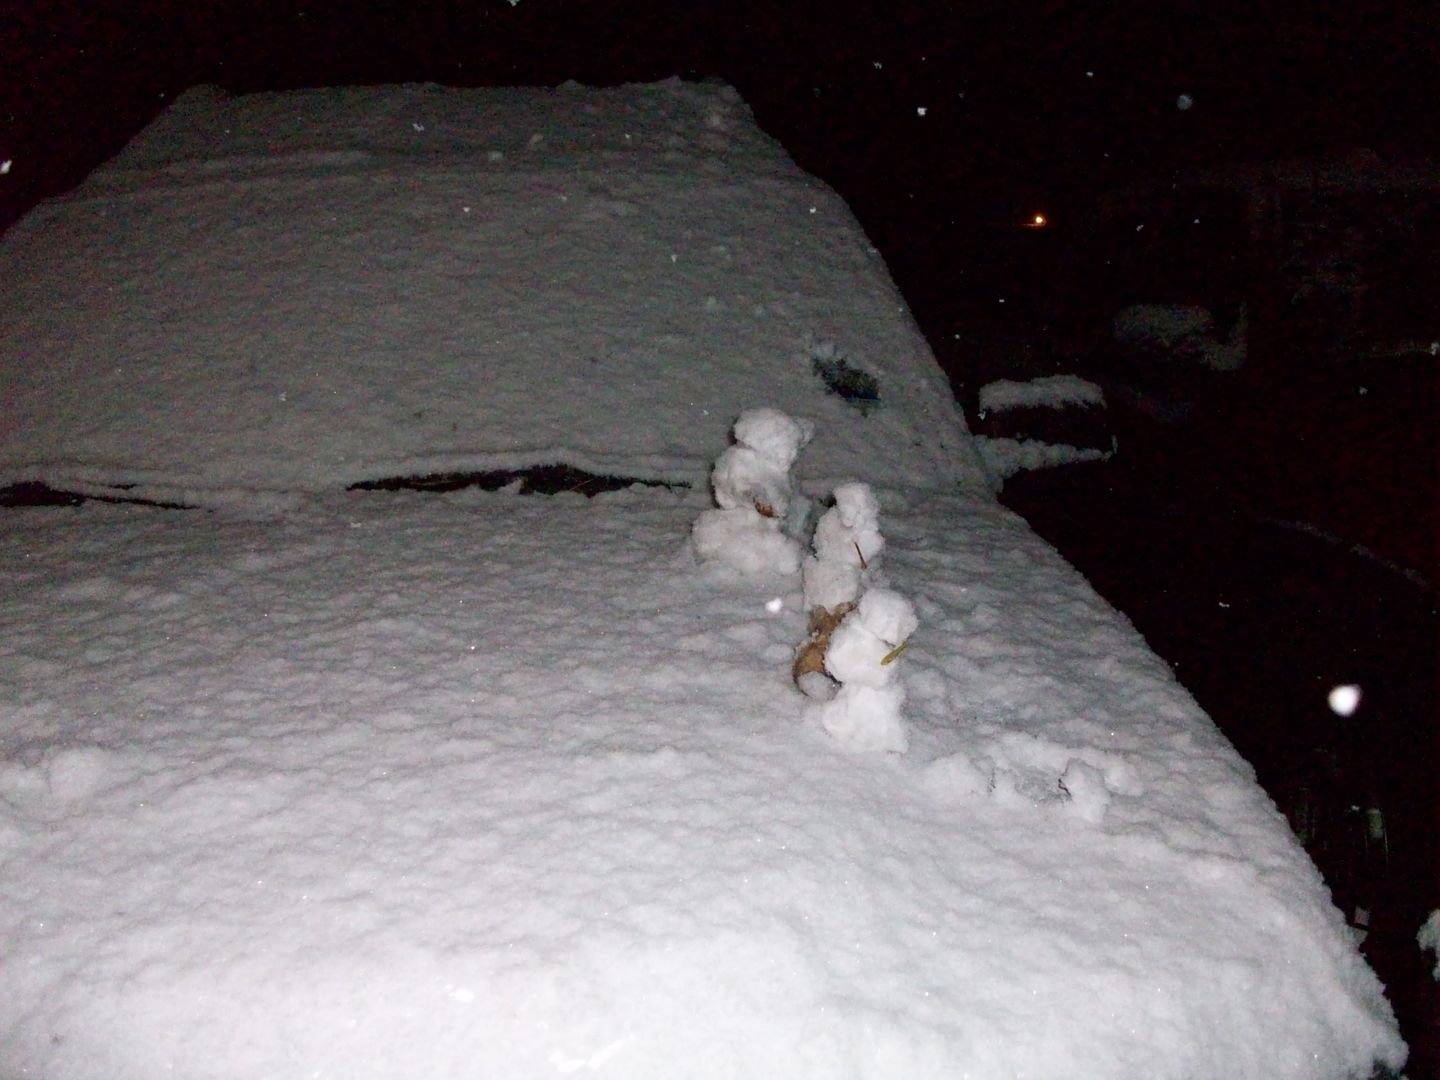
On my way down the hall to a meeting I glanced out the window and it was SNOWING! HERE! Snow is so pretty! The temperatures have been in the 60's so the ground was much too warm for any accummulation but there was a nice dusting on the plants and the cars!


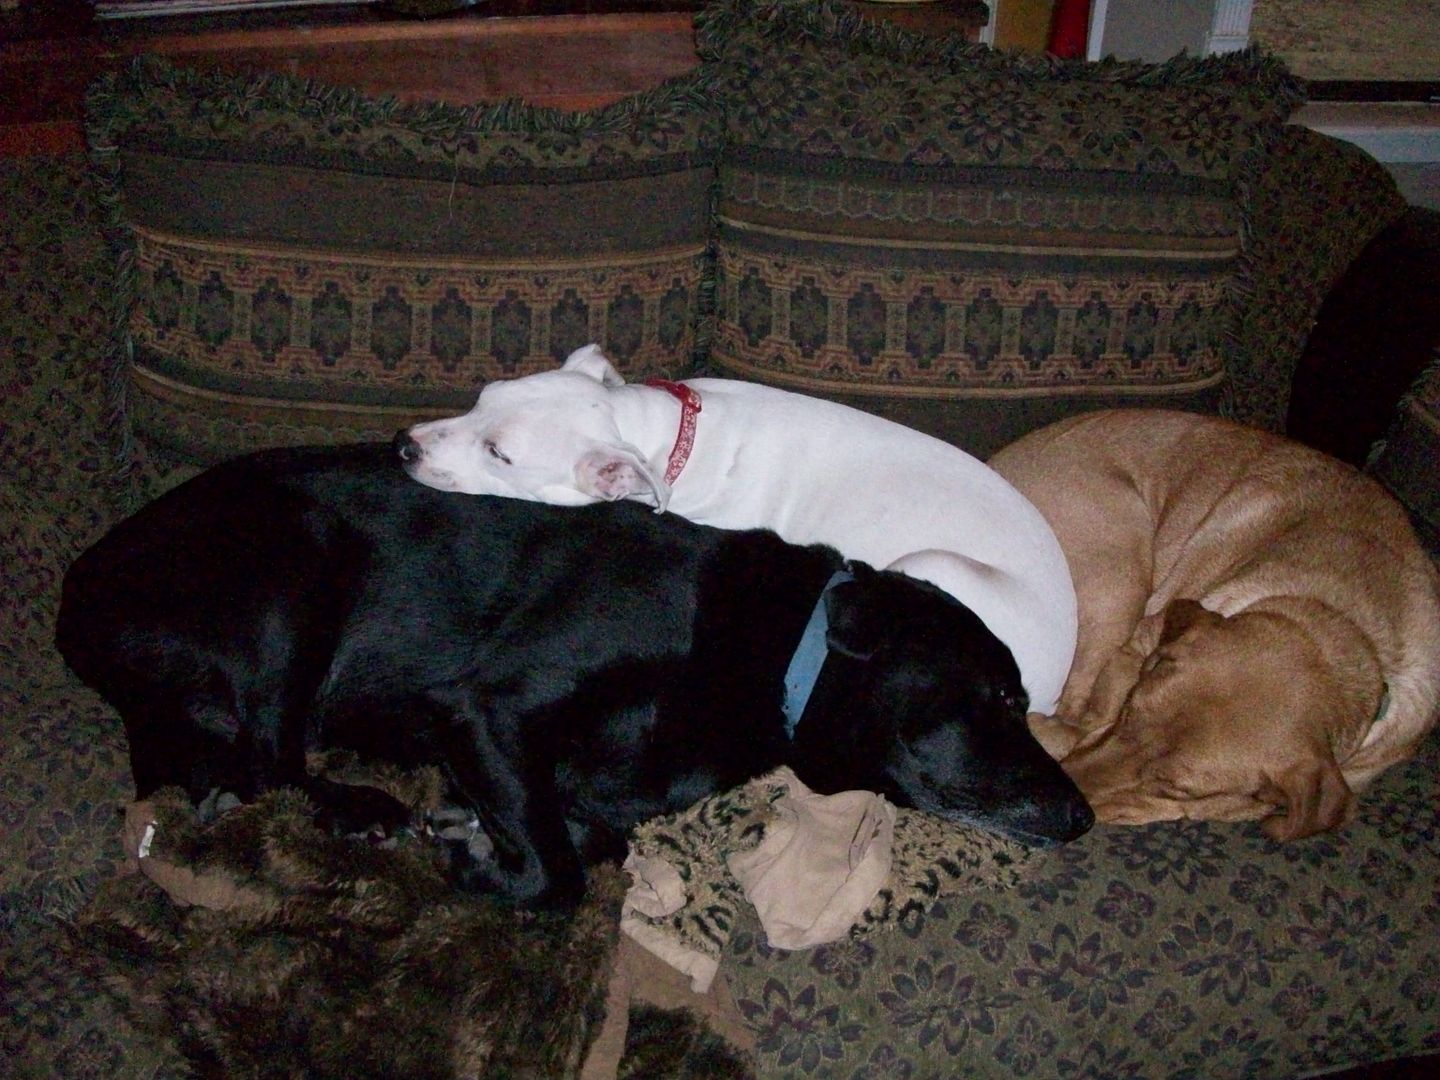
It was all gone by the morning and the tempuratures where once again in the 60's and 70's, right where we are supposed to be this time of year. The weather has been strange. Hot then cold and back again, like this morning. It is 30 degrees today! Ouch! 3 of my dogs decided it was cold enough to snuggle so I grabbed the camera to catch the pile up! LOL Beau, Emery and Allie on the couch trying to keep each other warm!

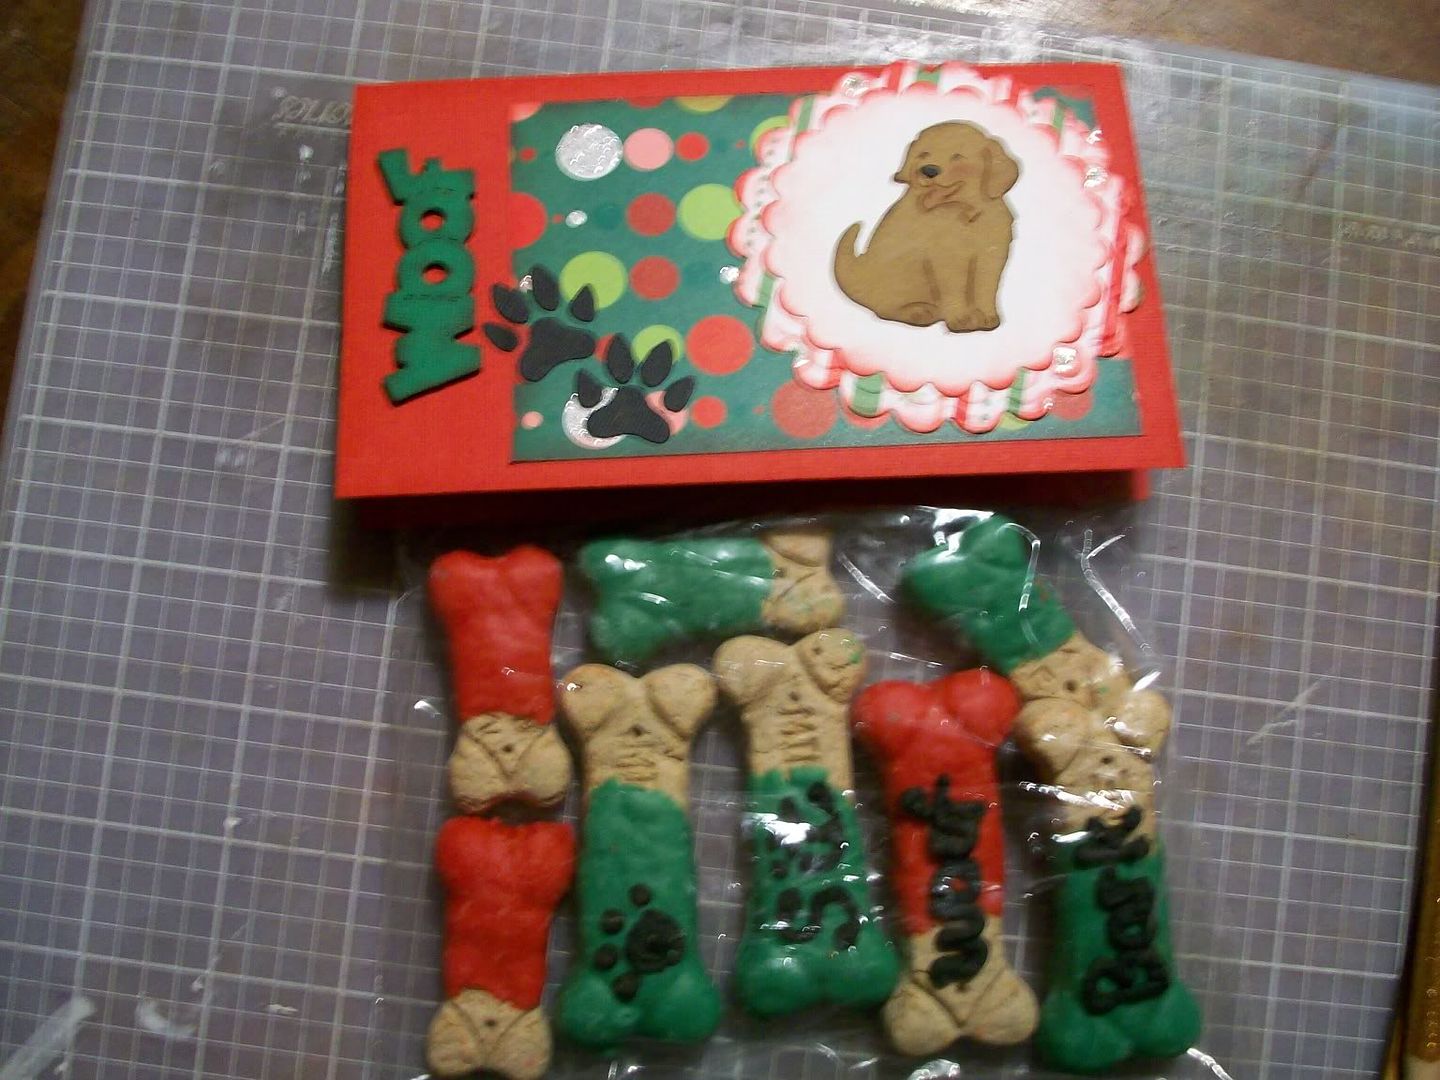
Treat Topper

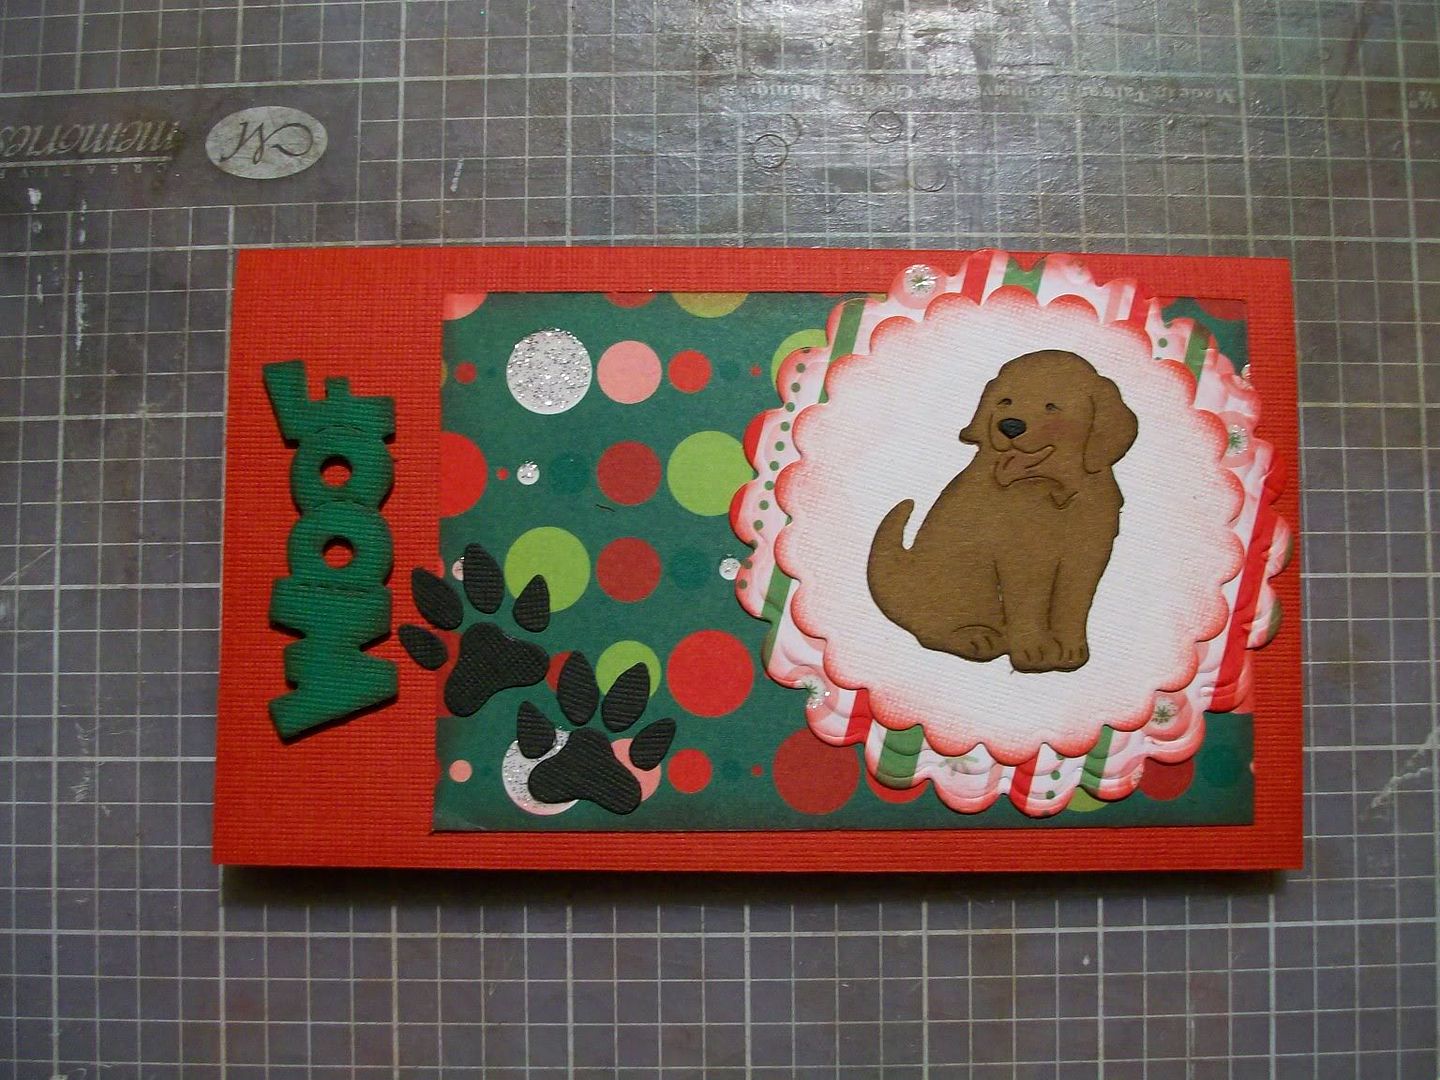
This is a quick easy way to create packaging for cookies, candy, little treats or toys to give as gifts. The package itself is a sandwich size ziplock baggie. You could also use a snack size baggie for smaller items but you will need to adjust the size of your paper topper so that it does not overwhelm your package.

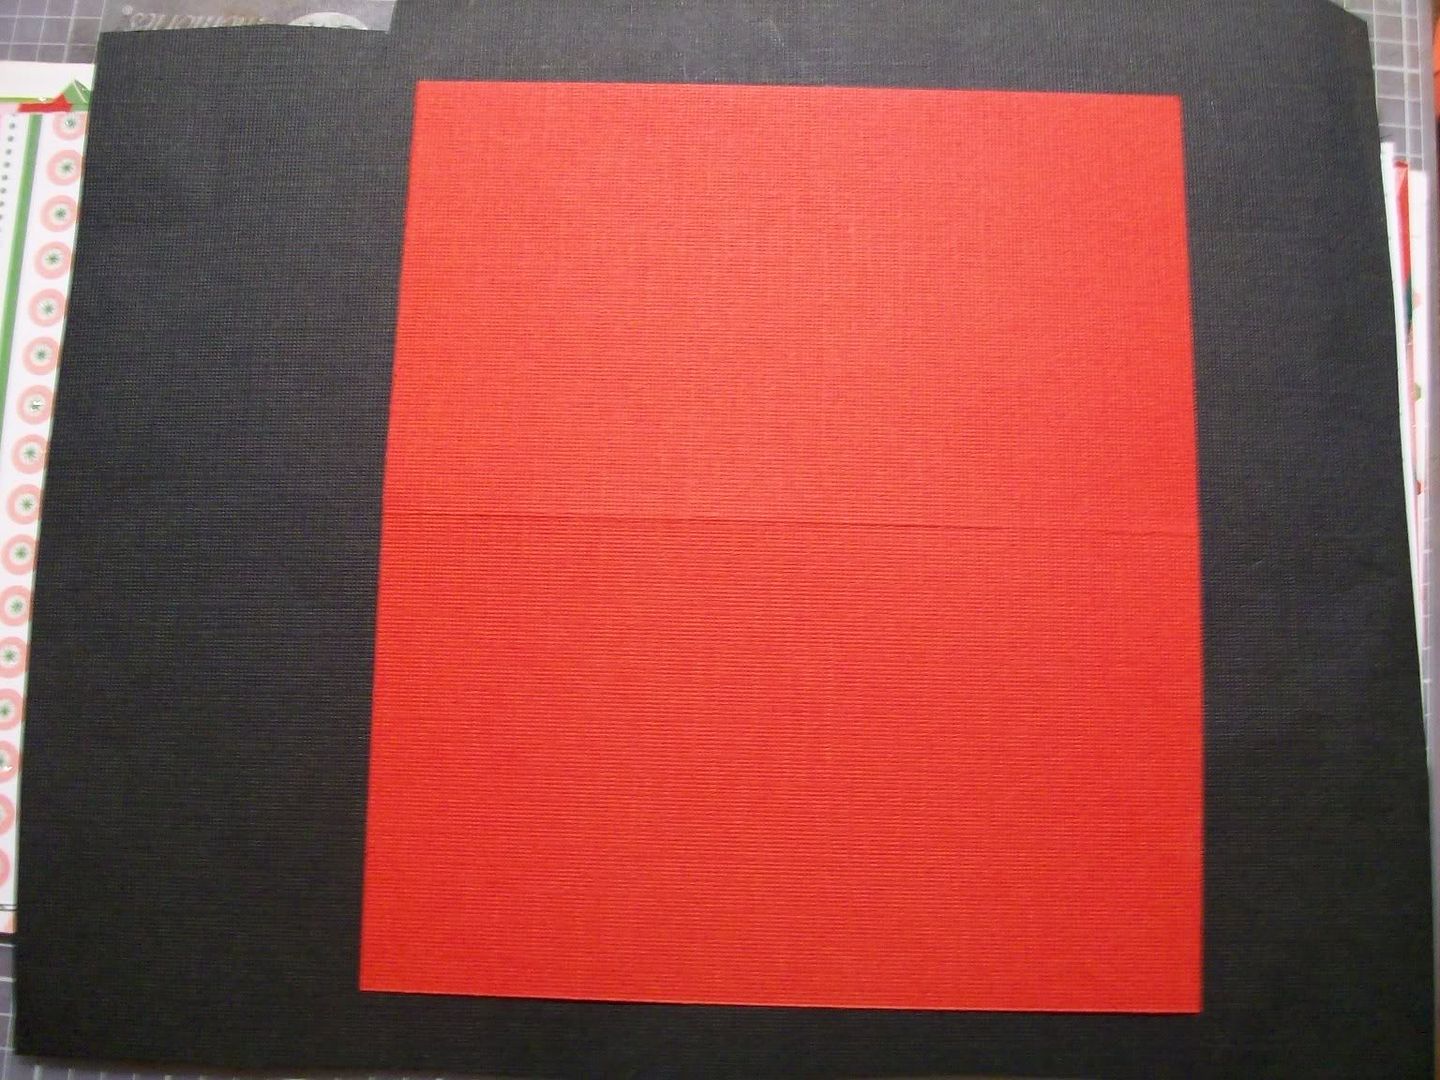
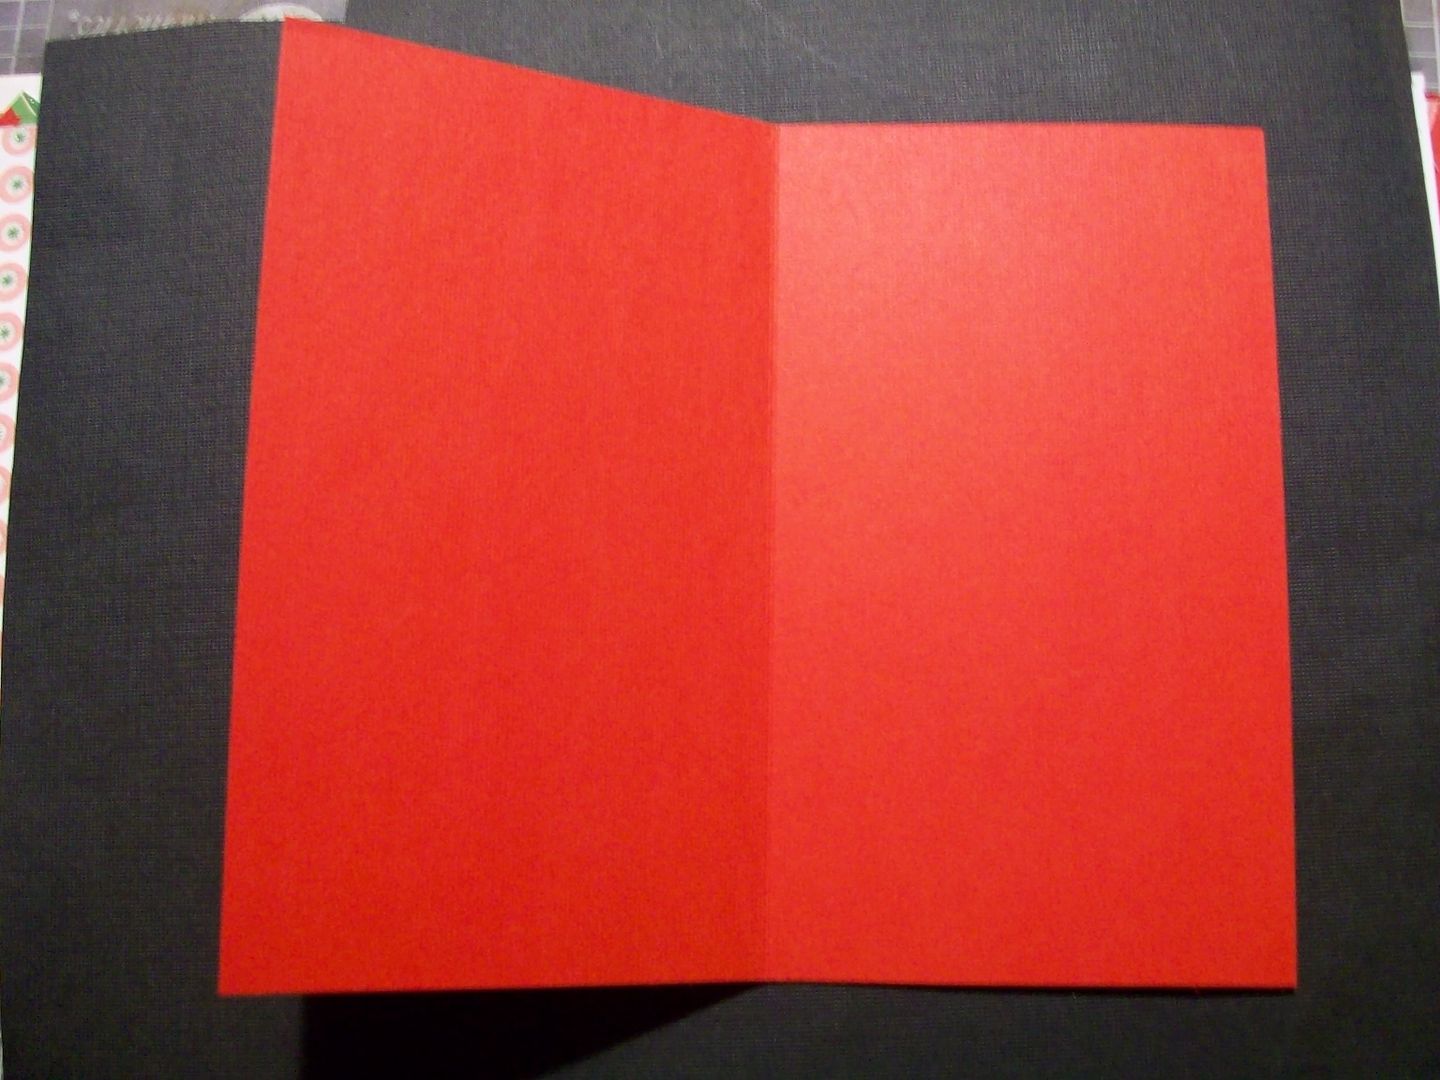
I started with a solid red piece of textured cardstock cut in a 7" x 7" square. I scored the paper in the middle (3.5") to fold.


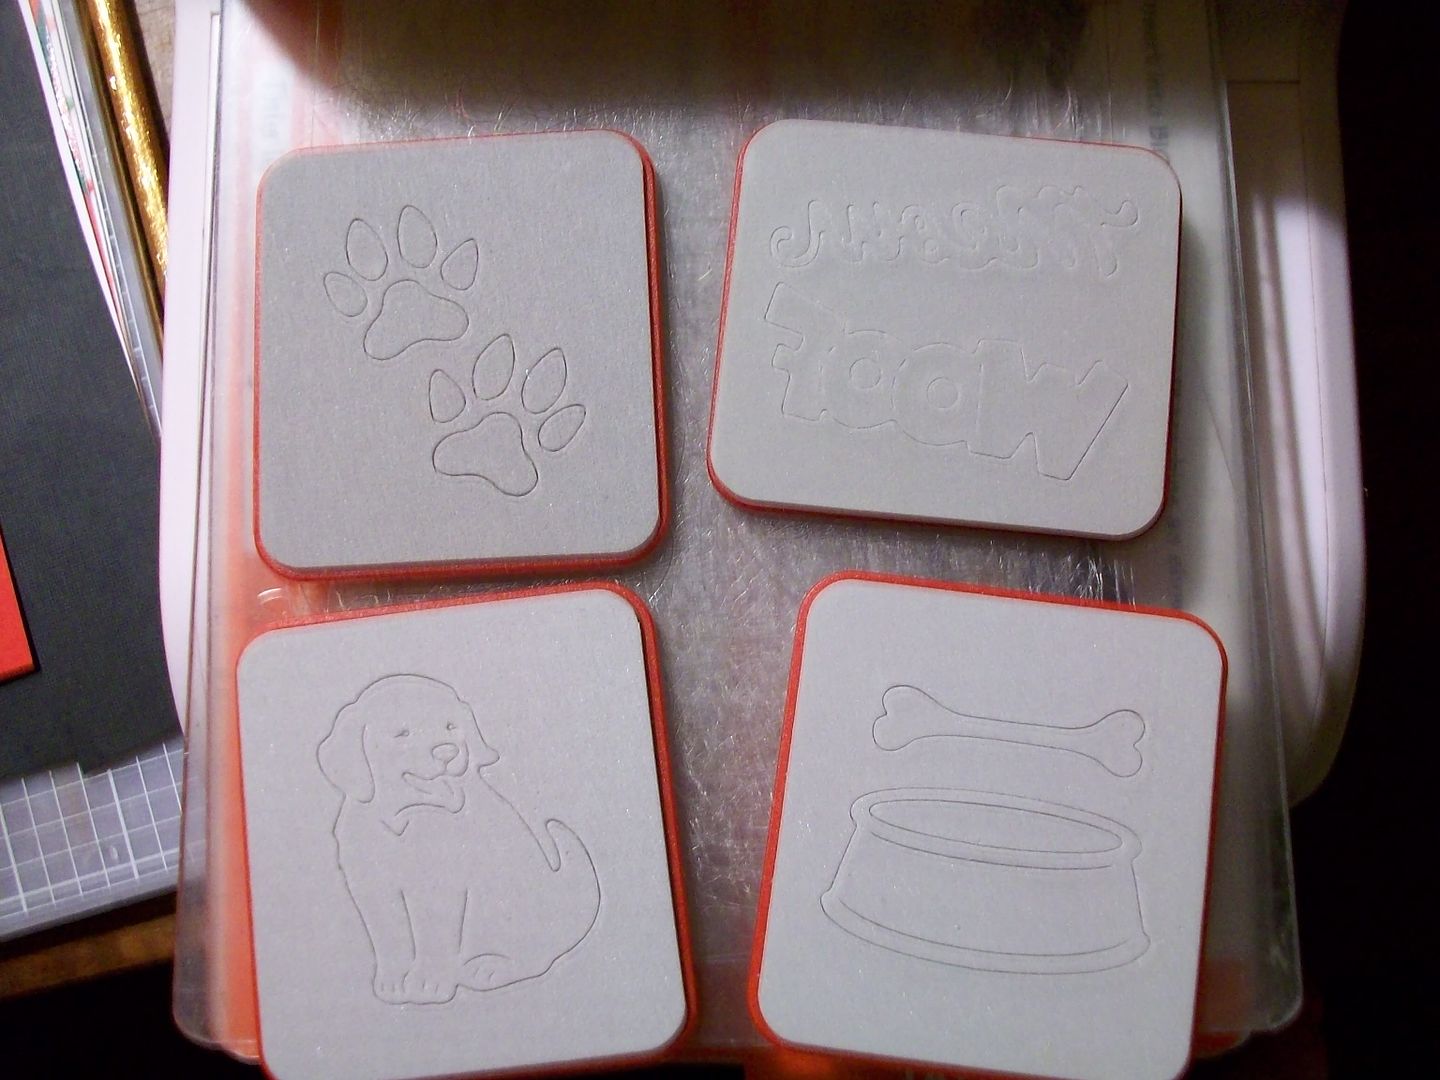
I used these dog themed Sizzix Sizzlets dies to decorate the topper. I cut the pieces out of different colored textured cardstock, pieced the dog's nose and inked the edges of all the pieces.


I also used 2 different patterned papers from last seasons DCWV Christmas Glitter Stack. The green patterned paper I cut 5" x 2 3/4" to leave a slight border around the 3 sides and a 2" border on the left for the word WOOF. I used SpellBinder Lg nesting scalloped circle dies in two different sizes to create the mat for the dog. I inked the edges of all. I used pop dots under the word WOOF and under the scalloped circles to add dimension.


Now, fill your ziplock with your goodies and close. Place the topper over the baggie and postion where you like. Use staples to complete and secure the topper to your baggie. How cute and how simple! Have fun! =)

Wednesday, December 17, 2008

Personalize those Dog Bones

Here are a couple of pictures of the Dog Bones after I used the black icing to personalize them. I wrote Names, Commands and drew little Paw Prints on the bones. Everyone will get 1 bone with their name on it then a handful of others, come with the icing and some without! Just have fun with it! A tip with a smaller hole would have worked better but those are packed away in the attic along with all my non-essential baking items. =(

I always leave these out for a few hours so the icing will harden up and not smear onto the other bones or the packaging.


Monday, December 15, 2008

Candy Melts Dipped Dog Bones

Every Christmas my dogs give other dogs gifts. This year they are giving all of their furry friends Dipped Dog Bones in a super cute and easy paper crafting package. I thought I would share the process in case you needed to get some dog gifts together before Christmas.

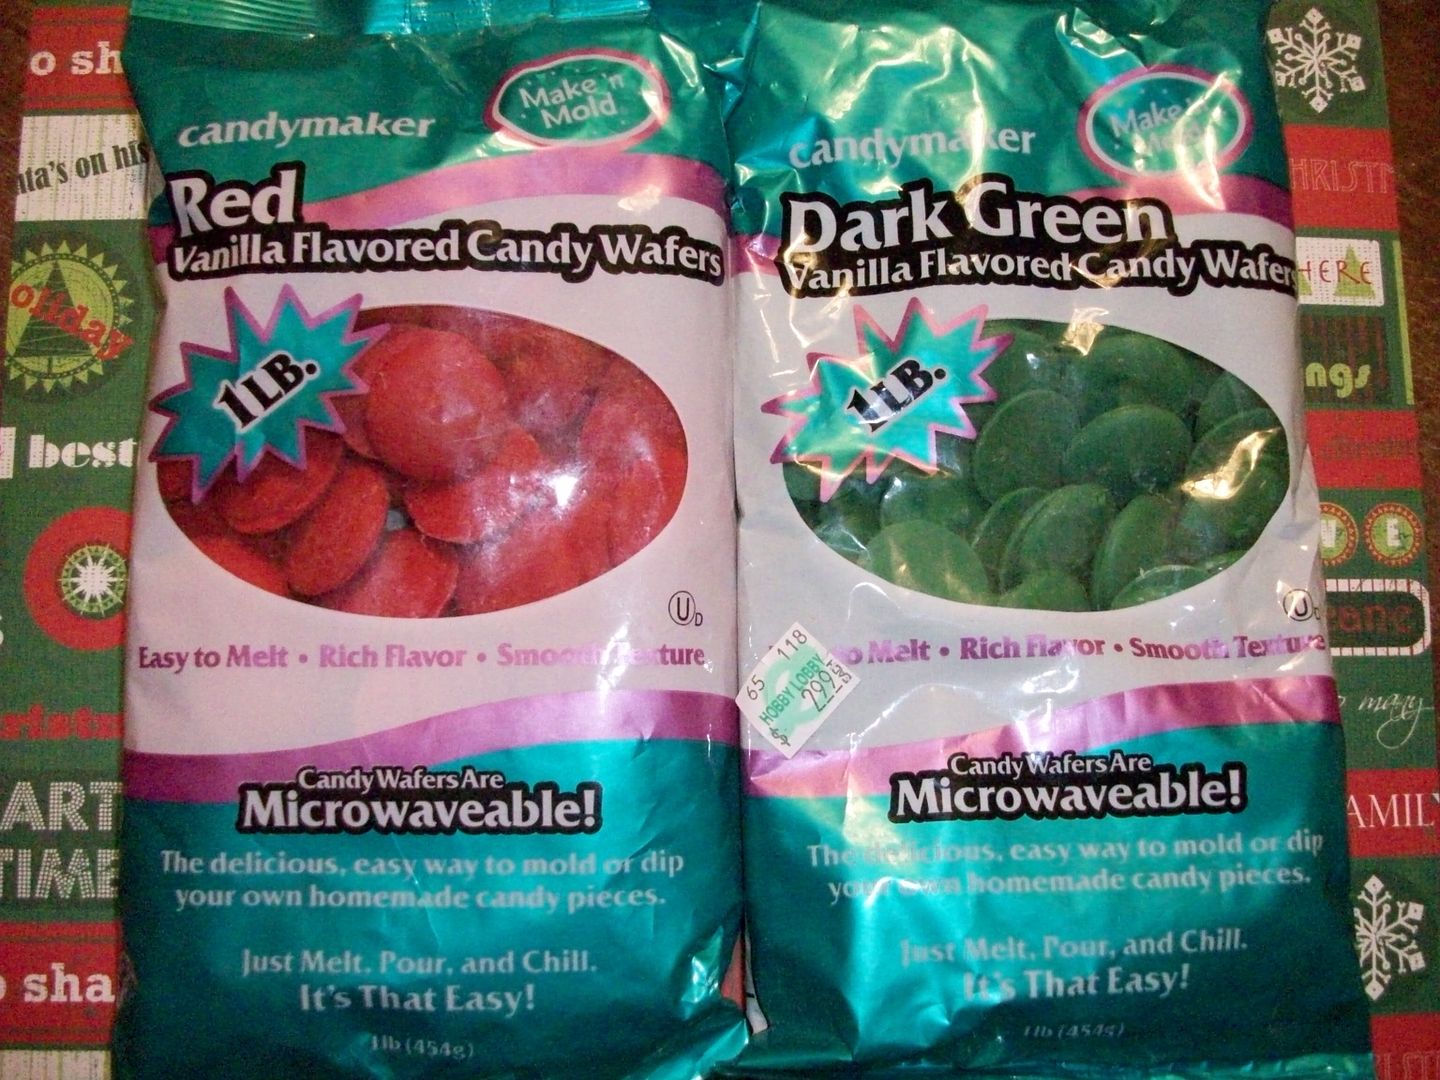
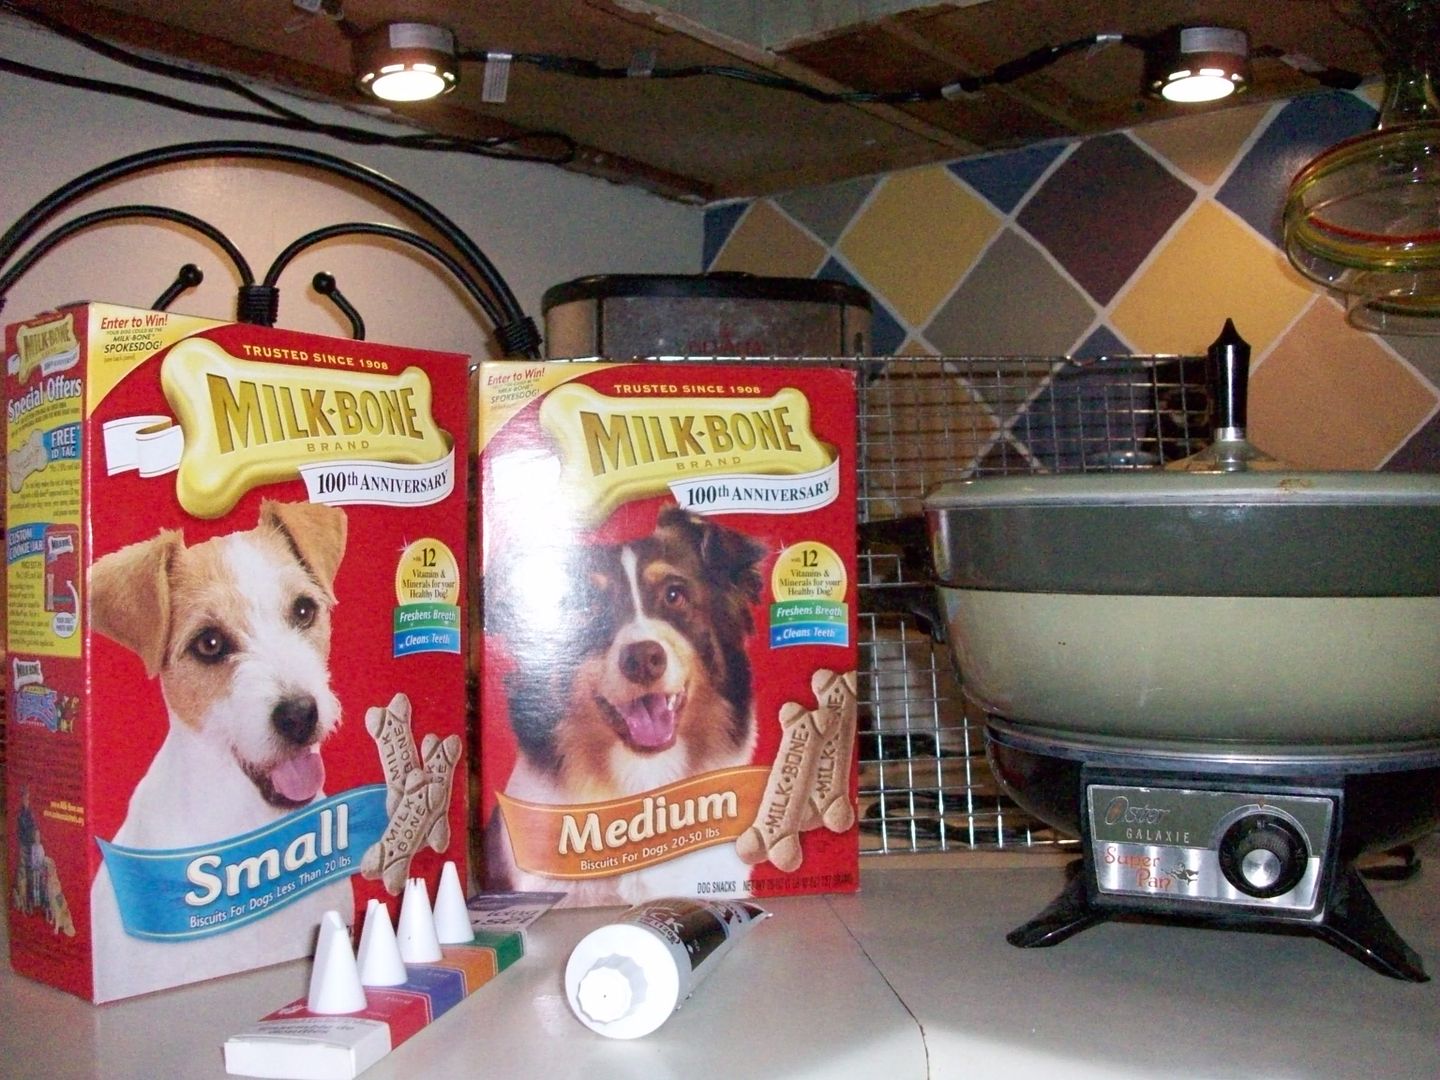
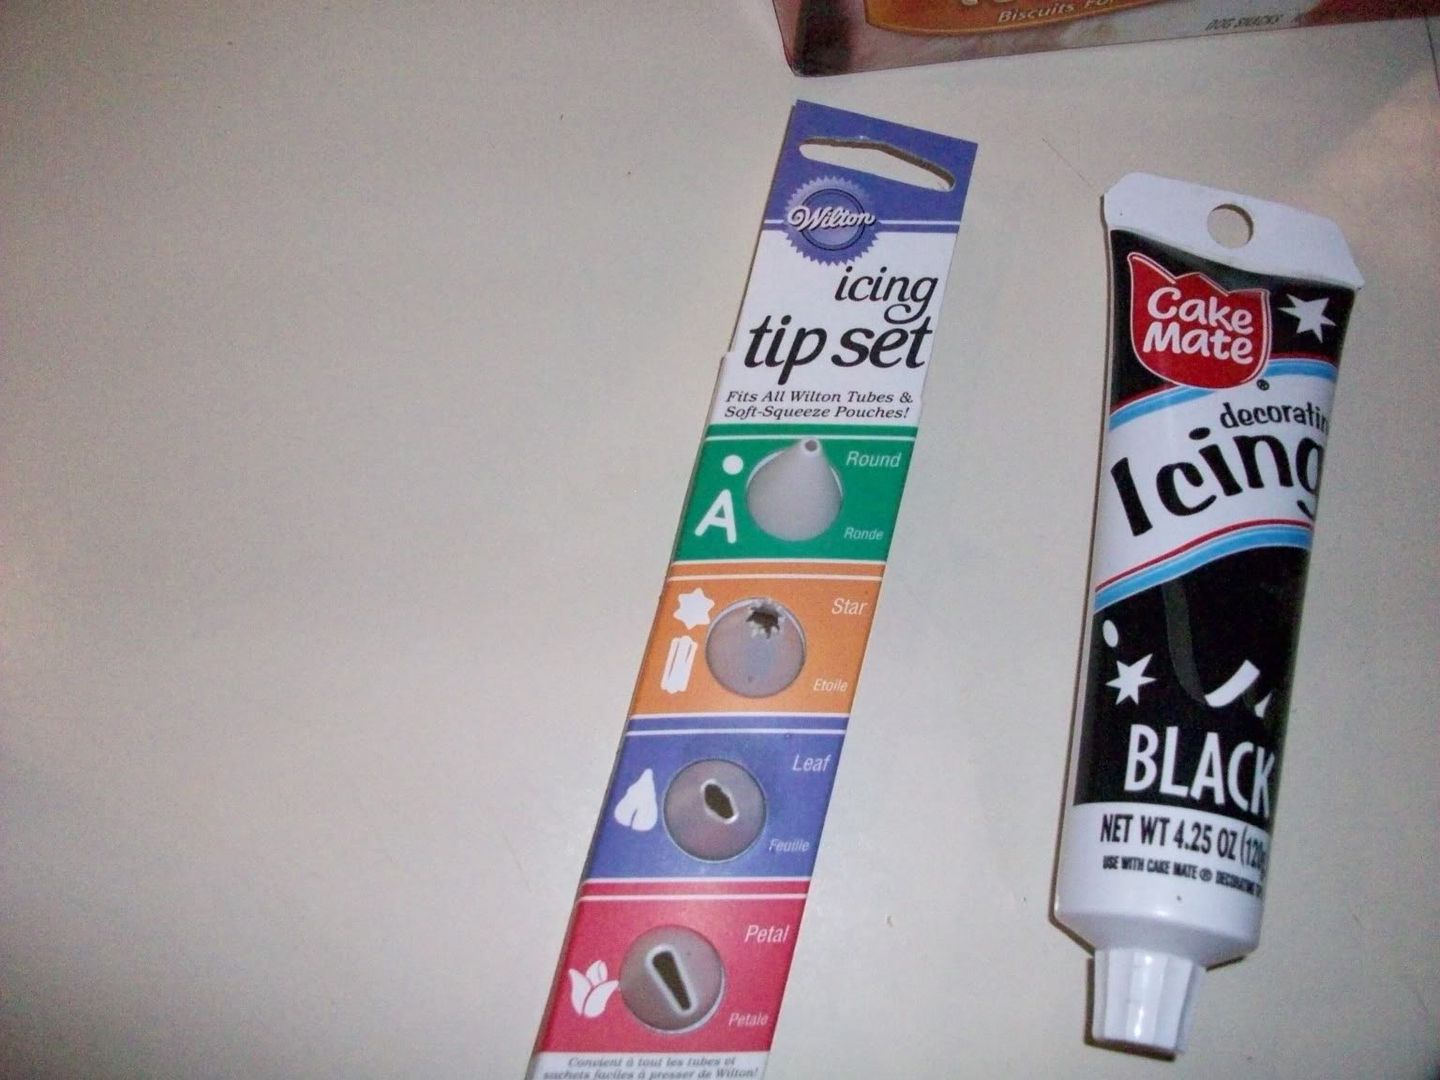
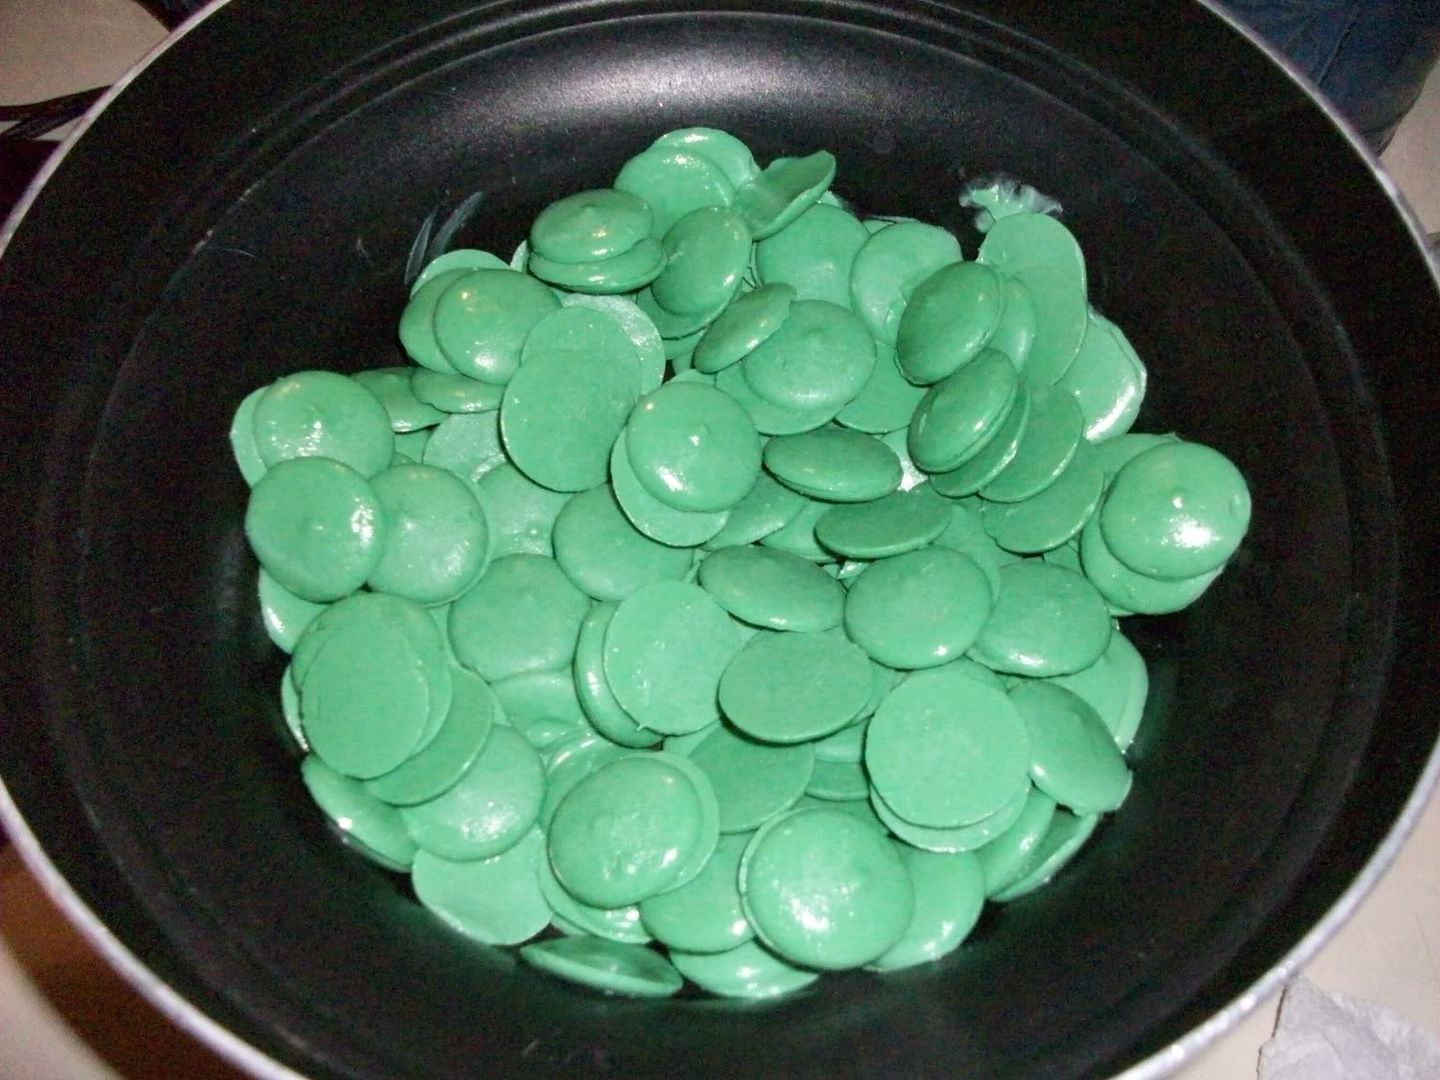
First, gather your supplies/ingredients. Dog bones, colored candy melts, icing and tips, cooling/drying racks, fondue pot or two nesting pots to create a water bath.


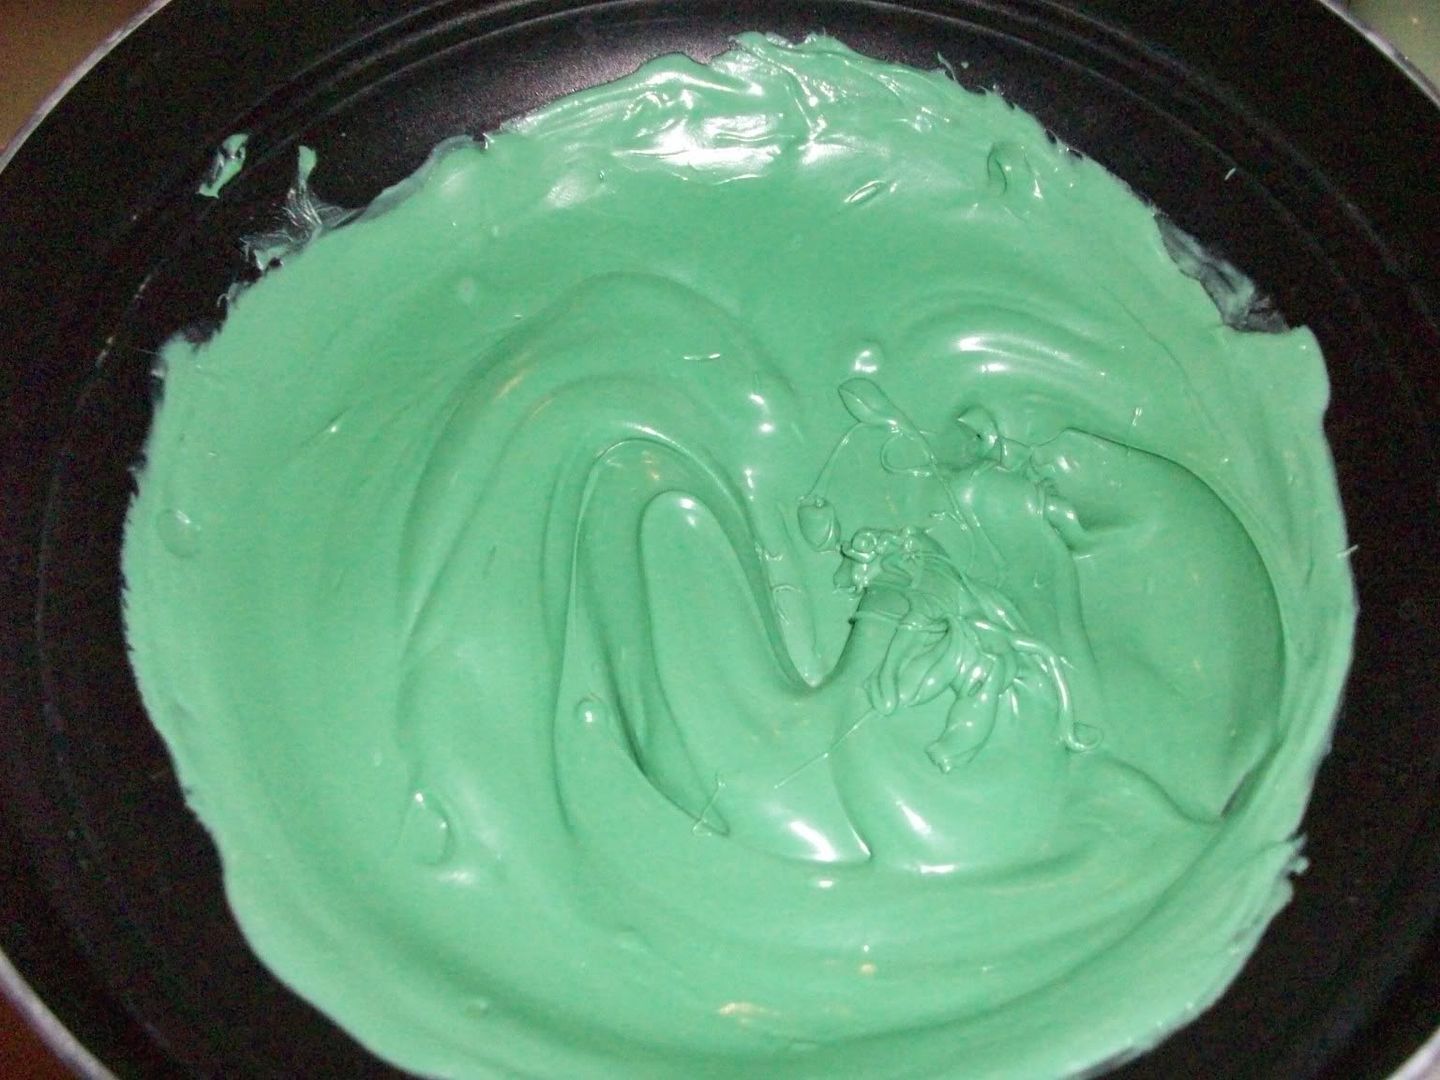
Once your water is boiling and your top pot is nice and warm, pour in the candy melts. They are really soft and take very little time to melt. Stir until smooth.


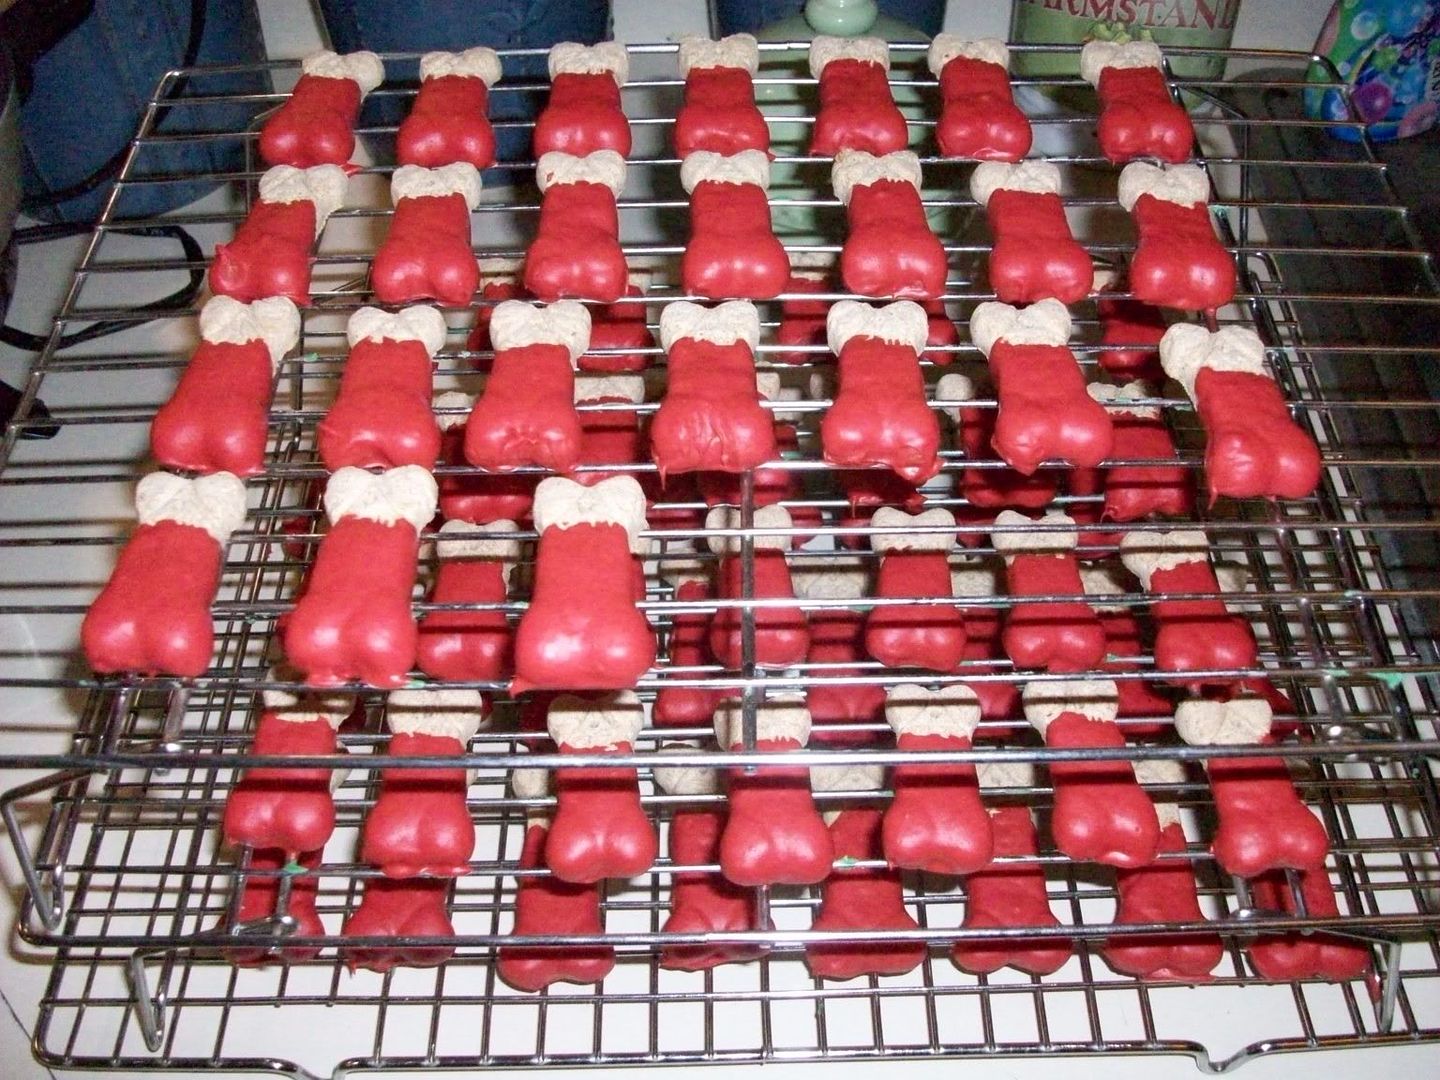
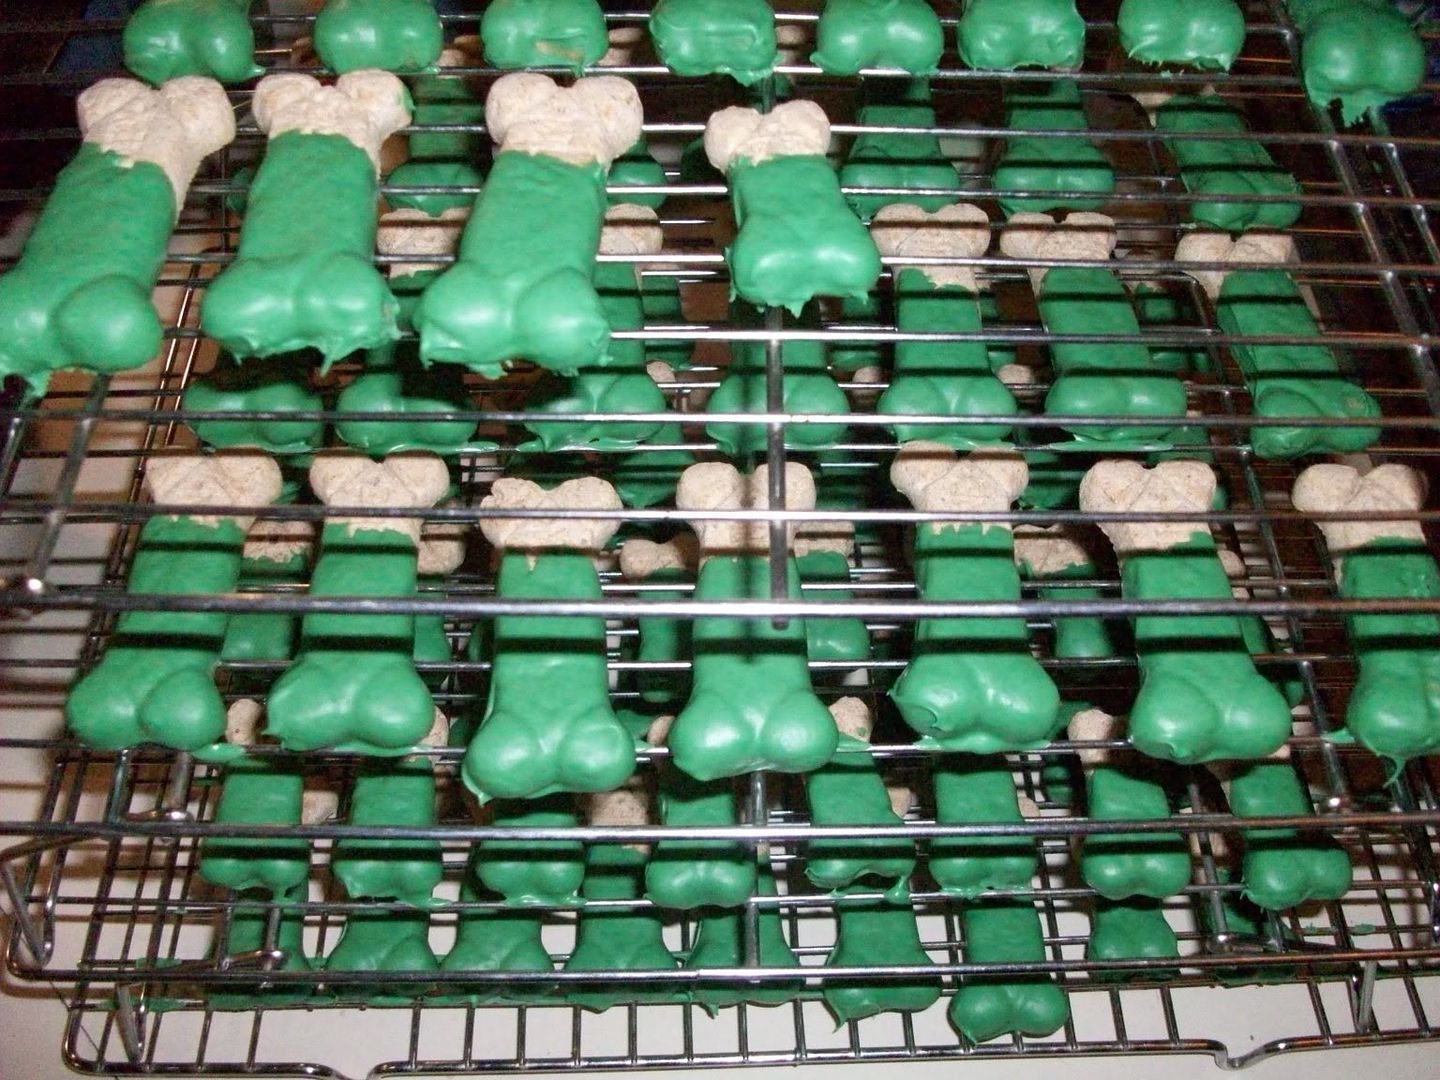
Now for the FUN part! Start dipping those bones! I like to only cover about half the bone with the candy but if you want to cover the entire thing go right ahead. I just stick the bone down into the candy melts and use a spoon to help get an even coating. If the coating is too thick just tap the bone gently with the spoon until you like they way it looks. Even my son Mike likes to help!


Put the bones on the racks to harden. I like to leave mine overnight so I will be back tomorrow to show you how to personalize the bones for any occasion! Then, the really cute homemade packaging idea!