I was at Michael's the other day and had to wait in line. That is always bad for me because they put all that extra stuff near the register just for ME. I have time to stand there and think of things that I could do with it so I get it...well, I got home with several of those $1.00 purse calendars for 2009-2010. There was one with a dog on it and that is what really caught my eye but I didn't love the overall look. So, I changed it. Super simple to do and you could most likely use your scraps.
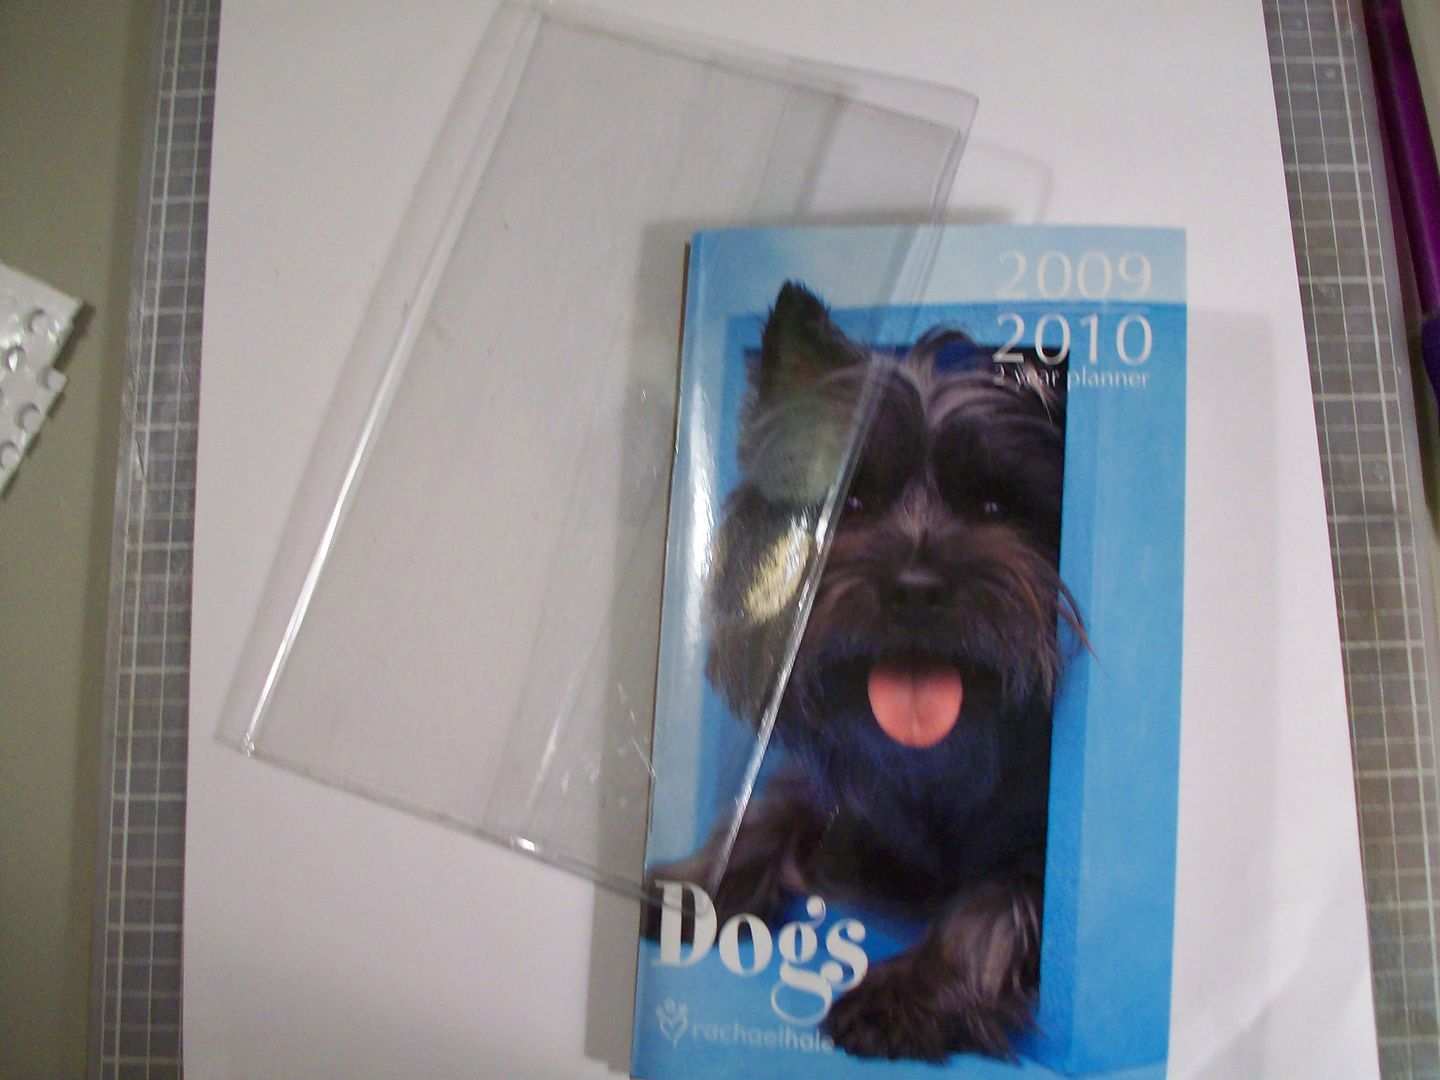
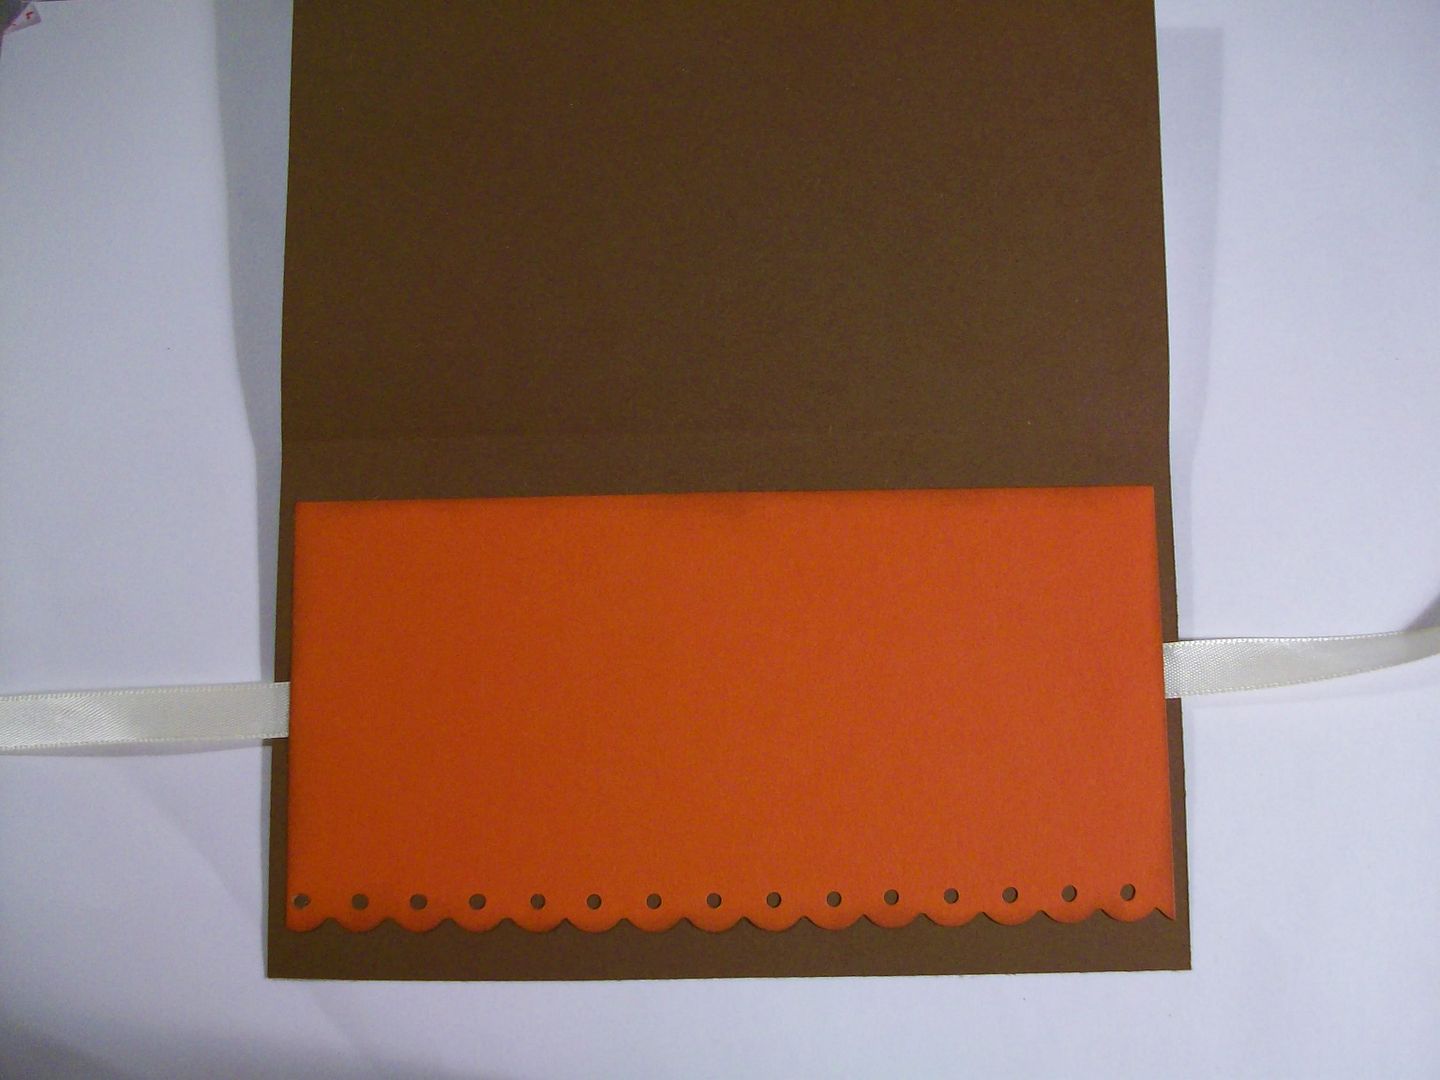
The following measurements are for the calendar I bought and may not be applicable for what you have/may find. First carefully take the calendar out of the protective plastic sleeve. Measure to make sure my numbers match or make your necessary adjustments. For mine I cut a piece of chocolate chip cardstock 7 9/16 x 6 7/16. I cut a piece of rust paper 6 1/8 x 3 1/8 then cut the long side with a scallop border punch. I cut a 2 1/4 x 2 1/4 off white square and a 13" piece of off white satin ribbon (cut in half). Heat set your ribbon edges with a quick swipe through a lighter flame. No glue mess and no FRAY! This is a good time to ink your edges if you like that look.
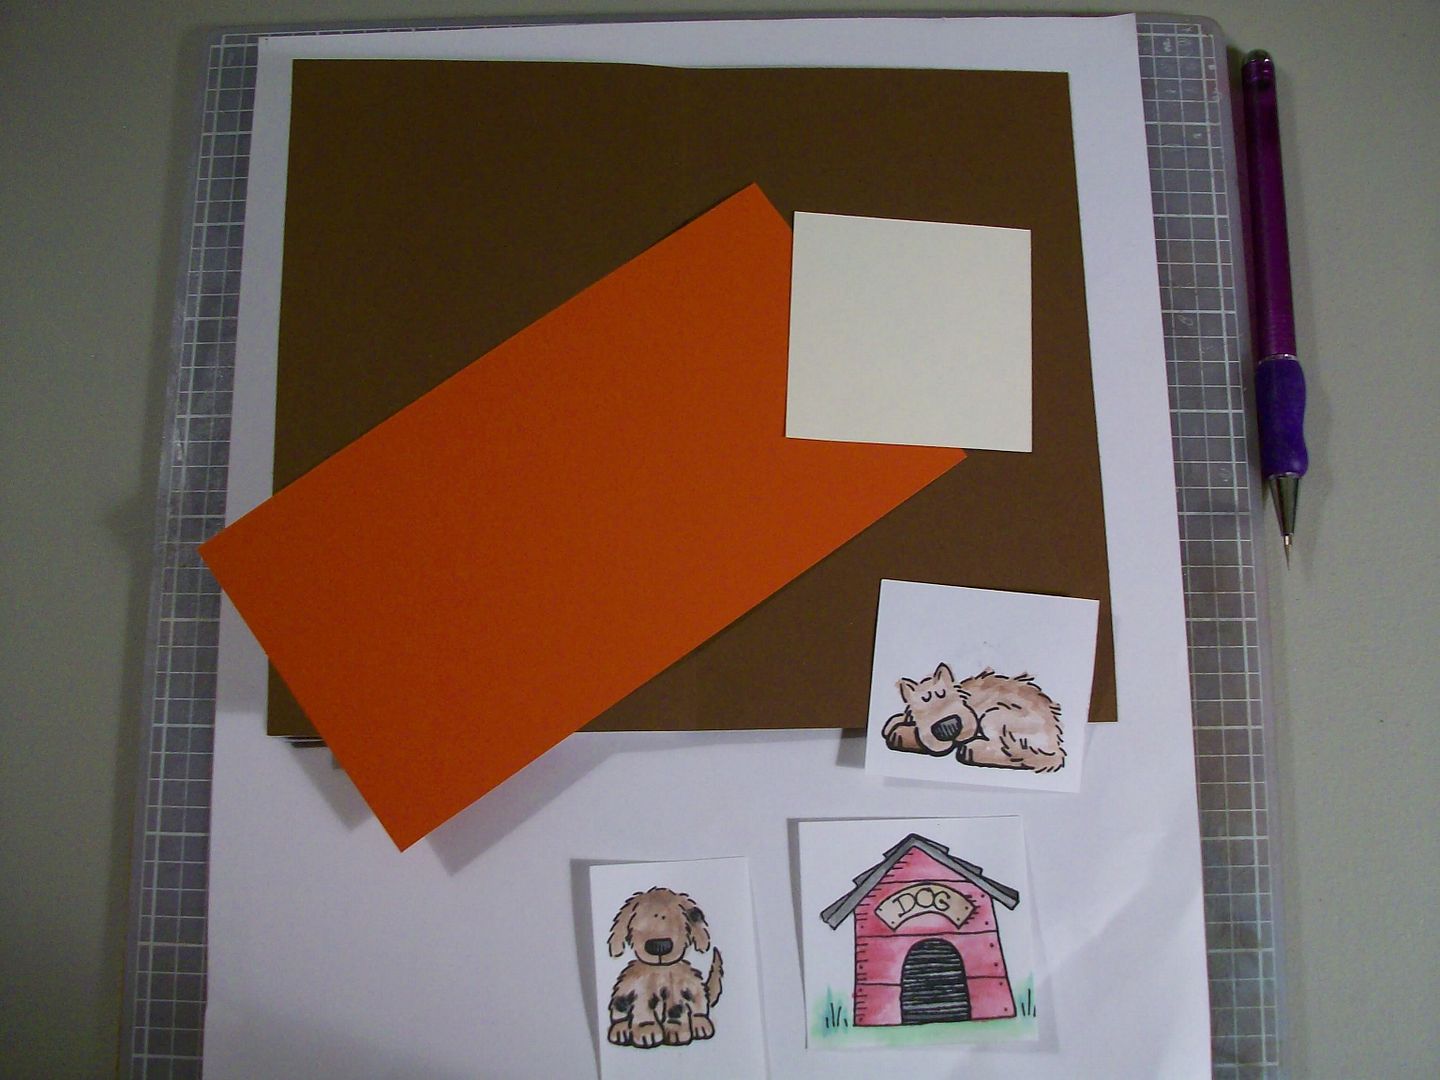
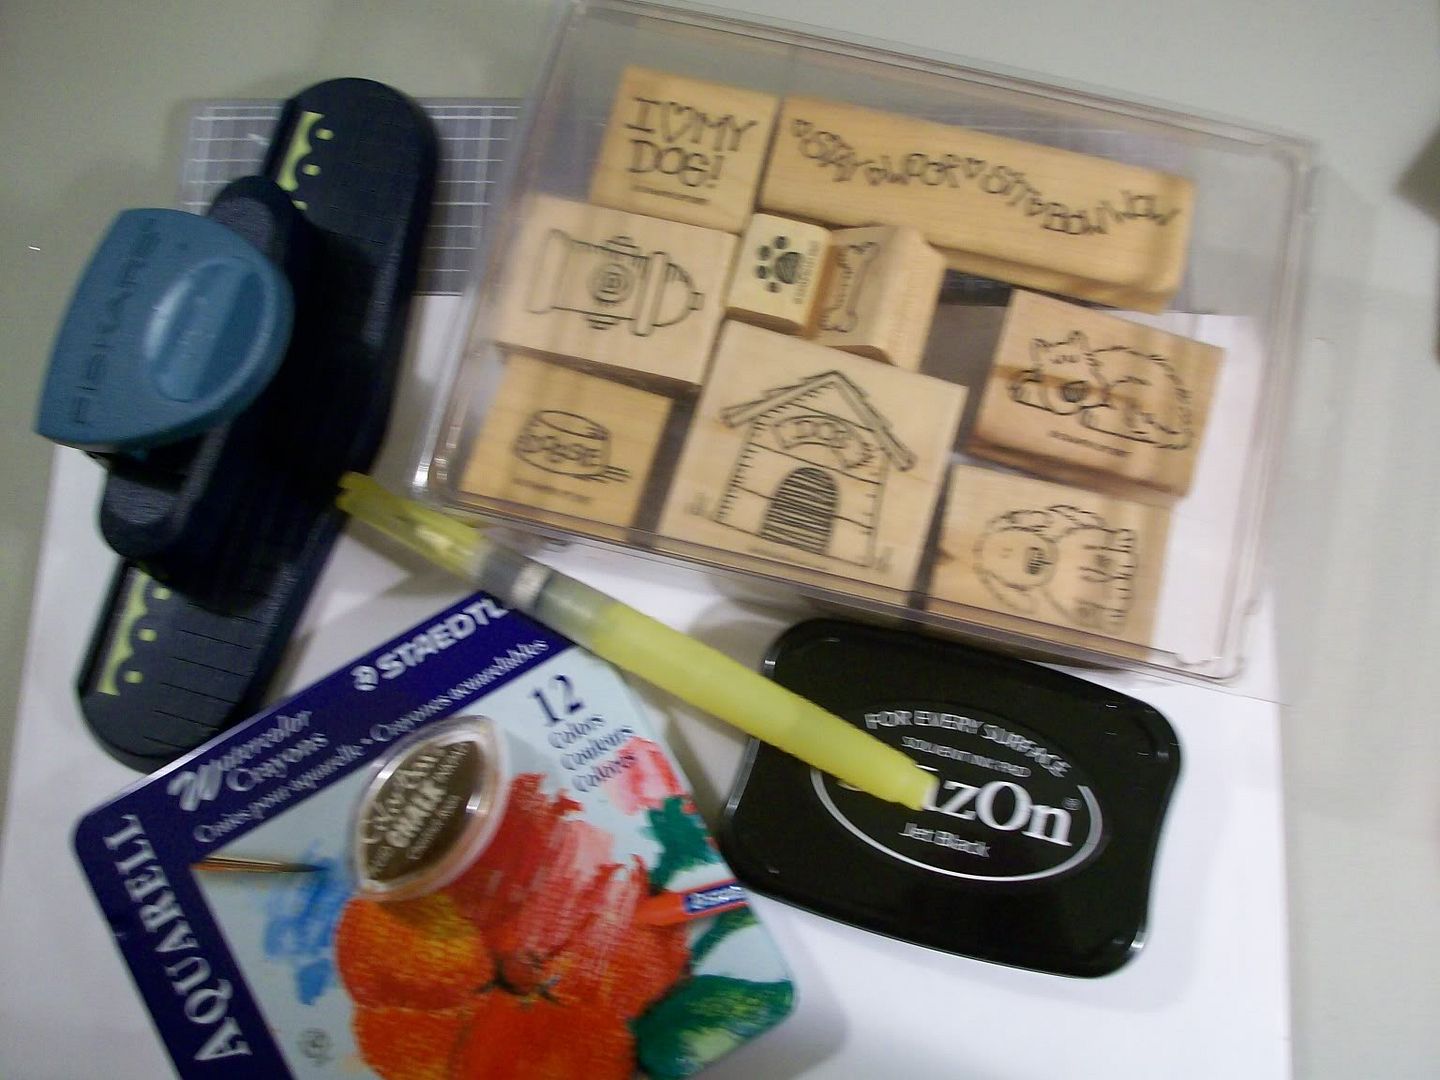
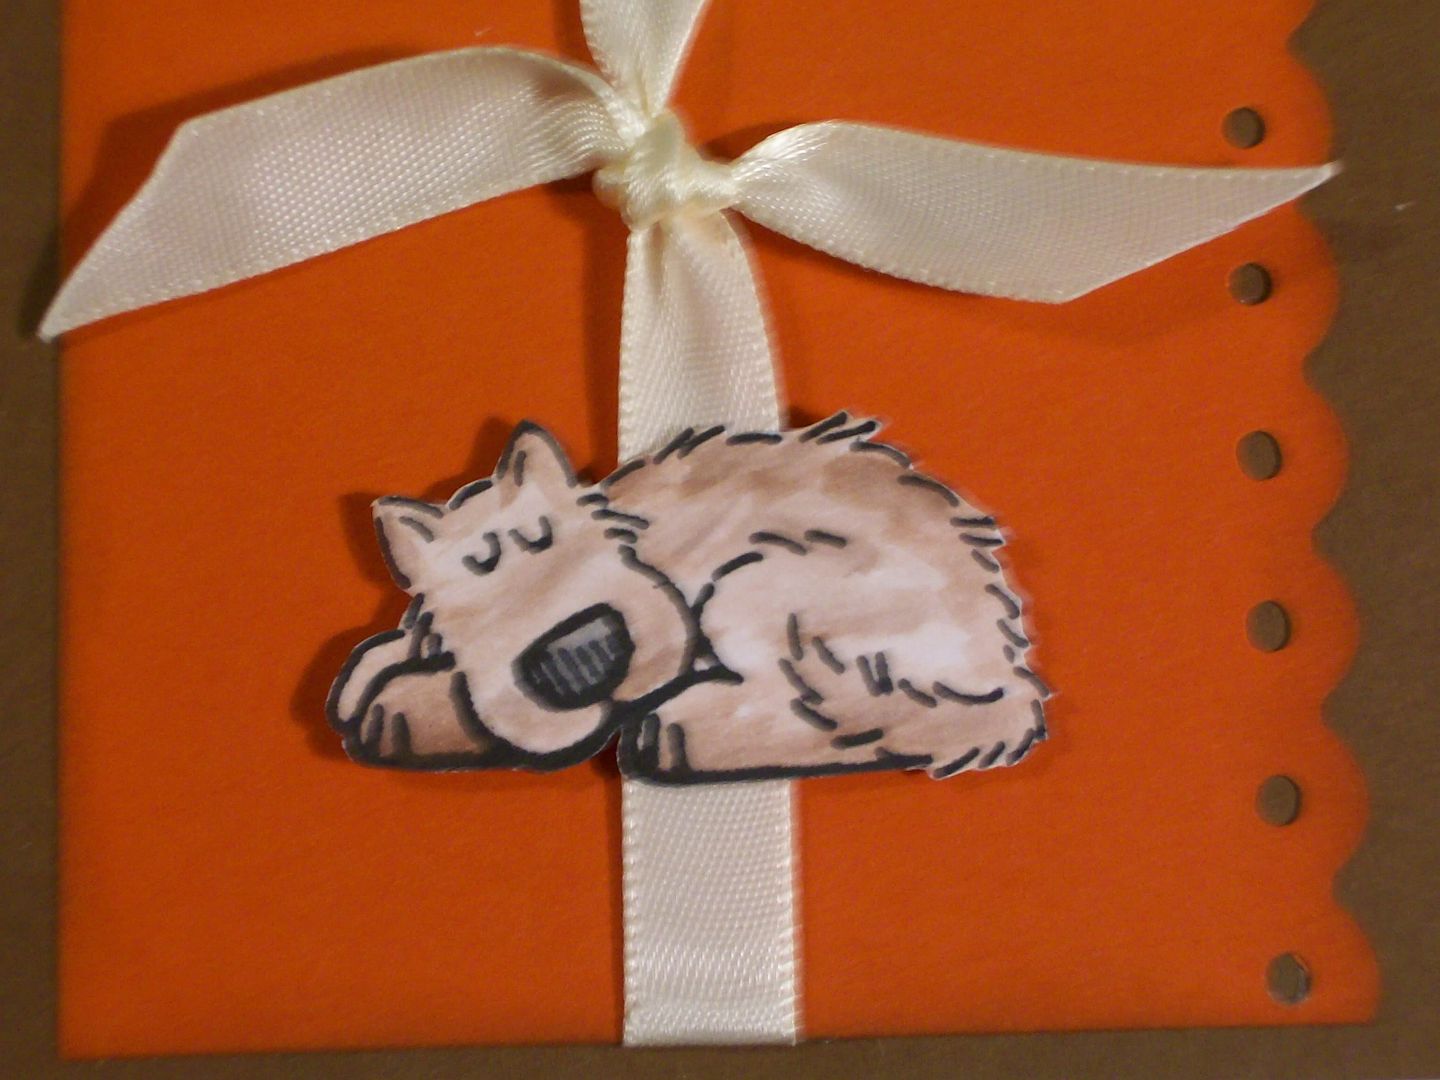
Take some watercolor paper and use Staz On black ink and stamp your images. I used the Bow Wow set from Stampin' Up's 1997 line. I chose the dog house and 2 dogs. Take your aqua pen and your watercolor crayons and paint in your stamped images. **If you pull the color directly from the crayon with the damp aqua pen your crayons will last forever!** Let your images dry completely. Cut the puppies out but not the house. Cut it out at 2 x 2.
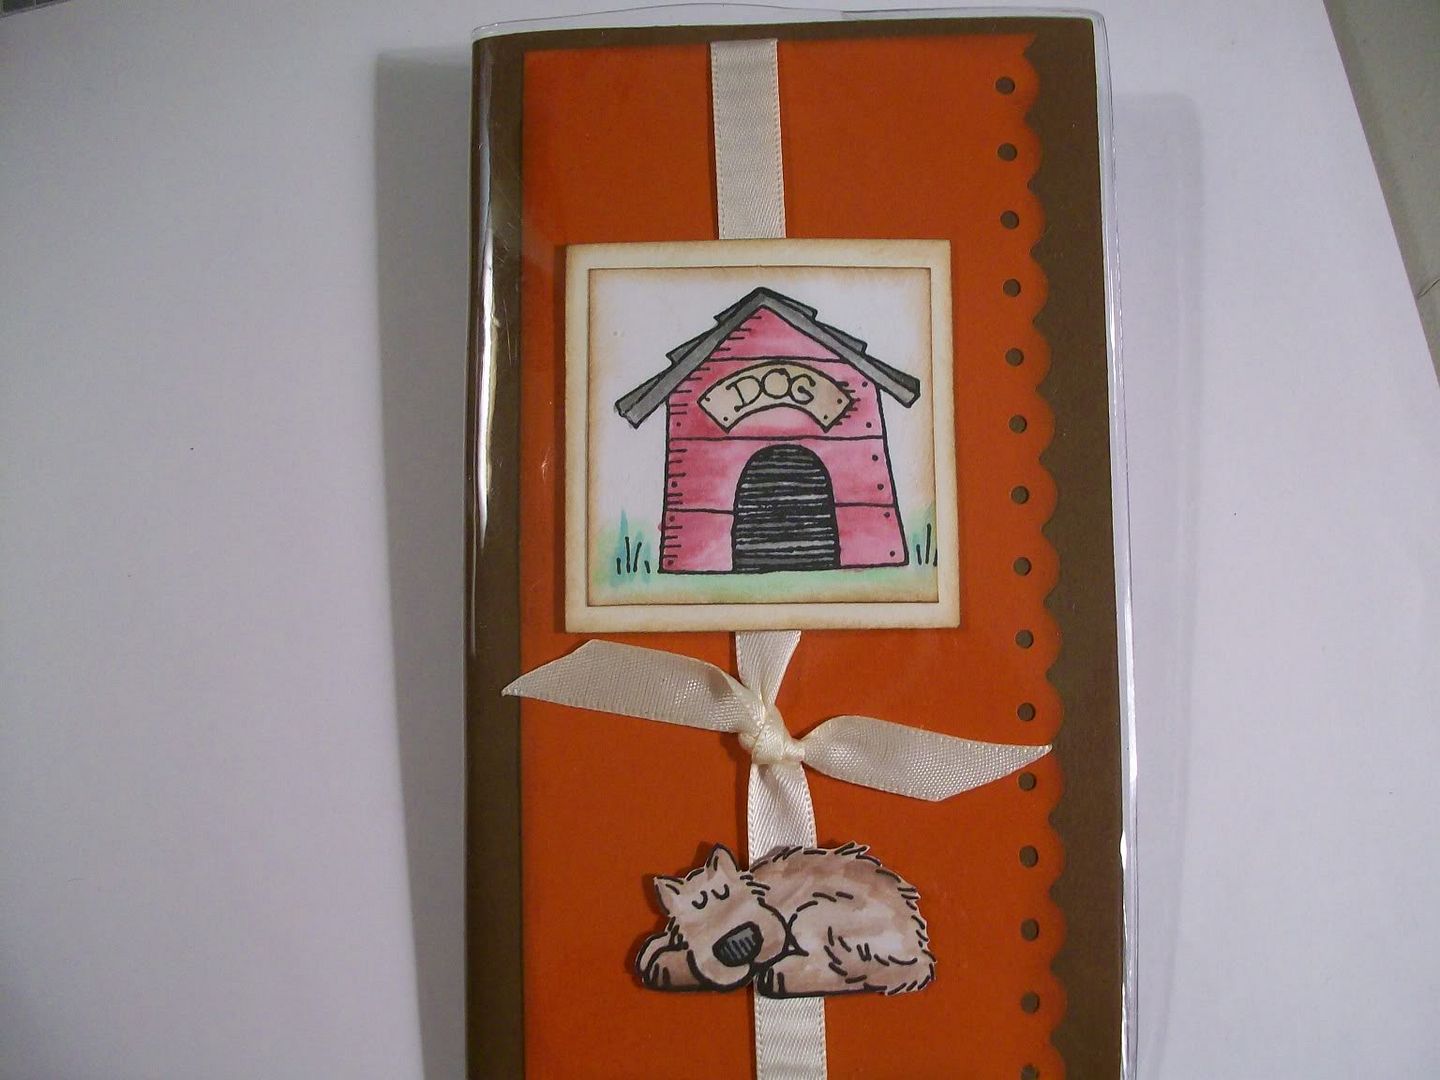
Attach your ribbons to the back of the rust cardstock. I put mine in the middle, but whatever you like. Next tie your ribbon in a knot. I chose to put my knot lower than center but again, whatever you like. Next, attach the dog house to the off white square and put on the front with pop dots to add dimension. Decide what doggy you want on the front, I chose the sleeping one and attach him with pop dots. I put the sitting doggy on the back, again, with pop dots.
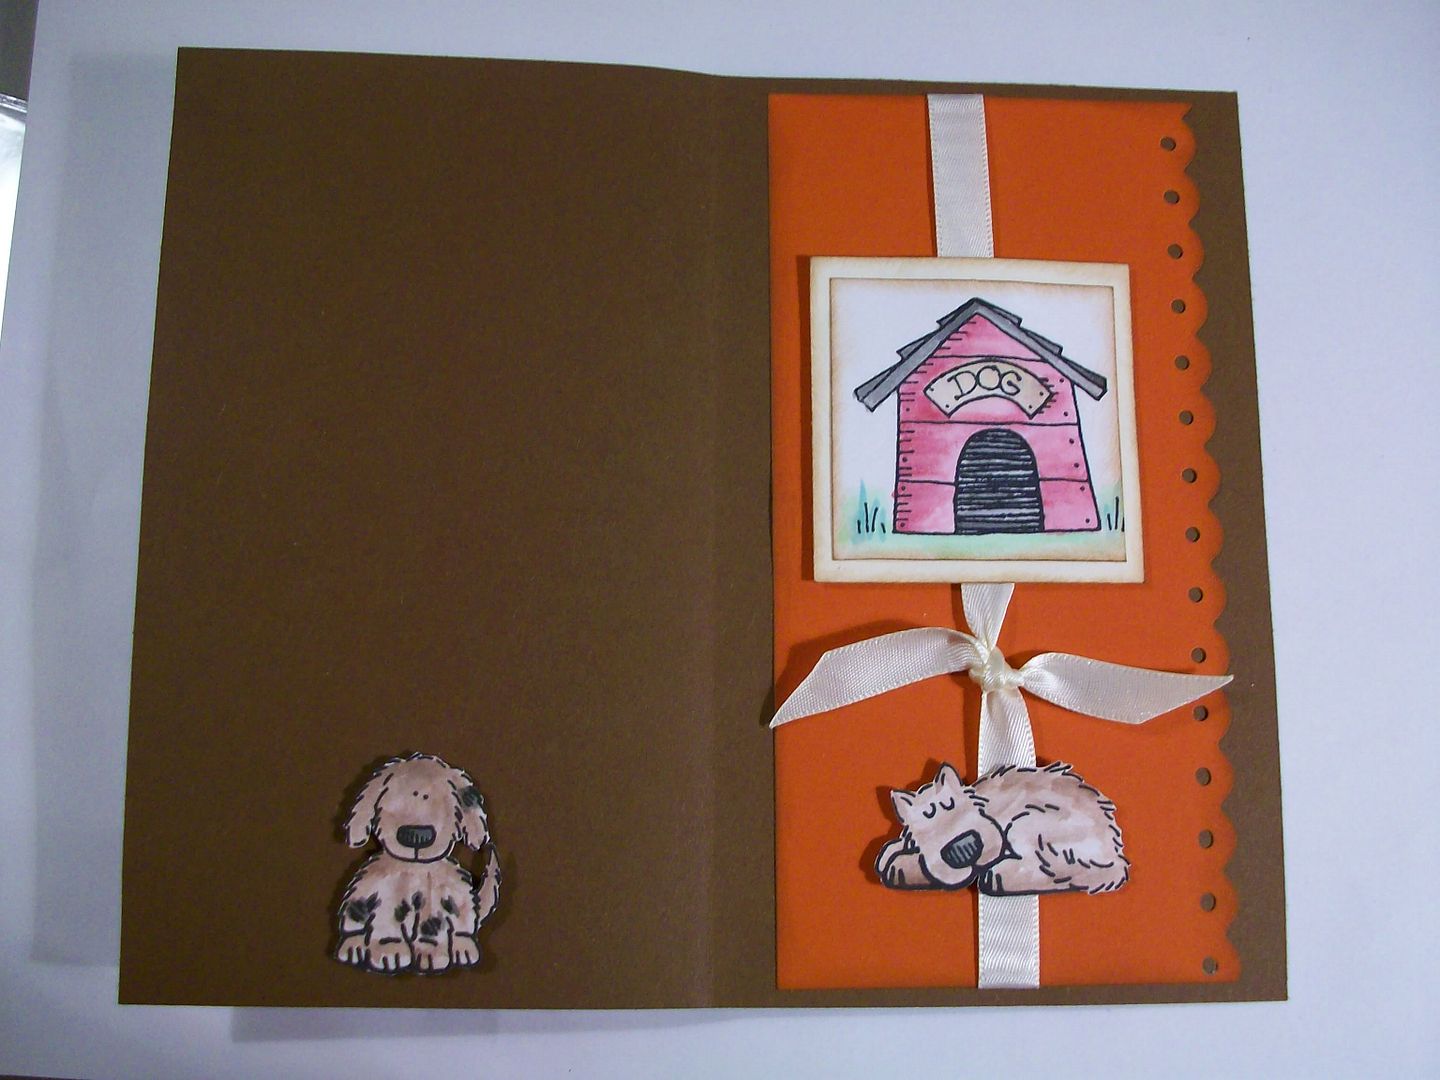
Put adhesive on the back cover of the calendar and match the edges of your cardstock exactly. Lightly crease your cardstock now by folding it over to the front. Put your adhesive on the front cover and match your edges. Put the calendar back into the clear plastic protective sleeve and you are done! So cute!
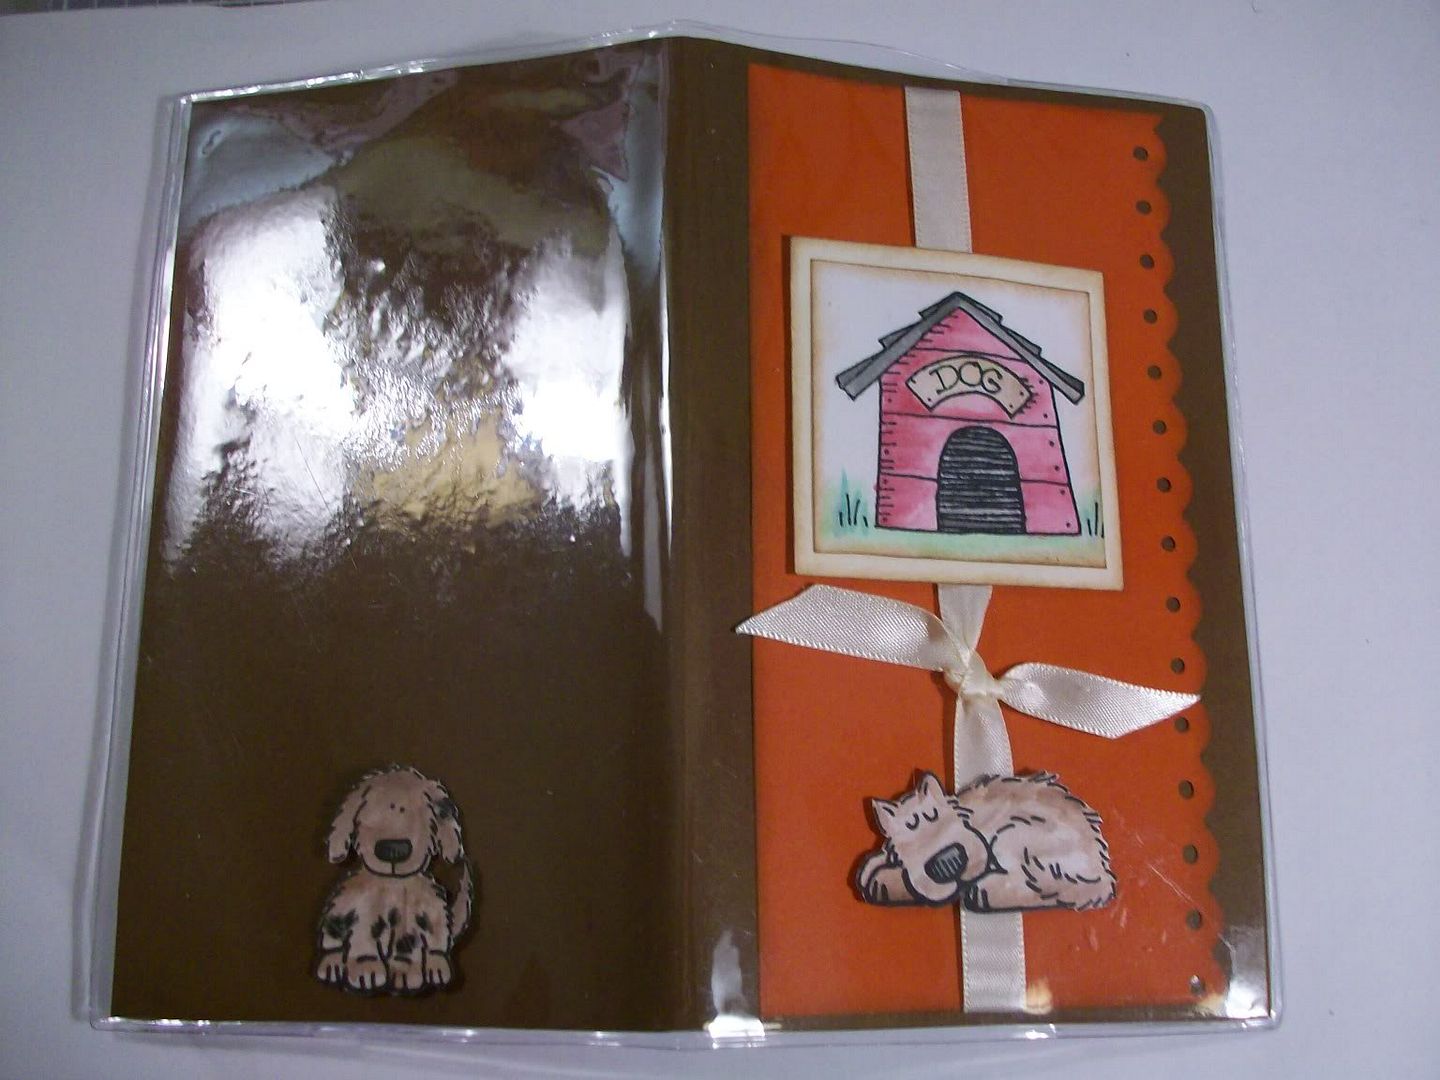
I made this one with a dog theme because, well, that is just ME. Also, there are dog pictures throughout this calendar. Choose your own theme and colors. Make them for friends. Use school themed papers, Valentine's Day, Easter, etc. for teachers, coaches, etc. You can also use a scallop circle and a slightly smaller round circle and an Alphabet set to make a monogramed calendar. Use Prima flowers, stickers, chipboard..... Have fun! =)
dee


Dee,
ReplyDeleteThat is so cute, and yes the dogs theme is for you!! I have some checkbook covers, but have never tried anything with them. You have just given me some ideas. Thanks You're very creative.
Youa re so creative! :) I love this idea! What a great way to put a personal touch on things :)
ReplyDeleteThis is super cute! I never thought of altering them! I might have to buy some now! Thanks for the great idea!!! :o)
ReplyDeletewowee i love your card great ideas inspirtional
ReplyDeletelinniex