I just got my confirmation email from Stampin' Up and I am now an official Demonstrator! I am SO excited! I signed up mainly to support my own habit but I already have a party lined up too! How fun is that? And a website!
http://stampinupwithdee.stampinup.net
Just a tip from one OCD stamper, if you are a little particular about ink on your stamps and/or wood blocks, always have a baby wipe next to your work area so you can immediately remove the ink from the stamp. Also, before you mount your stamps on the wooden blocks, coat each one with several coats of clear Polyeurathane. The ink will wipe right off and your stamps will always look like new! =) You can always go back and poly your already mounted stamps but BE CAREFUL not to get any poly on the rubber as it will harden and change how your stamped image will appear.
Monday, February 23, 2009

Tuesday, February 17, 2009
Blog Award!

This is really exciting! This is an award from my pal Allie at Allie's Creative Designs
. She is SO sweet!! Go check her out, she is a designer for Victoria Case Stamps and she creates some awesome cards!!! THANKS ALLIE!!!
Now, I am supposed to say 1 nice thing about the man in my life: Chris, you are totally amazing. You can accomplish ANYTHING and I love how hard you try.
Six ways I measure success in my life. I don't know that there are six ways. I know when I am happy. I know when I am loved. I know how happy my family and critters make me =). I know that my creativity and talent were given to me and that I need to strive hard everyday to develop further.
I also need to pass this award along to 5 others. That will take a little while but I promise to do so! Thanks again ALLIE!!! =)
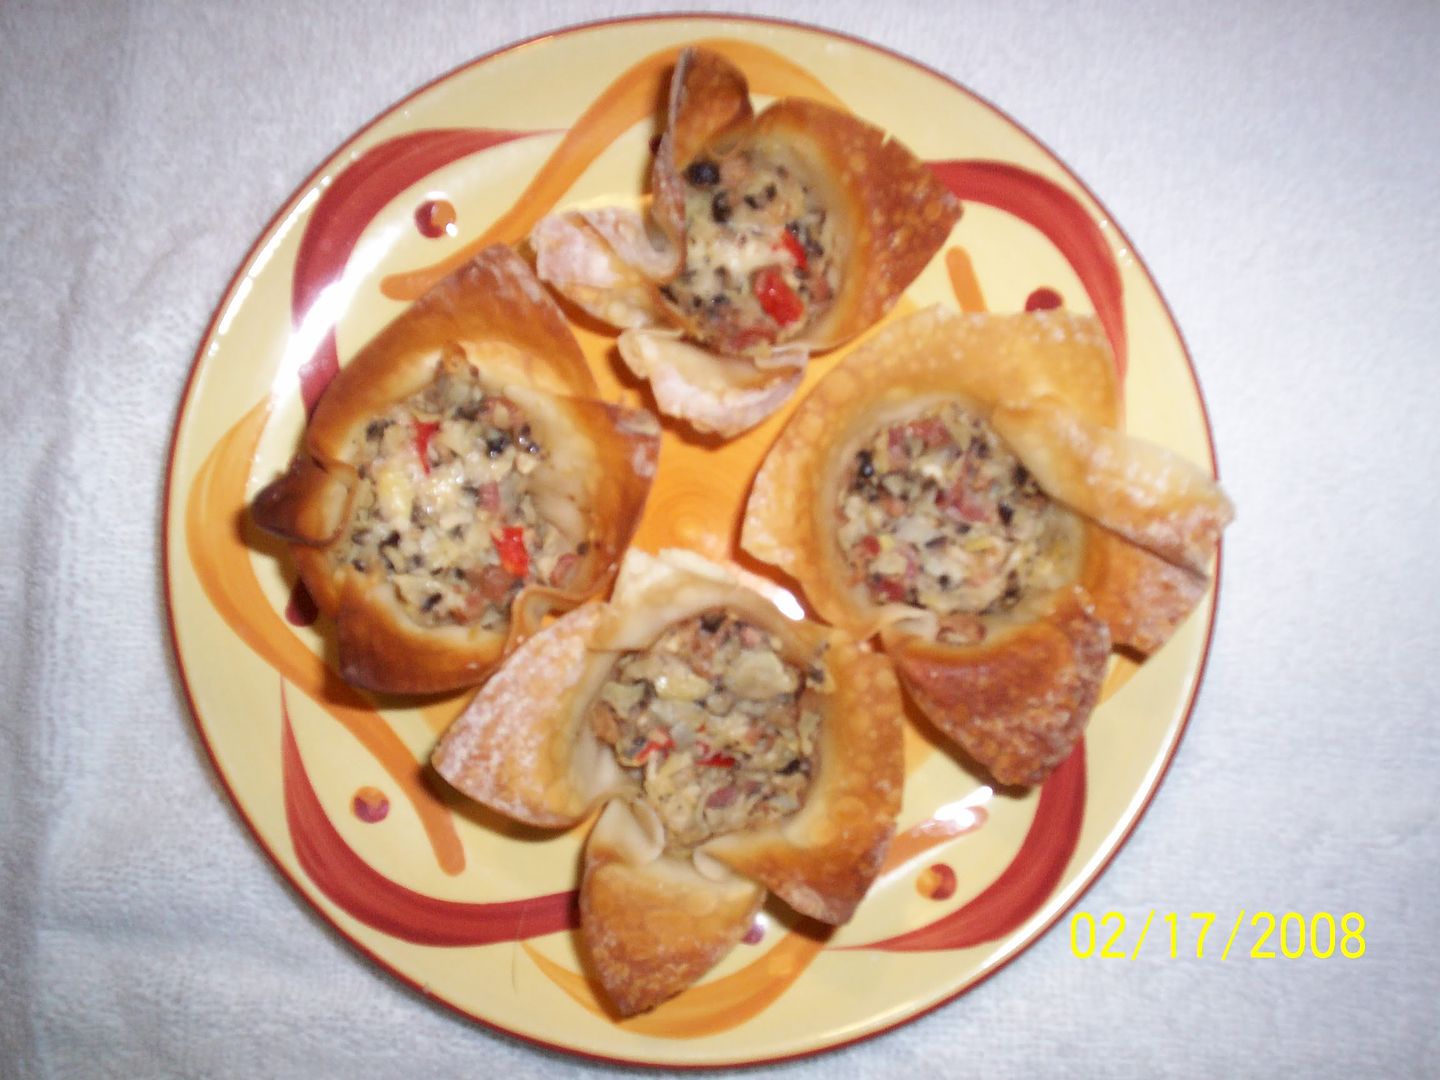
Cheesy Bacon Artichoke cups! YUMMO!!
Every Friday at 10a.m. everyone in our Department here at Texas A&M takes a break. Someone or some department sponsors the "Friday Coffee" and brings goodies of some sort. Some Friday's we have donuts and some Friday's we have breakfast tacos. From simple to gourmet, it just depends on the people/group. My friend Robin, Katie, Dr. Capps, Dr. Vedinov and I sponsored last Friday. We had some amazing goodies from a sausage/cheese/potato casserole to Garden Veggie Pizza. I made a Black Forest Trifle and these little guys! These are SO yummy and quick, if you need an appitizer/snack try them! If you are interested in the Trifle let me know! =)
24 wonton wrappers
1/2 cup mayonnaise
1/3 cup cooked chopped bacon (I use the vaccuum packed Hormel Real bacon pieces in the salad section!)
1/3 cup chopped black olives
1/4 cup chopped red bell pepper
2 (6.25 oz) jars of marinated artichoke hearts, drained and chopped
1 teaspoon minced garlic
1/3 cup fresh grated Parmesan cheese (a little Asiago is good too!)
Fresh ground pepper to taste
mini muffin tin
Preheat oven to 350 degrees.
Squish a wonton wrapper into each of 24 mini muffin cups to form a CUP. Mix all other ingredients and fill each wonton cup with approximatley 1 tablespoon of filling. Bake for 14-16 minutes or until wonton wrappers are golden brown and filling is bubbly. These are best served warm but even at room temperature they are great!
ENJOY! =)
Monday, February 9, 2009
What a Slacker! =(
I've been such a slacker! Man...I rushed to get everything done so I could feel good about leaving everyone for 5 days and then got home and have had SO much to do. I am still not completely caught up but I am beginning to see the light at least! Whew!
I went to CHA in Californa. WOW! There was SO much to see! Too much actually. I didn't get to play with new items and learn new techniques like I thought but 'looking' was nice. I was all set to really play and when that didn't happen I was so disappointed. Oh well, live and learn. Several of the booths had make and takes that I would have LOVED to do but there wasn't time or the line was longer than there was seating, etc.
On a brighter note, I went to a Stampin' Up party this weekend and we made a card using the coolest technique. I can't show you the technique simply because I don't have the supplies needed but I can tell you and then post a picture of the finished project!
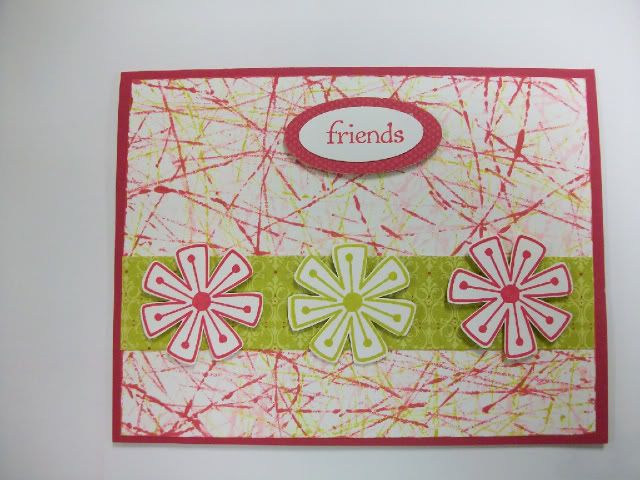
SO much fun! We took 3 of the plastic boxes that the rubber stamp sets are kept in and squirted a few drops of ink from the Stamp Pad Reinkers in a dark, medium and light color scheme, 1 ink per box. For our project we used a burgandy card base, white cardstock and an olive patterened paper so the inks were burgandy (really red I think), olive and rose. Put a piece of repositionable adhesive on the inside of the plastic box lid, several drops of one color ink and 3 glass marbles. Yep, like the kids used to play with. Now take your white piece of cardstock and stick it to the adhesive. Close the lid and start rolling and shaking the box so that the marbles make contact with the paper. Start with the darkest ink first in this case the really red. After you get a design you like, move to the second box-the next lighter color, in this case olive green. Last, the rose! What a great technique and the card is SO cute! You could use this for photo mats in scrapbooking too! Try it sometime! You will NEVER get the same look twice!! Let the kids help!!! =)
I went to CHA in Californa. WOW! There was SO much to see! Too much actually. I didn't get to play with new items and learn new techniques like I thought but 'looking' was nice. I was all set to really play and when that didn't happen I was so disappointed. Oh well, live and learn. Several of the booths had make and takes that I would have LOVED to do but there wasn't time or the line was longer than there was seating, etc.
On a brighter note, I went to a Stampin' Up party this weekend and we made a card using the coolest technique. I can't show you the technique simply because I don't have the supplies needed but I can tell you and then post a picture of the finished project!
SO much fun! We took 3 of the plastic boxes that the rubber stamp sets are kept in and squirted a few drops of ink from the Stamp Pad Reinkers in a dark, medium and light color scheme, 1 ink per box. For our project we used a burgandy card base, white cardstock and an olive patterened paper so the inks were burgandy (really red I think), olive and rose. Put a piece of repositionable adhesive on the inside of the plastic box lid, several drops of one color ink and 3 glass marbles. Yep, like the kids used to play with. Now take your white piece of cardstock and stick it to the adhesive. Close the lid and start rolling and shaking the box so that the marbles make contact with the paper. Start with the darkest ink first in this case the really red. After you get a design you like, move to the second box-the next lighter color, in this case olive green. Last, the rose! What a great technique and the card is SO cute! You could use this for photo mats in scrapbooking too! Try it sometime! You will NEVER get the same look twice!! Let the kids help!!! =)
Wednesday, January 21, 2009
Drum Roll Please!!!
And the Winners are...
I had my friend Linda draw names this morning for my 2 treat jars! She pulled Mindy's name from the cup for the Jar of Kisses and Kim's name for the Jar of MilkBones! YAY!!!!
You girls can email me at deecochran1968@yahoo.com with your mailing addresses and I will get your treats in the mail! This was SO much fun! Thanks to everyone who played! I will most definately do this again! =)
Monday, January 19, 2009
My First Award!!!
The Marie Antionette Award

My bloggy friend and former Design Team buddy Allie of Allie's Creative Designs
stopped by and gave me an AWARD!! I have never gotten an award before so this is really COOL! Allie stops by all the time and leaves the sweetest comments for me, I look forward to her encouraging words! THANKS Allie! =) Make sure to go by and visit Allie, say hi and take a look at her super cute cards/tags/layouts. She is a stampin' queen!
My job is to give this award to other bloggers who have great blogs! I choose:
1. Kimberly at Seriously Daisies
She is a HOOT and so creative!
2. Linda at The Funkie Junkie
Her cards are FABULOUS!! Make sure you take a look!
3. Gabrielle at Such A Pretty Mess
WOW!! I LOVE lurking around this blog!
Sunday, January 18, 2009
Altered Calendar
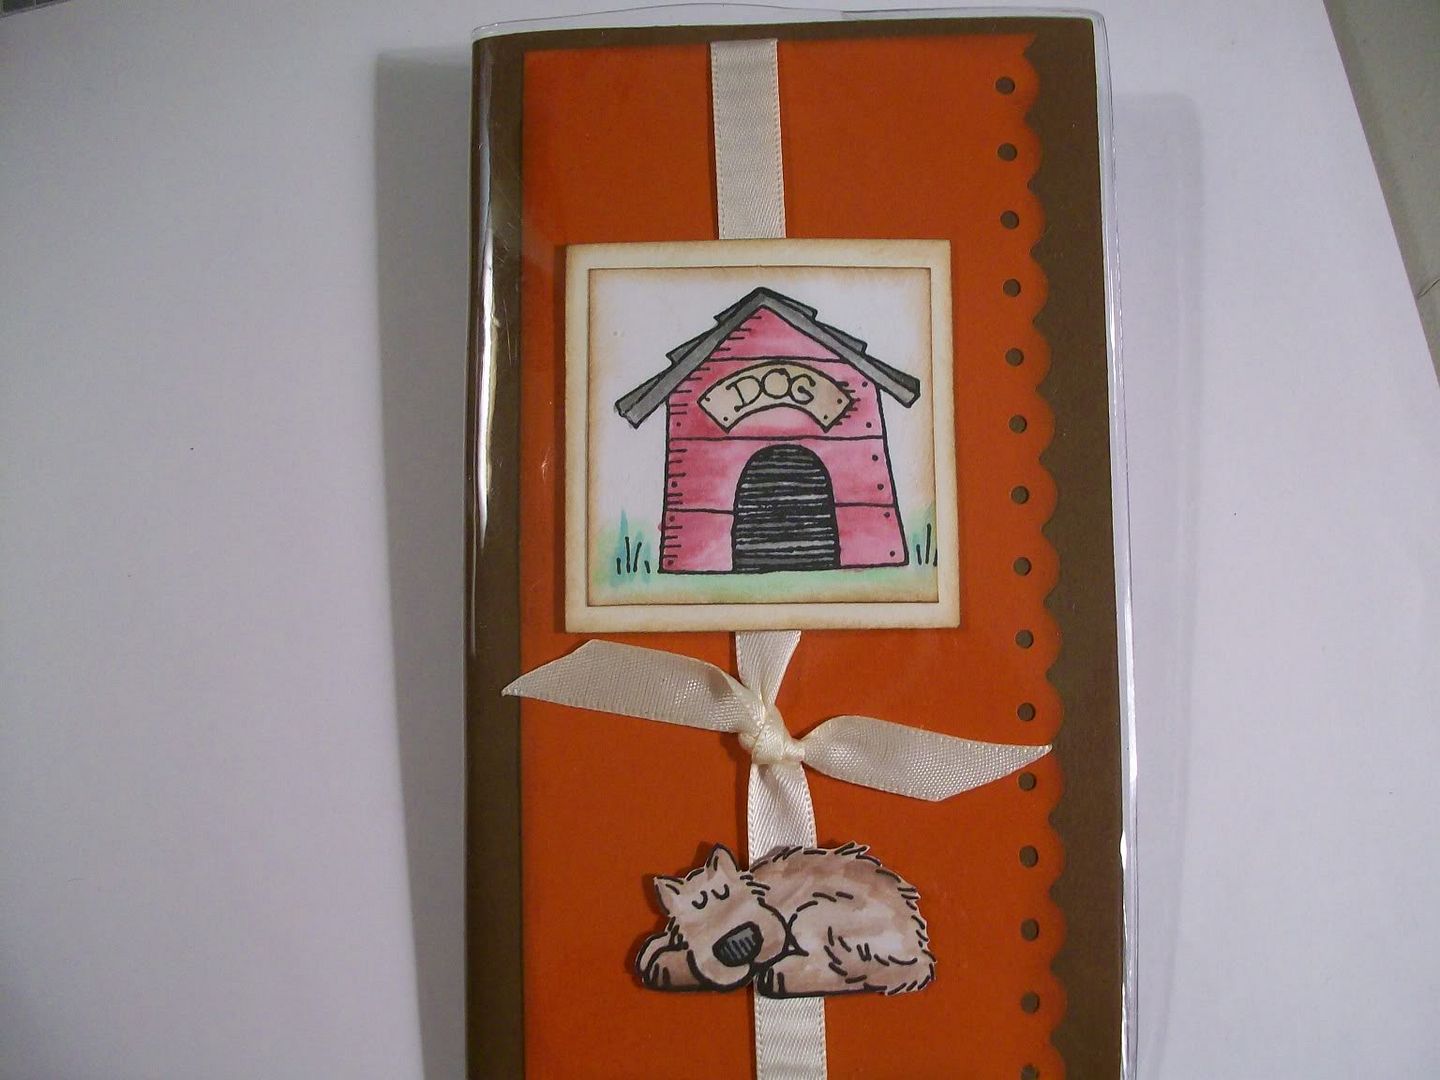
I was at Michael's the other day and had to wait in line. That is always bad for me because they put all that extra stuff near the register just for ME. I have time to stand there and think of things that I could do with it so I get it...well, I got home with several of those $1.00 purse calendars for 2009-2010. There was one with a dog on it and that is what really caught my eye but I didn't love the overall look. So, I changed it. Super simple to do and you could most likely use your scraps.
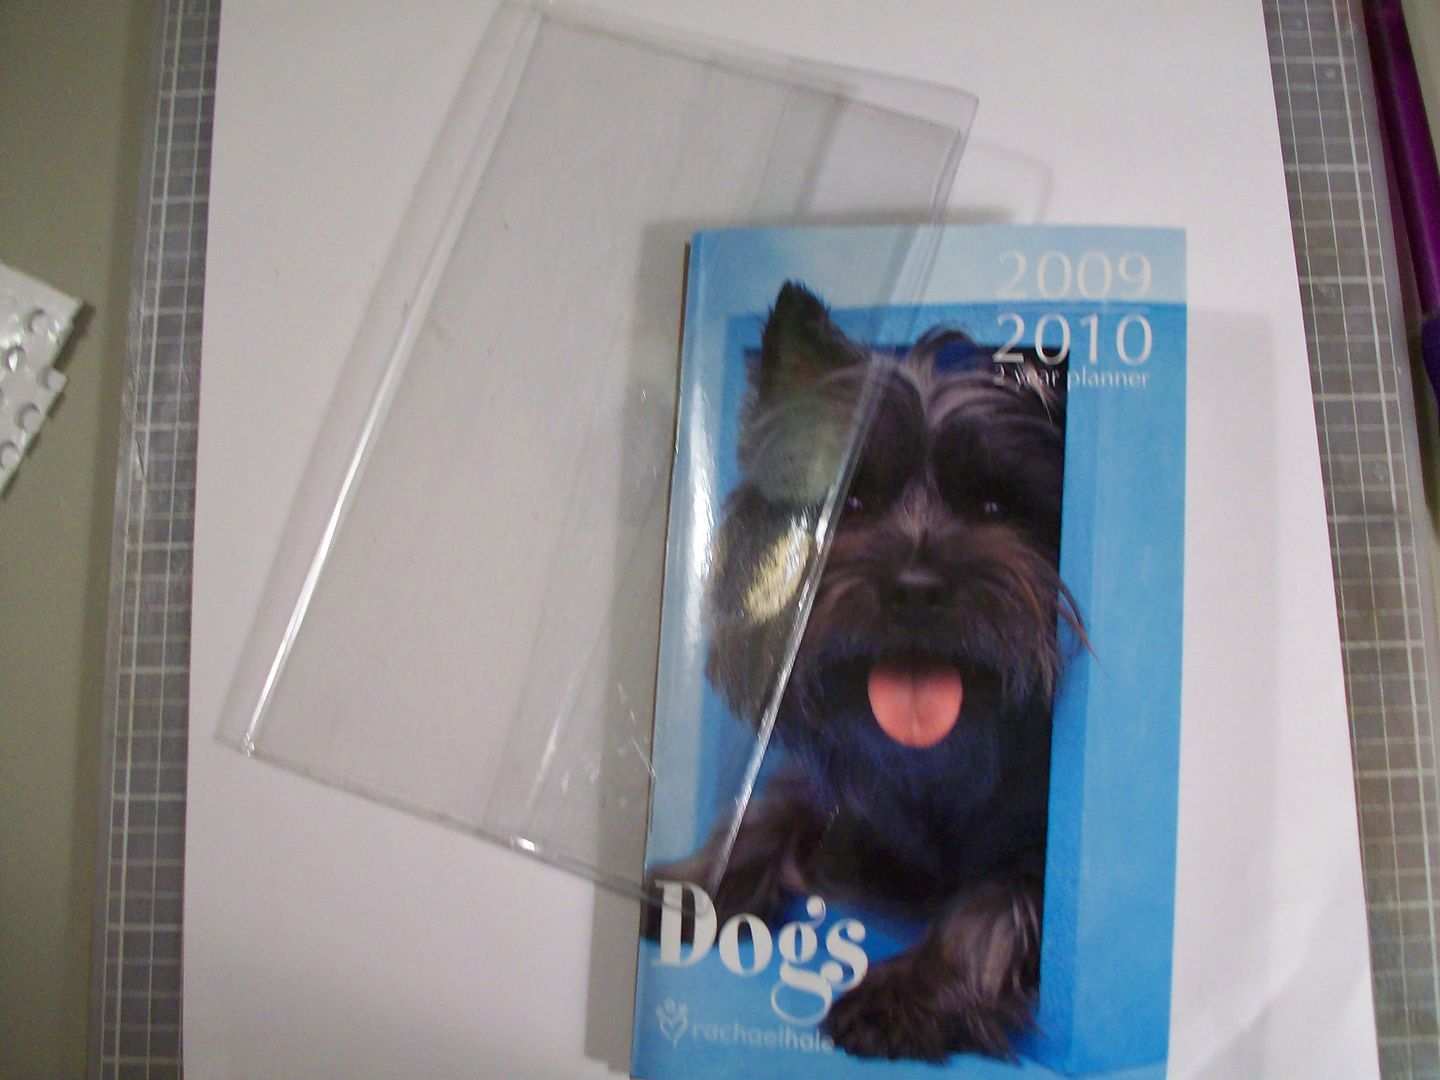
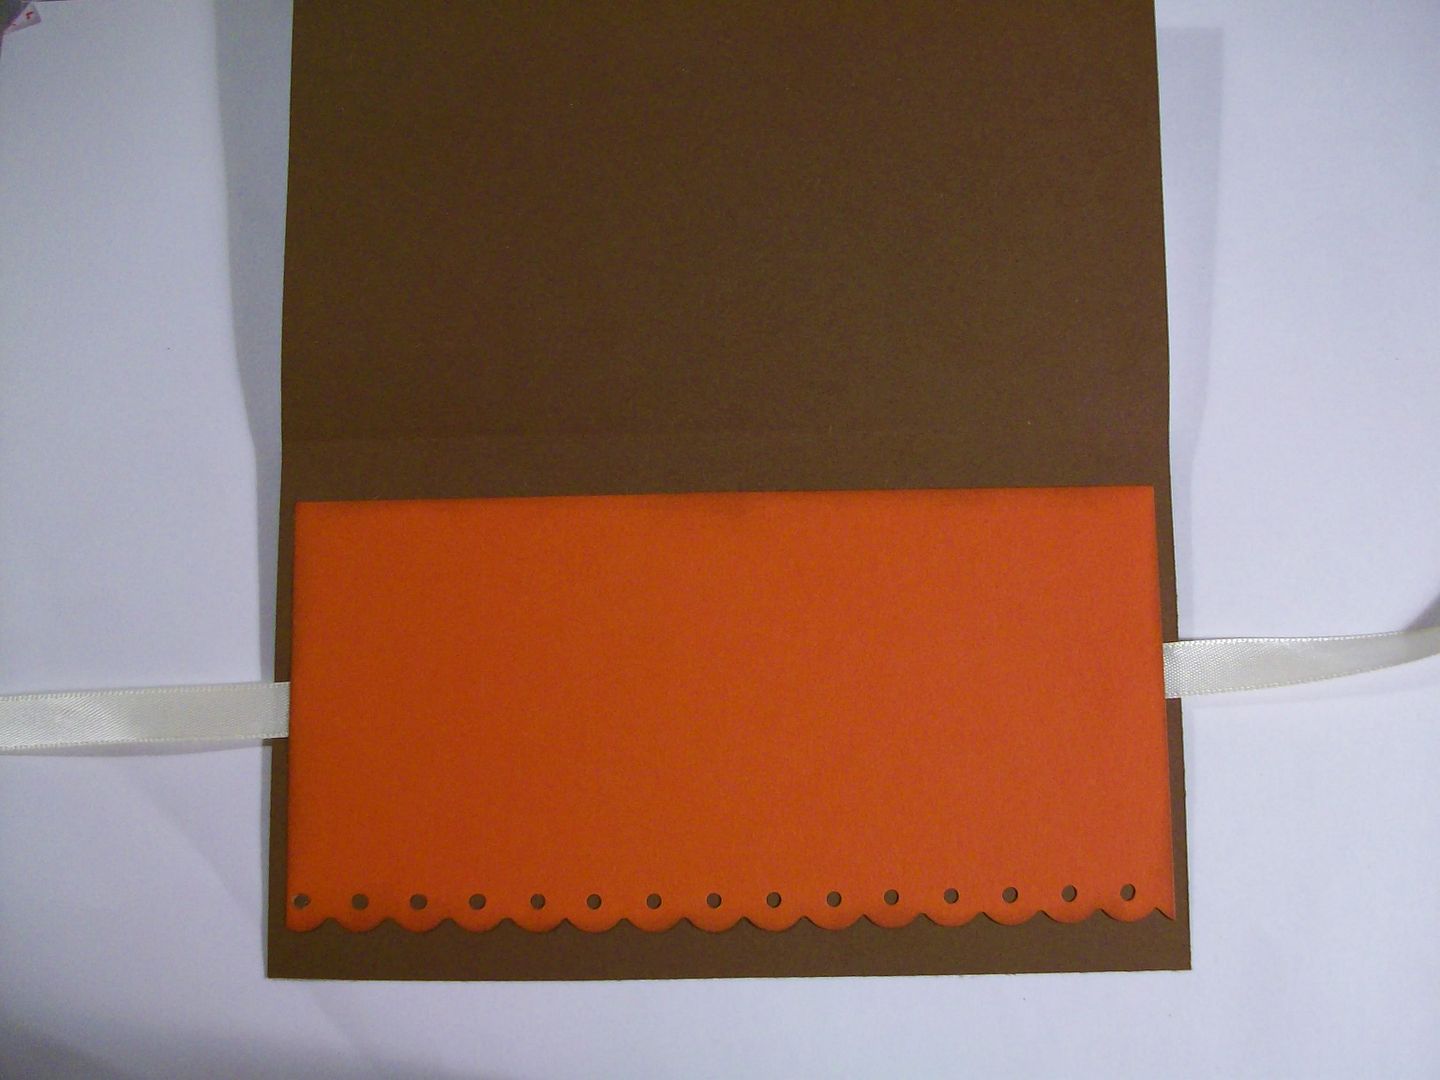
The following measurements are for the calendar I bought and may not be applicable for what you have/may find. First carefully take the calendar out of the protective plastic sleeve. Measure to make sure my numbers match or make your necessary adjustments. For mine I cut a piece of chocolate chip cardstock 7 9/16 x 6 7/16. I cut a piece of rust paper 6 1/8 x 3 1/8 then cut the long side with a scallop border punch. I cut a 2 1/4 x 2 1/4 off white square and a 13" piece of off white satin ribbon (cut in half). Heat set your ribbon edges with a quick swipe through a lighter flame. No glue mess and no FRAY! This is a good time to ink your edges if you like that look.
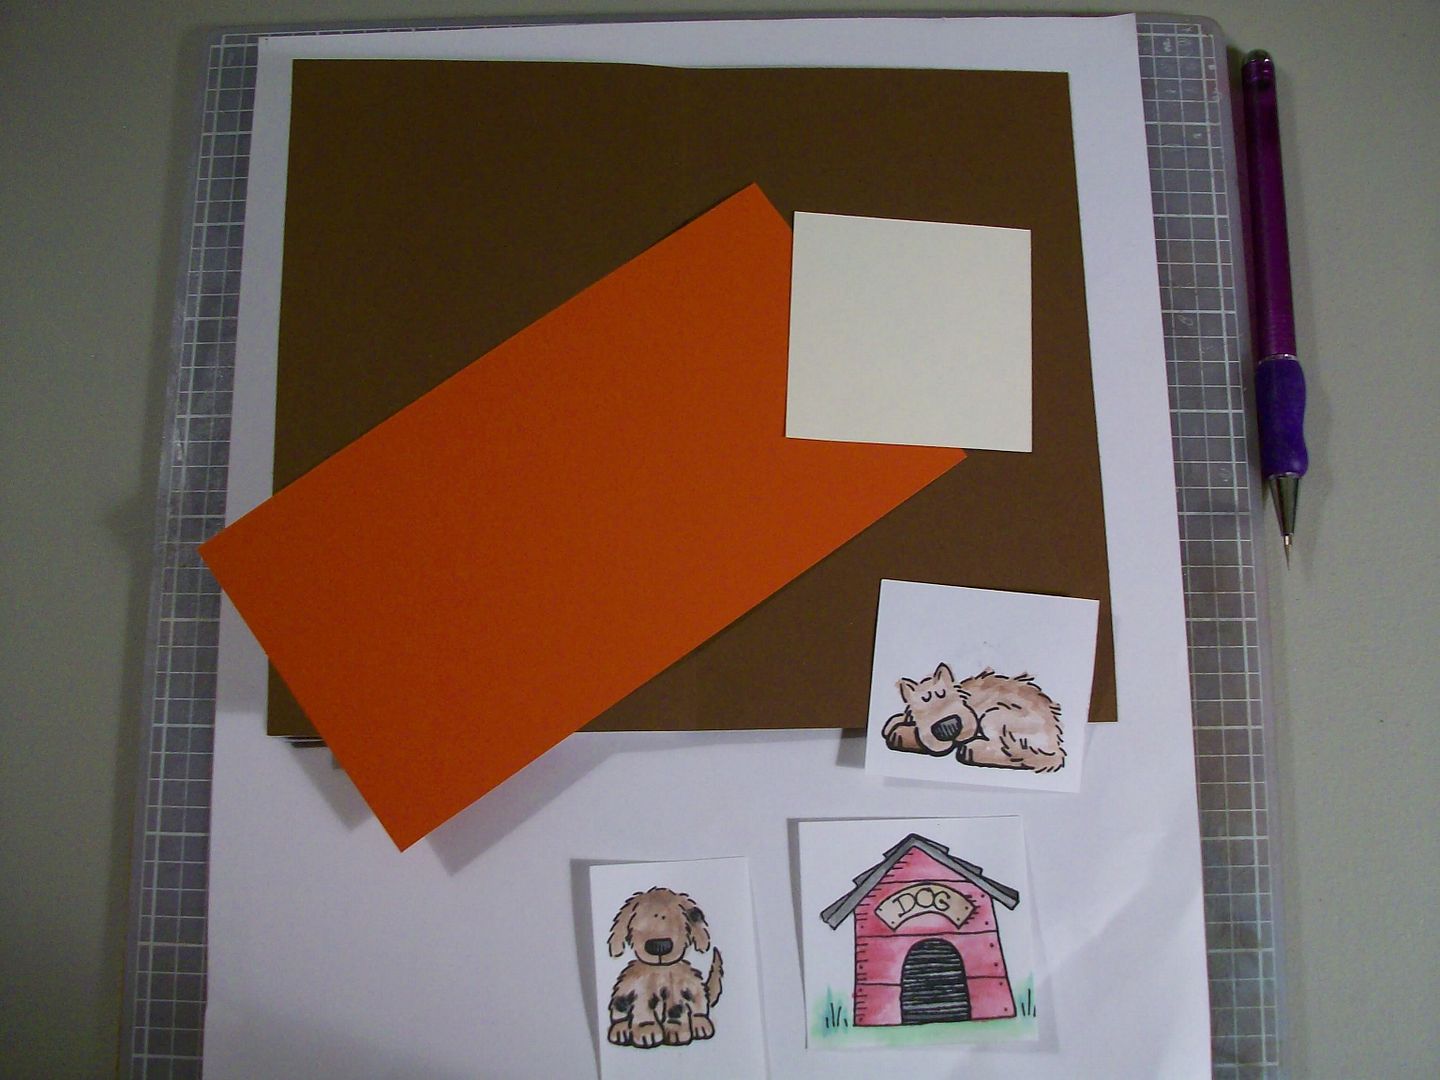
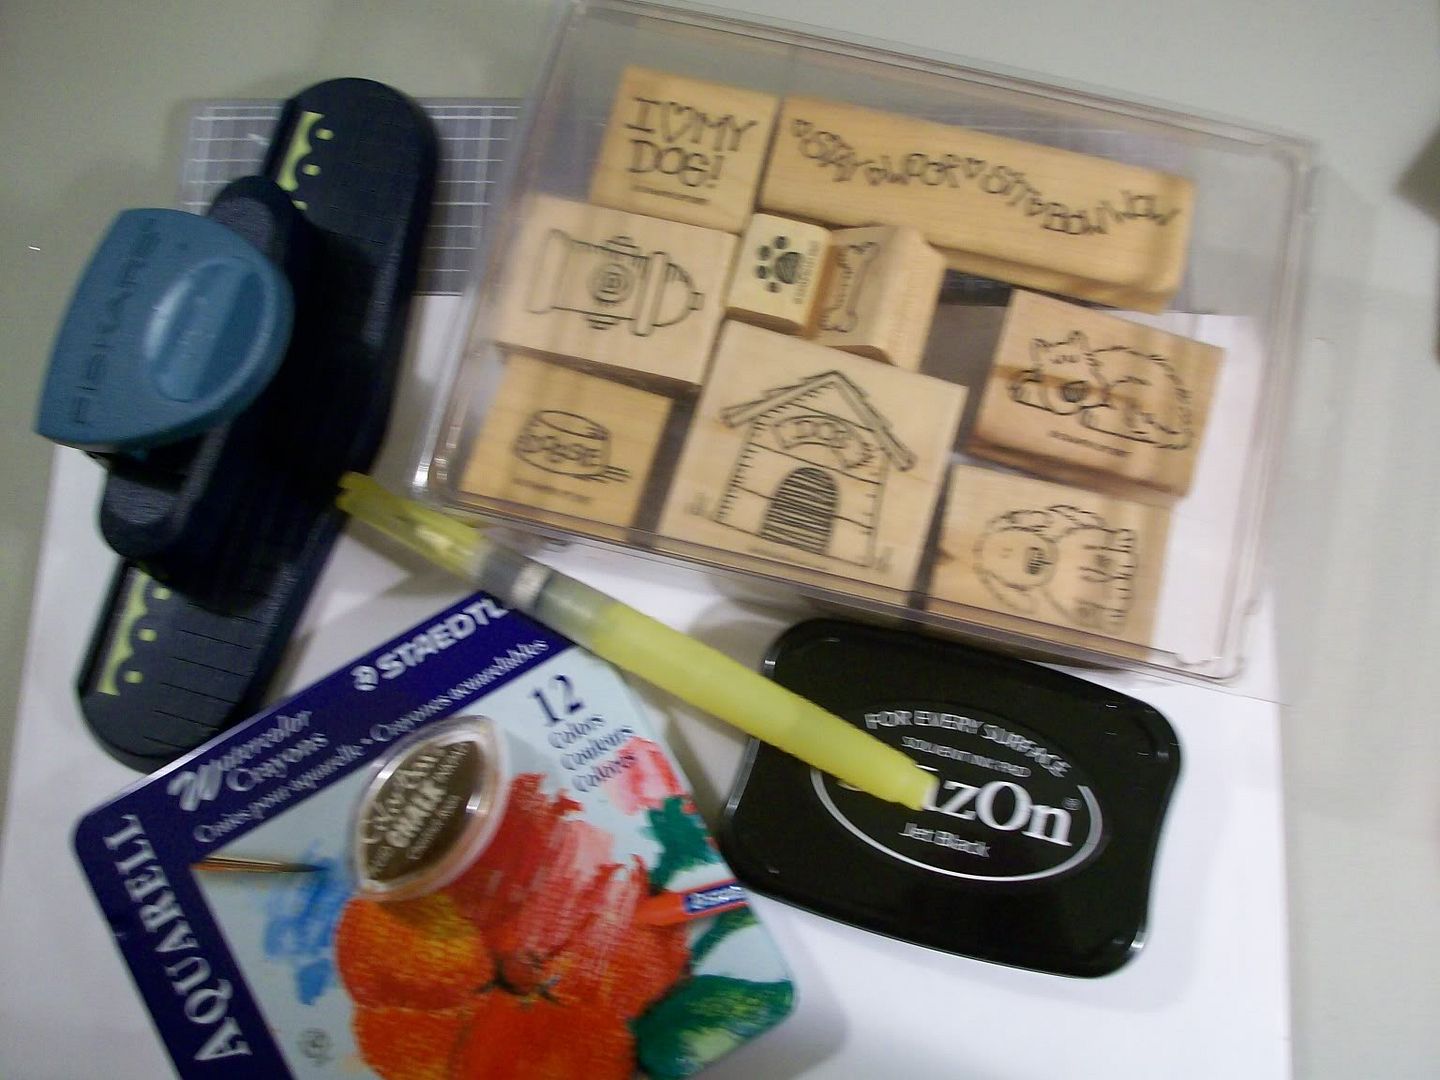
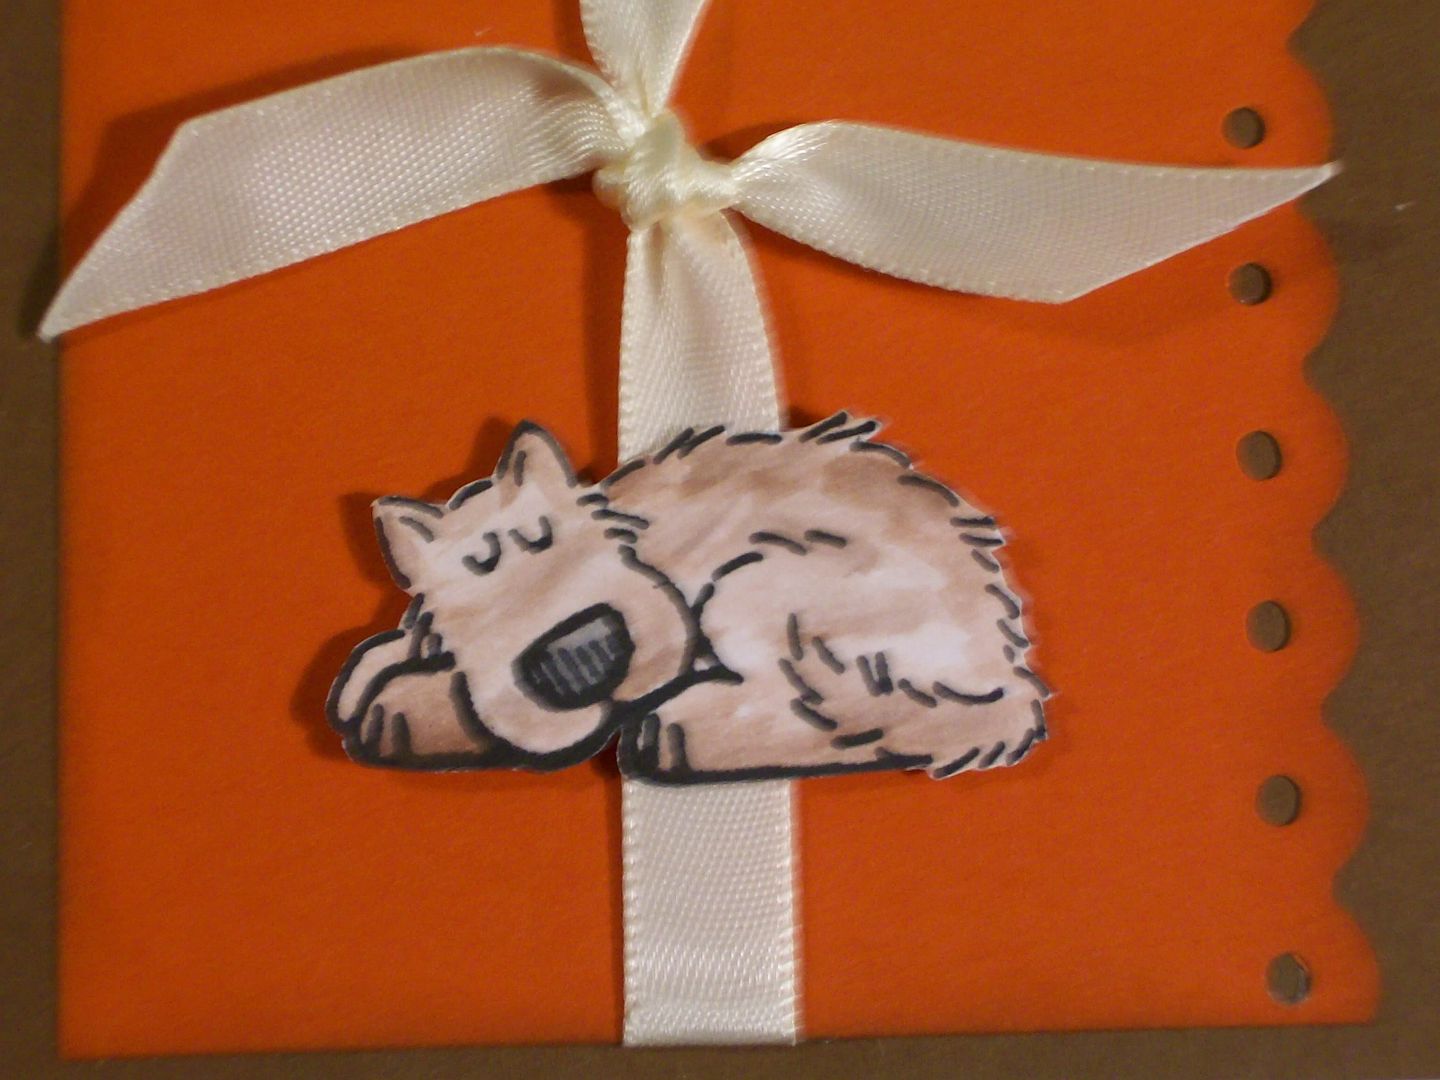
Take some watercolor paper and use Staz On black ink and stamp your images. I used the Bow Wow set from Stampin' Up's 1997 line. I chose the dog house and 2 dogs. Take your aqua pen and your watercolor crayons and paint in your stamped images. **If you pull the color directly from the crayon with the damp aqua pen your crayons will last forever!** Let your images dry completely. Cut the puppies out but not the house. Cut it out at 2 x 2.
Attach your ribbons to the back of the rust cardstock. I put mine in the middle, but whatever you like. Next tie your ribbon in a knot. I chose to put my knot lower than center but again, whatever you like. Next, attach the dog house to the off white square and put on the front with pop dots to add dimension. Decide what doggy you want on the front, I chose the sleeping one and attach him with pop dots. I put the sitting doggy on the back, again, with pop dots.
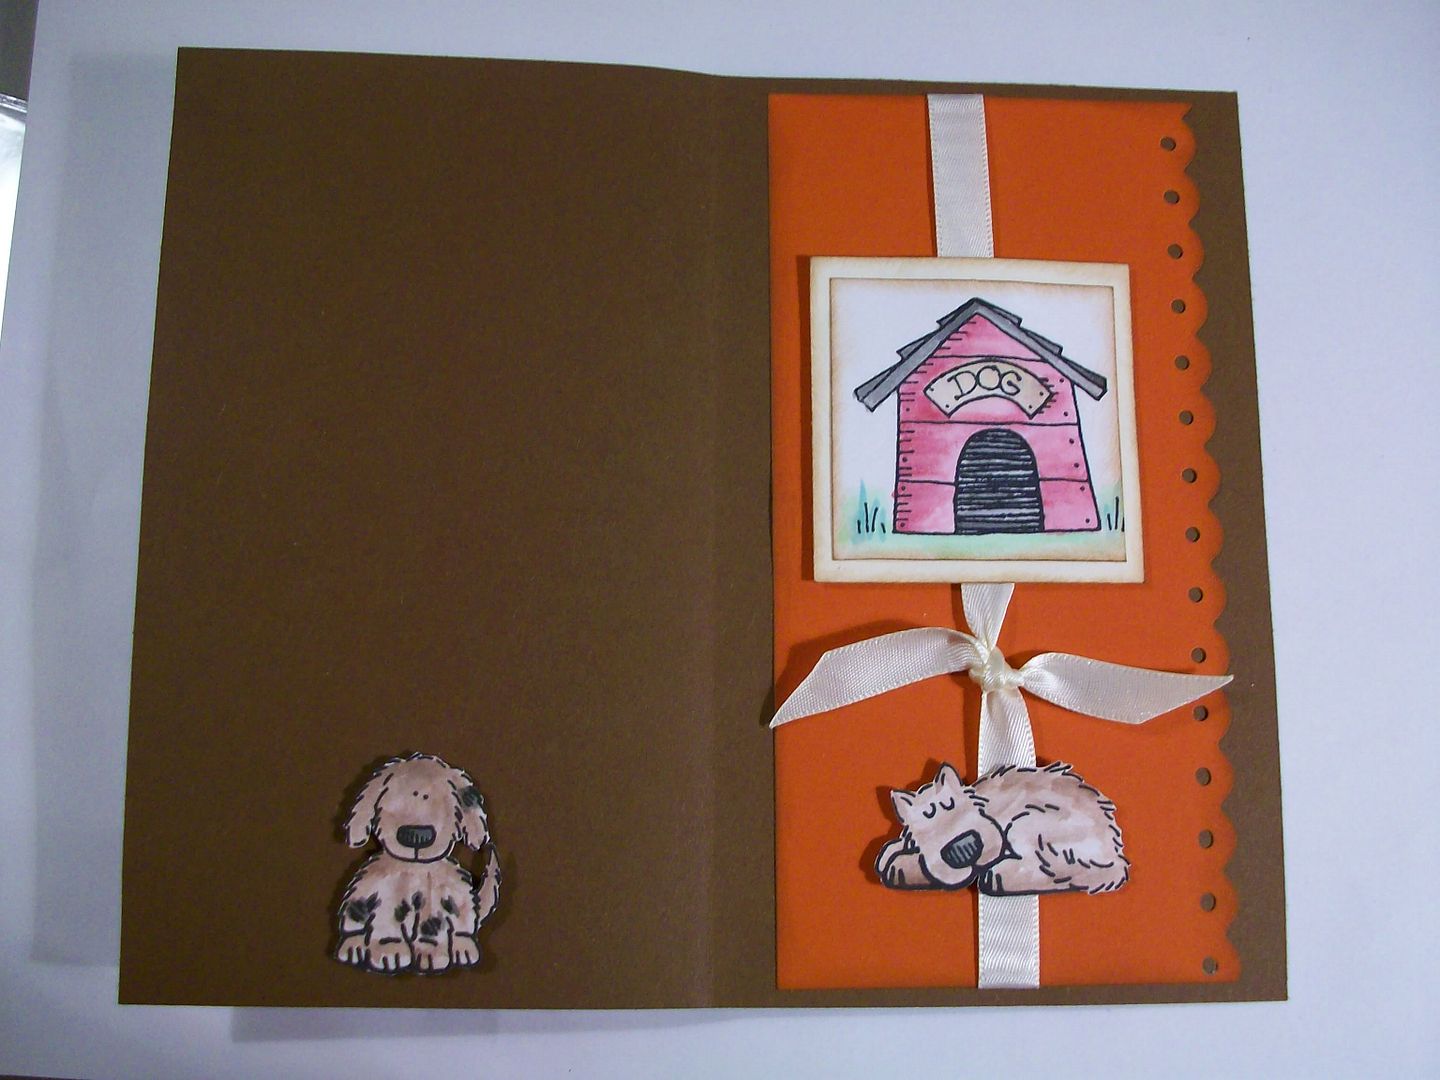
Put adhesive on the back cover of the calendar and match the edges of your cardstock exactly. Lightly crease your cardstock now by folding it over to the front. Put your adhesive on the front cover and match your edges. Put the calendar back into the clear plastic protective sleeve and you are done! So cute!
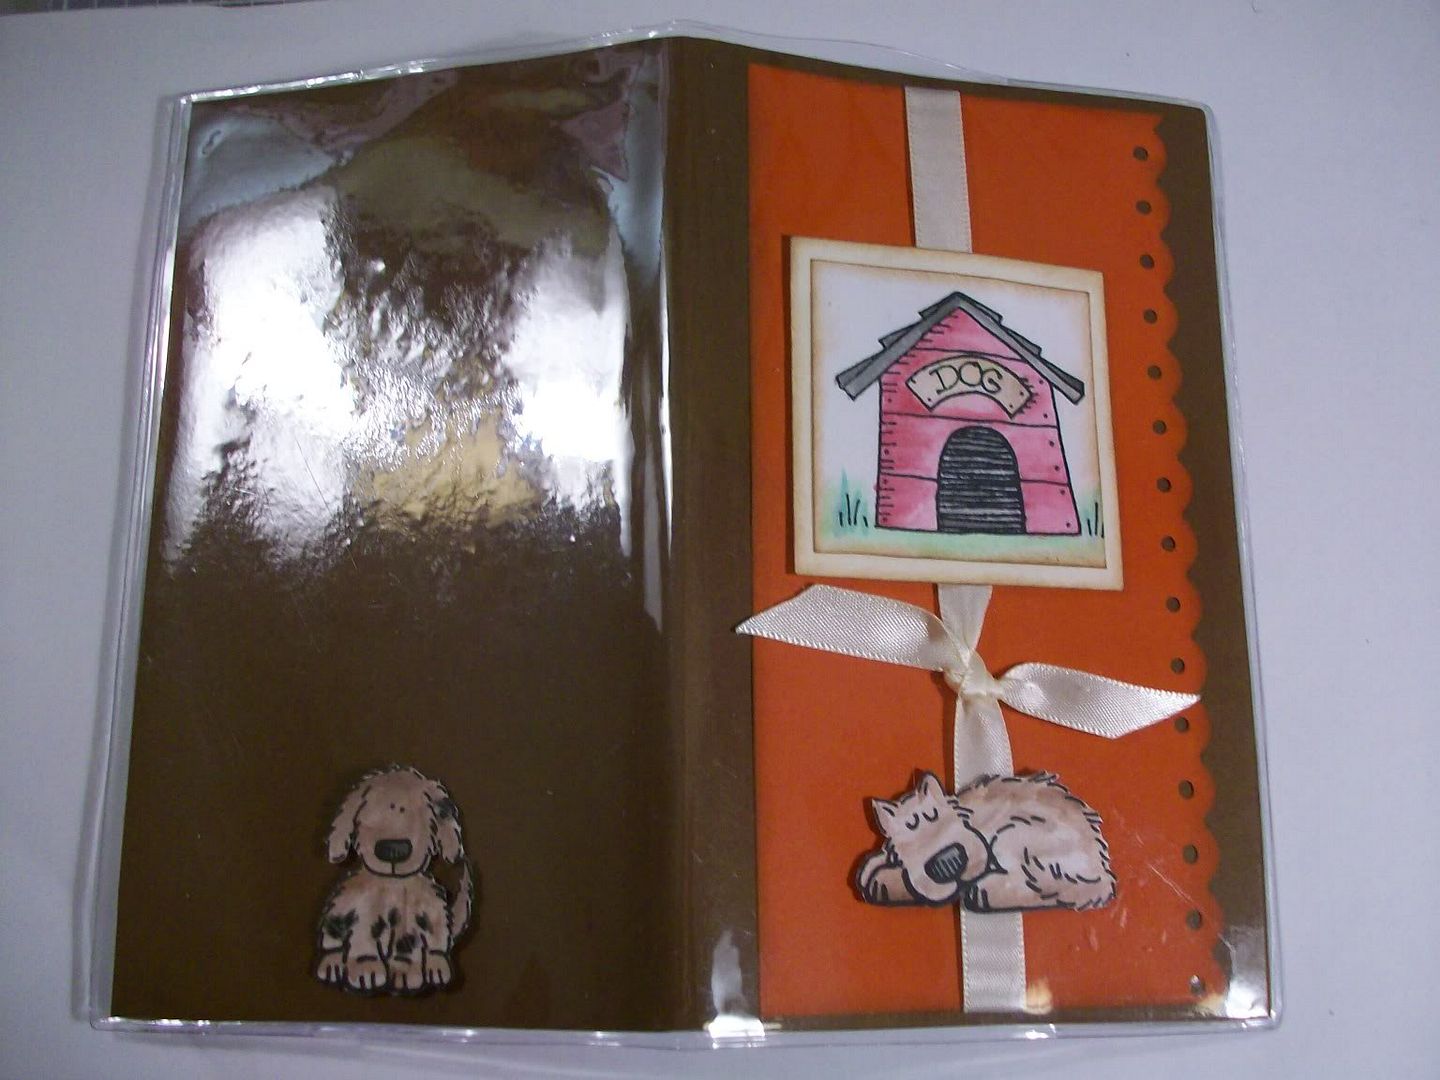
I made this one with a dog theme because, well, that is just ME. Also, there are dog pictures throughout this calendar. Choose your own theme and colors. Make them for friends. Use school themed papers, Valentine's Day, Easter, etc. for teachers, coaches, etc. You can also use a scallop circle and a slightly smaller round circle and an Alphabet set to make a monogramed calendar. Use Prima flowers, stickers, chipboard..... Have fun! =)
dee
Thursday, January 15, 2009
Scissor Charms
Today we are going to make scissor charms. They are really cute and SO simple to make. Use them to identify a particular pair of scissors like fabric from paper. You can give them as gifts at your next crop or scrap retreat.

You will need a pair of needle nose pliers, a charm leash and a beaded charm. You can purchase these little pre-beaded charms at Hobby Lobby for $.88 (that is what we will be using today) or you can use beads that mean something to you, vintage, lampwork, crystal or homemade. If you travel to crops regularly you will be the envy of your group =) but you can also take the Alphabet beads and do your initials. If you want to make the charms then you will also need head pins.
This is how the Charm Leashes come. Packages of 10 in multicolor like these or you can get all black. Take your charm and thread it onto the jump ring of the Charm leash. Done! Pretty fast, huh? =)
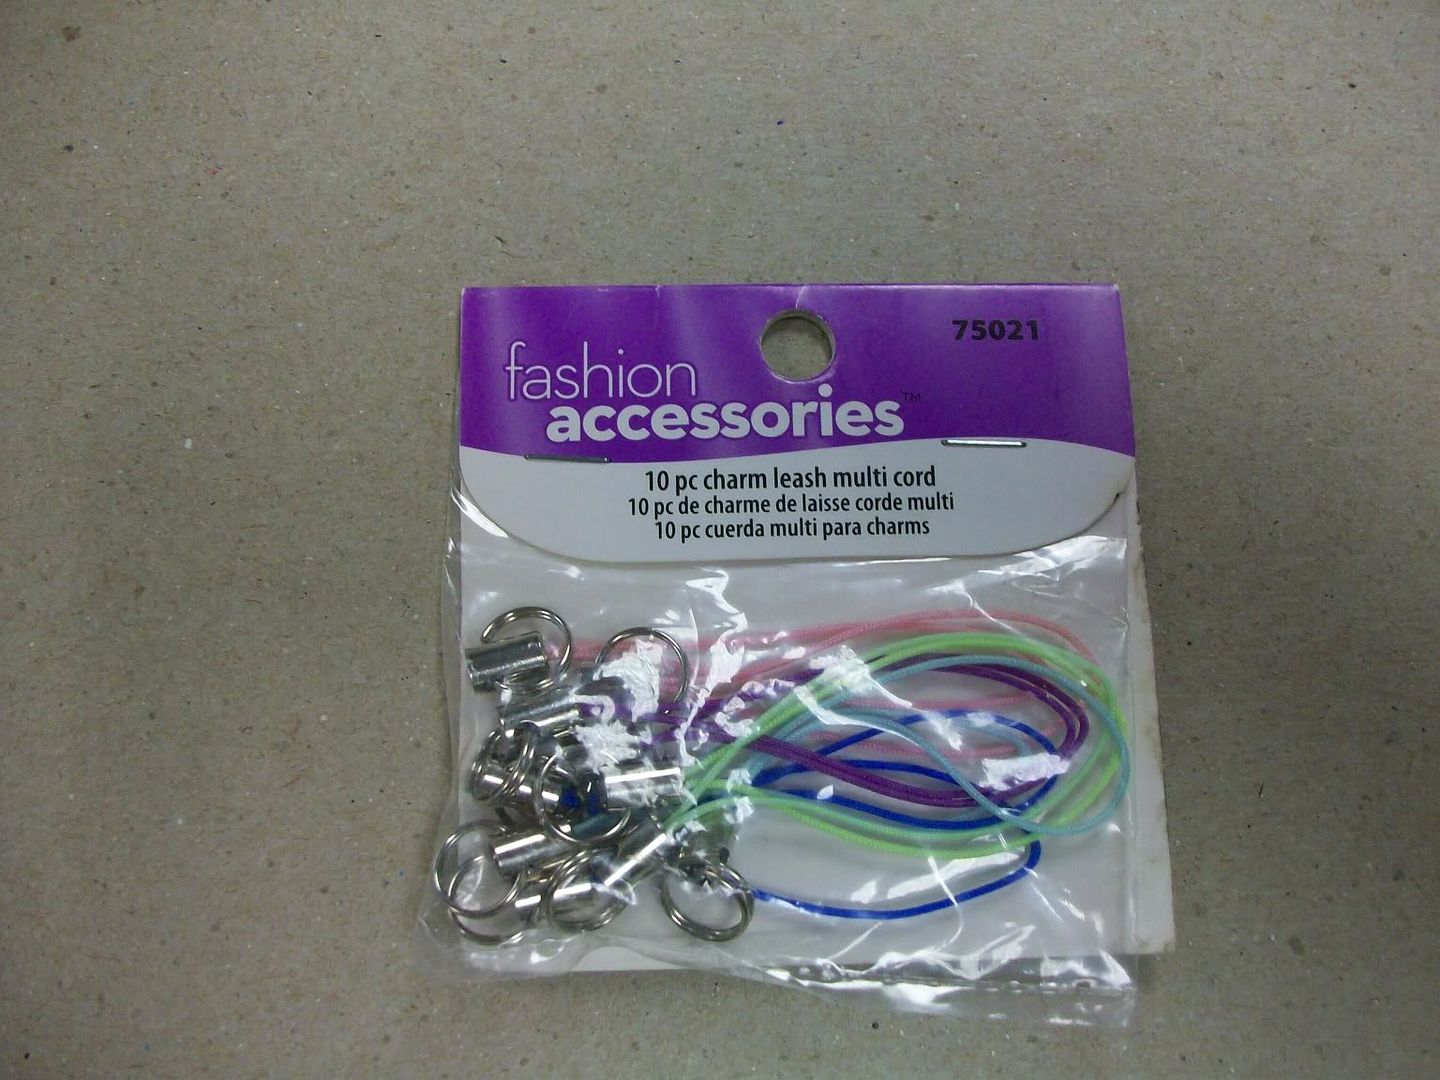
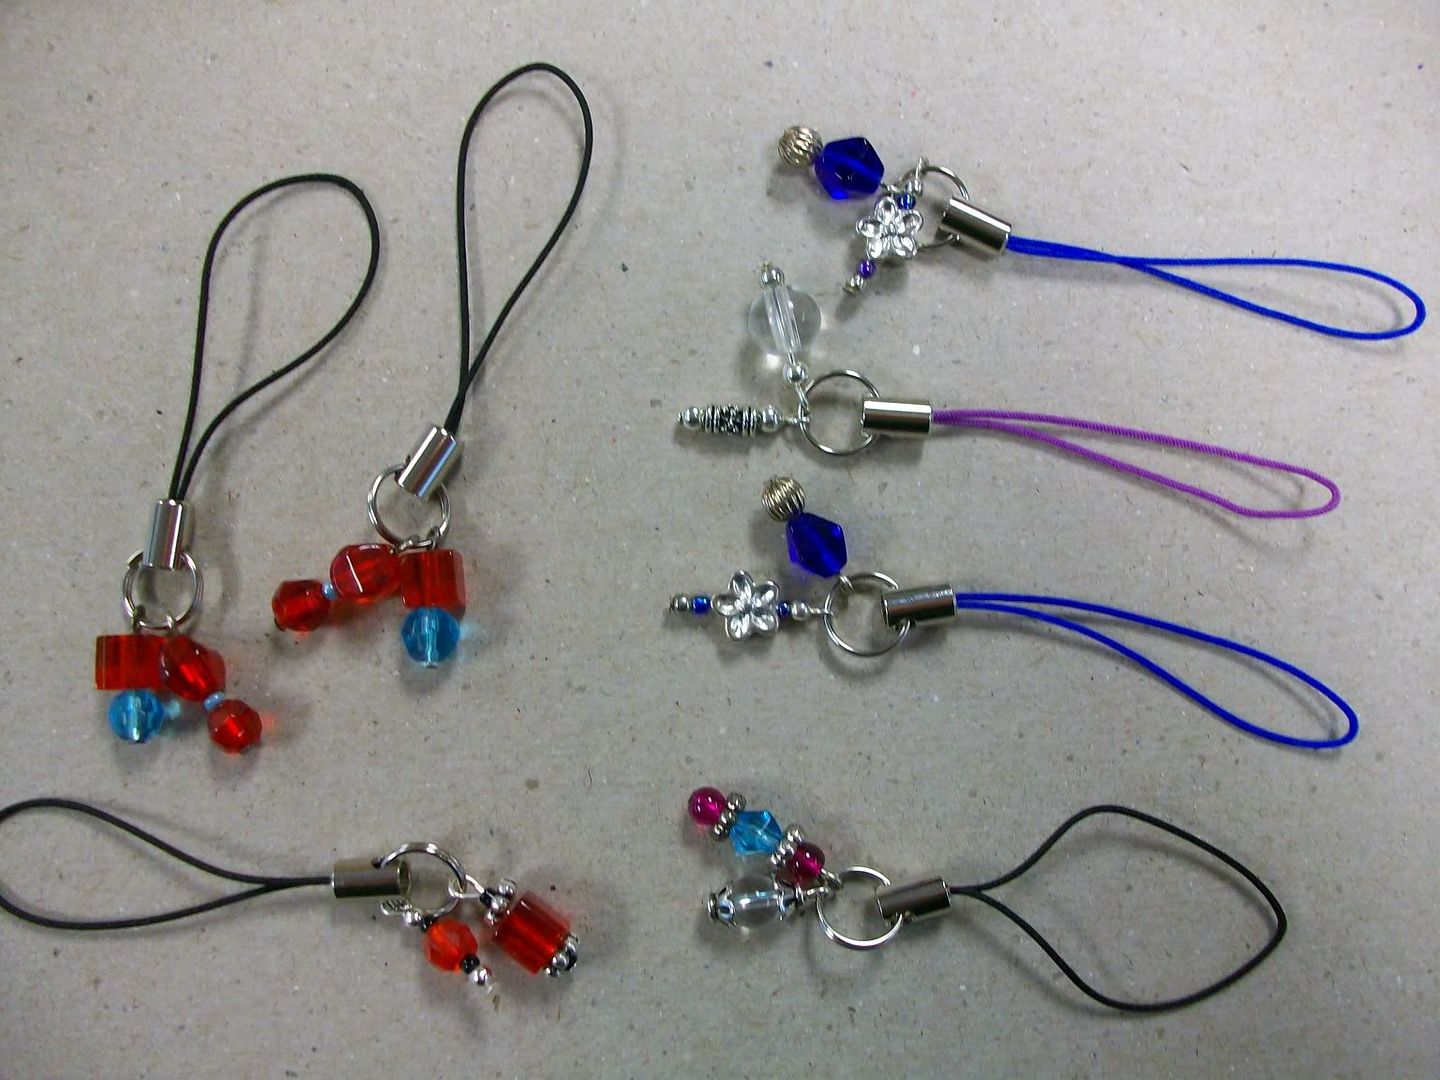
Take the "leash" portion of your scissor charm and wrap it around the large opening on your scissor handle. Instead of looping it through (which works but isn't secure) take the leash and thread it through the jump ring of the charm as well. This will keep your charm on your handle always. If you put your charm on the smaller opening (or where your thumb goes) they do tend to get in the way.
Have fun! These can also be used on zipper pulls, cell phones, cameras or tennis shoe eyelets.
Now, aren't you ashamed of having naked scissors? =)
You will need a pair of needle nose pliers, a charm leash and a beaded charm. You can purchase these little pre-beaded charms at Hobby Lobby for $.88 (that is what we will be using today) or you can use beads that mean something to you, vintage, lampwork, crystal or homemade. If you travel to crops regularly you will be the envy of your group =) but you can also take the Alphabet beads and do your initials. If you want to make the charms then you will also need head pins.
This is how the Charm Leashes come. Packages of 10 in multicolor like these or you can get all black. Take your charm and thread it onto the jump ring of the Charm leash. Done! Pretty fast, huh? =)
Take the "leash" portion of your scissor charm and wrap it around the large opening on your scissor handle. Instead of looping it through (which works but isn't secure) take the leash and thread it through the jump ring of the charm as well. This will keep your charm on your handle always. If you put your charm on the smaller opening (or where your thumb goes) they do tend to get in the way.
Have fun! These can also be used on zipper pulls, cell phones, cameras or tennis shoe eyelets.
Now, aren't you ashamed of having naked scissors? =)
Wednesday, January 14, 2009
My 1st BLOG CANDY!!!
Yep, that's right! I am giving away my 1st Blog Candy! I think this is going to be lots of fun!
I will be giving away 2 items. The Kisses Valentine's Day Treat Jar filled with Cherry Cordial Kisses AND the Dog Treats Jar filled with small MilkBone dog biscuits! All you have to do is leave a comment stating which one you would like! I will draw the 2 names on Wednesday of next week, January 21, 2009 so I can get them mailed out to the winners before I leave for CHA on Sat. the 24th! Good Luck! =)
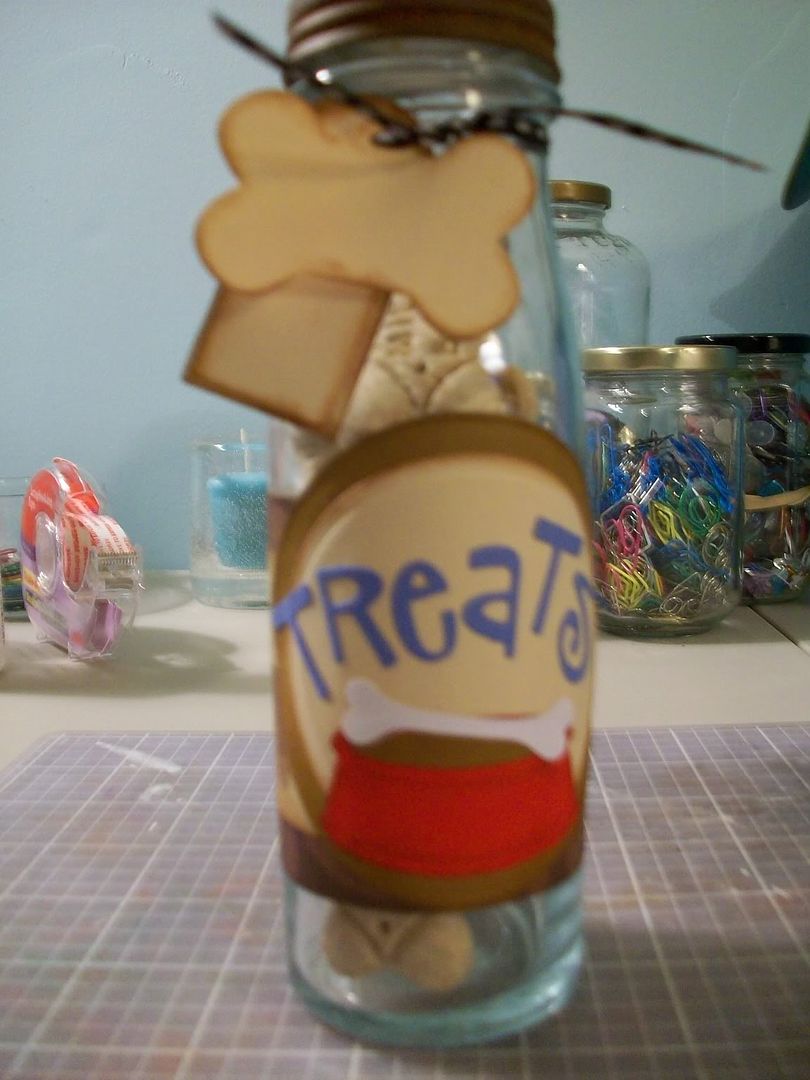
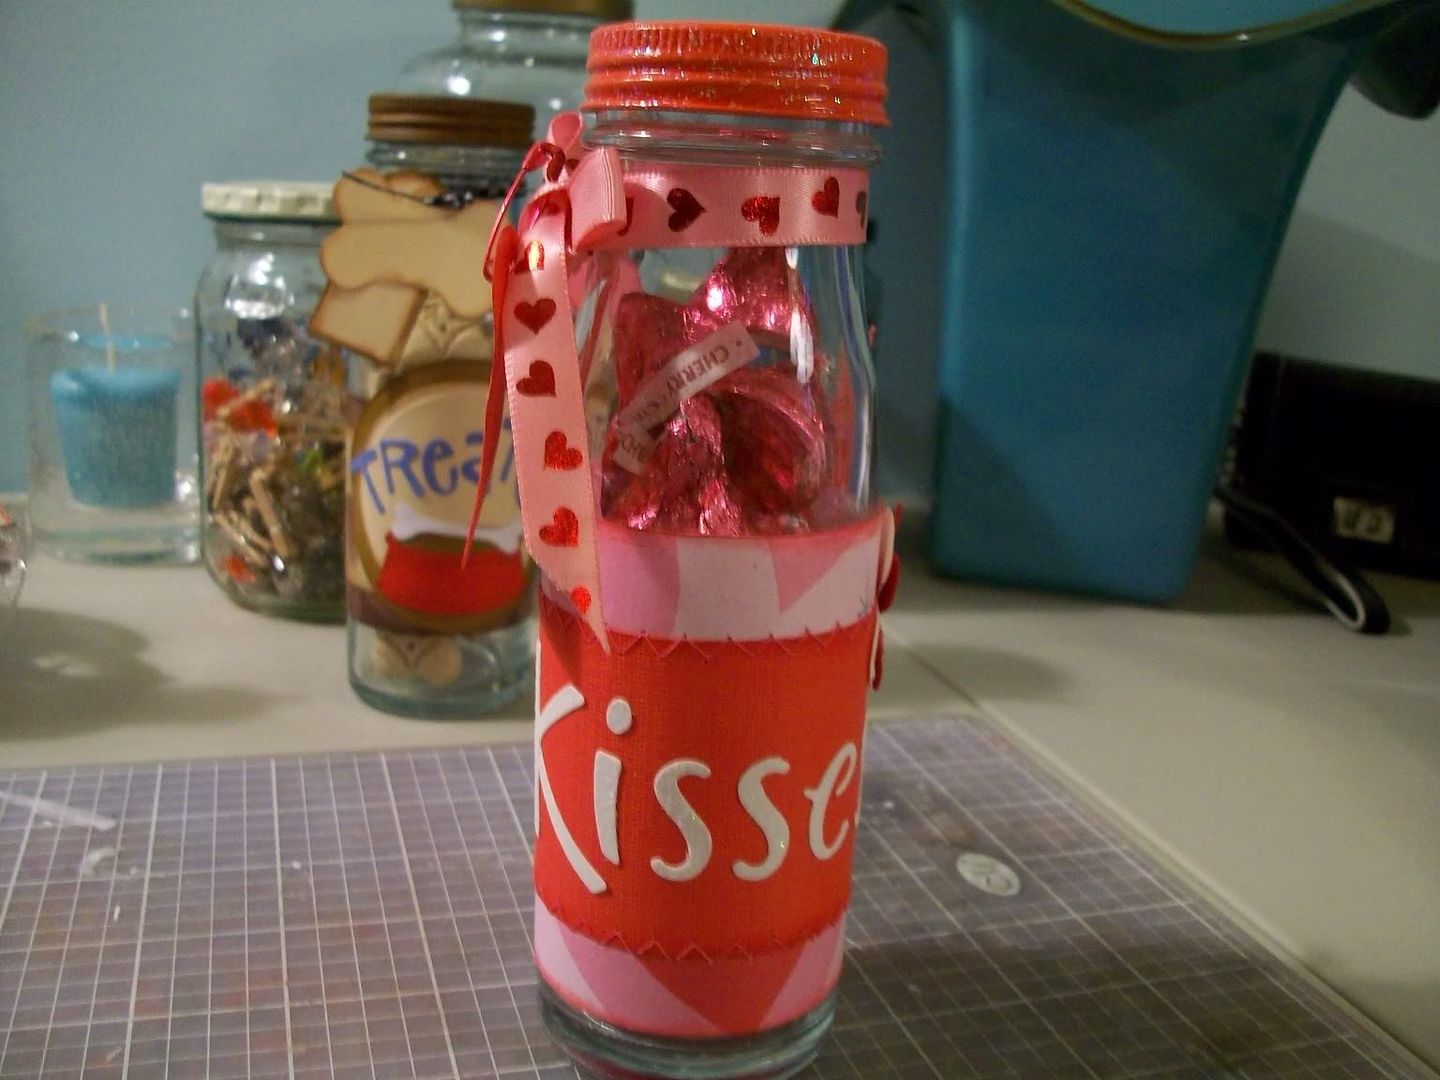
I will be giving away 2 items. The Kisses Valentine's Day Treat Jar filled with Cherry Cordial Kisses AND the Dog Treats Jar filled with small MilkBone dog biscuits! All you have to do is leave a comment stating which one you would like! I will draw the 2 names on Wednesday of next week, January 21, 2009 so I can get them mailed out to the winners before I leave for CHA on Sat. the 24th! Good Luck! =)
Valentine Treats!
It's that time of year! Everything is pink or red and covered in HEARTS! I like Valentine's Day, more than some other holidays. I have been busy creating in my new studio and have listed several Valentine items on Ebay. I have several more so check back soon!
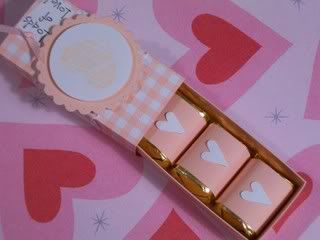
Here are my Ghirardelli Chocolate Square Valentine Wallets. SO CUTE!

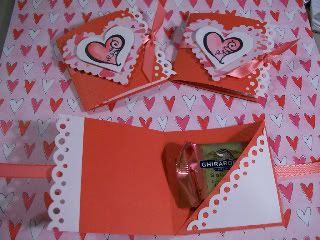
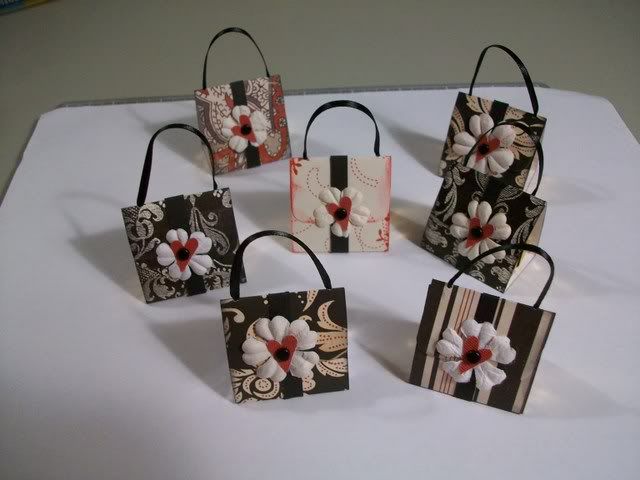
These are really cute little Valentine Purses which hold Hershey's Nuggets! How Fun! I think these would make great party favors especially for a "Tea Party"!
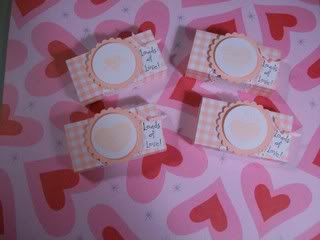
These are great little boxes made from thick cardstock and filled with Hershey's Nuggets! The nuggets can be covered to match/coordinate or not, they are still TOO CUTE!
See, I have been busy! =) I also have several sets of decorated York Peppermint Patties I just haven't completed the packaging for those yet! They will be ready before the weekend!
Here are my Ghirardelli Chocolate Square Valentine Wallets. SO CUTE!
These are really cute little Valentine Purses which hold Hershey's Nuggets! How Fun! I think these would make great party favors especially for a "Tea Party"!
These are great little boxes made from thick cardstock and filled with Hershey's Nuggets! The nuggets can be covered to match/coordinate or not, they are still TOO CUTE!
See, I have been busy! =) I also have several sets of decorated York Peppermint Patties I just haven't completed the packaging for those yet! They will be ready before the weekend!
Wednesday, January 7, 2009
Ronald McDonald House
Ok, a little more about me. I sit. I don't have a problem sitting and I do it very well. I tend to get tired of just sitting so I taught myself how to crochet using a kids book, "Look, I Can Crochet" or something like that. That way, I can sit and spend time with Chris while he is watching whatever sporting event is on the TV at the moment but I can also accomplish something.
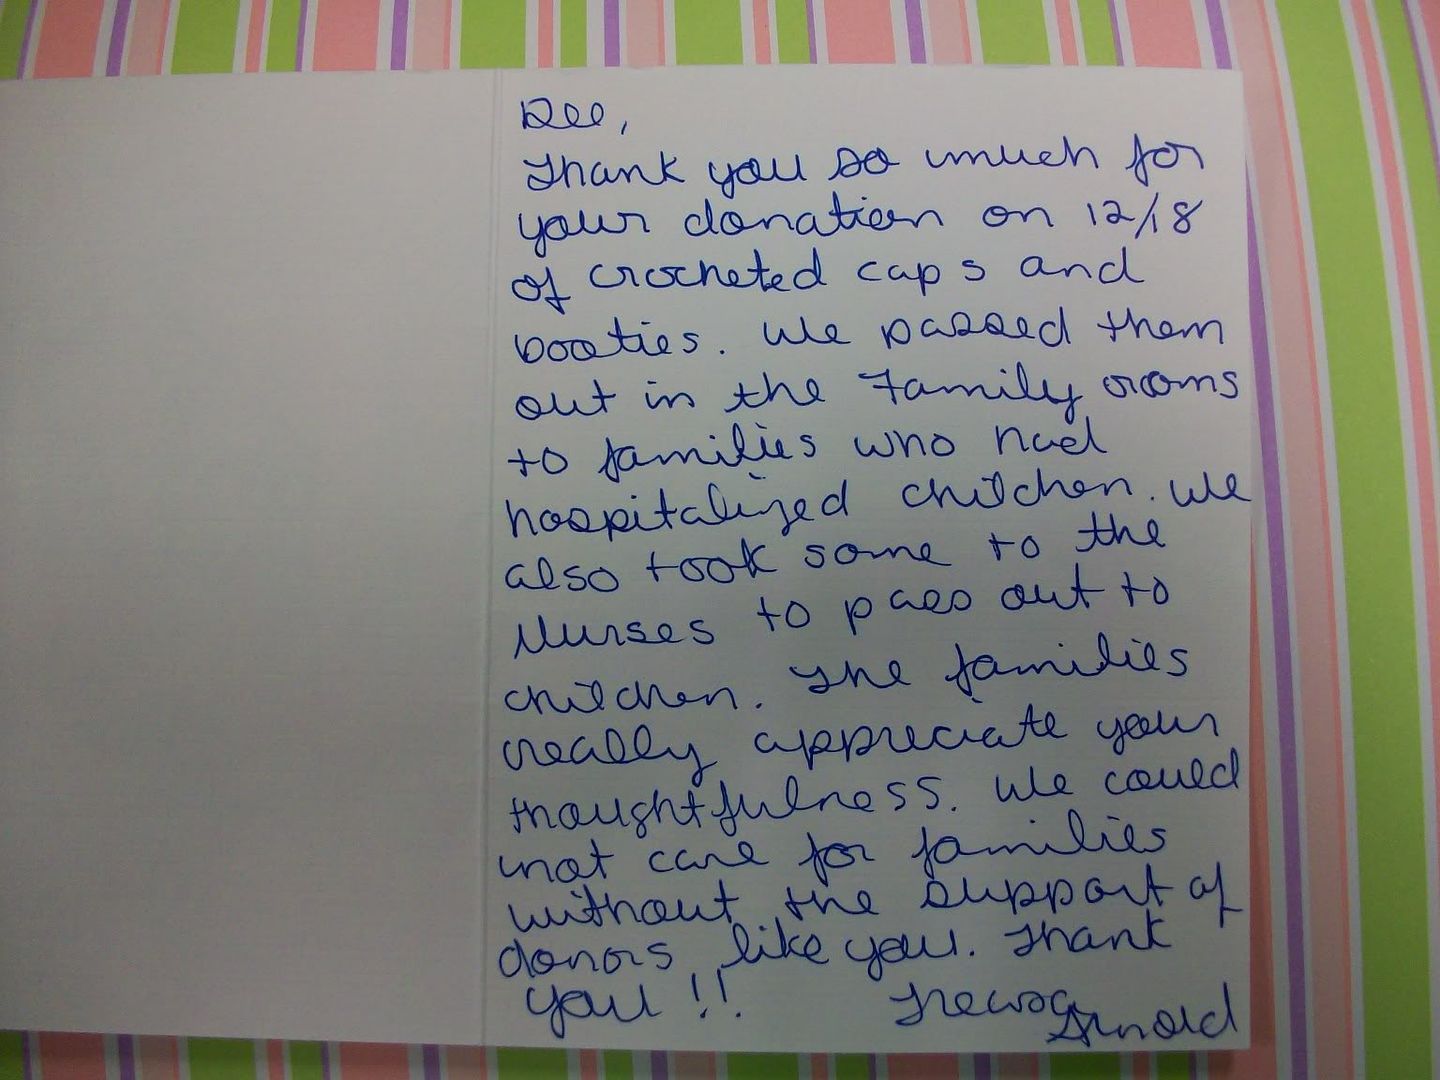
I crocheted more than 100 preemie hats and bootie sets. I crocheted a handful of toddler size hats and a few teen/adult size hats and sent them to Chris' parents in Lubbock, TX. They both volunteer at the Ronald McDonald house there. I got this great card in the mail yesterday and just wanted to share. What a great thing these people do for families who are struggling so. I can't imagine.
I need to start on more hats....
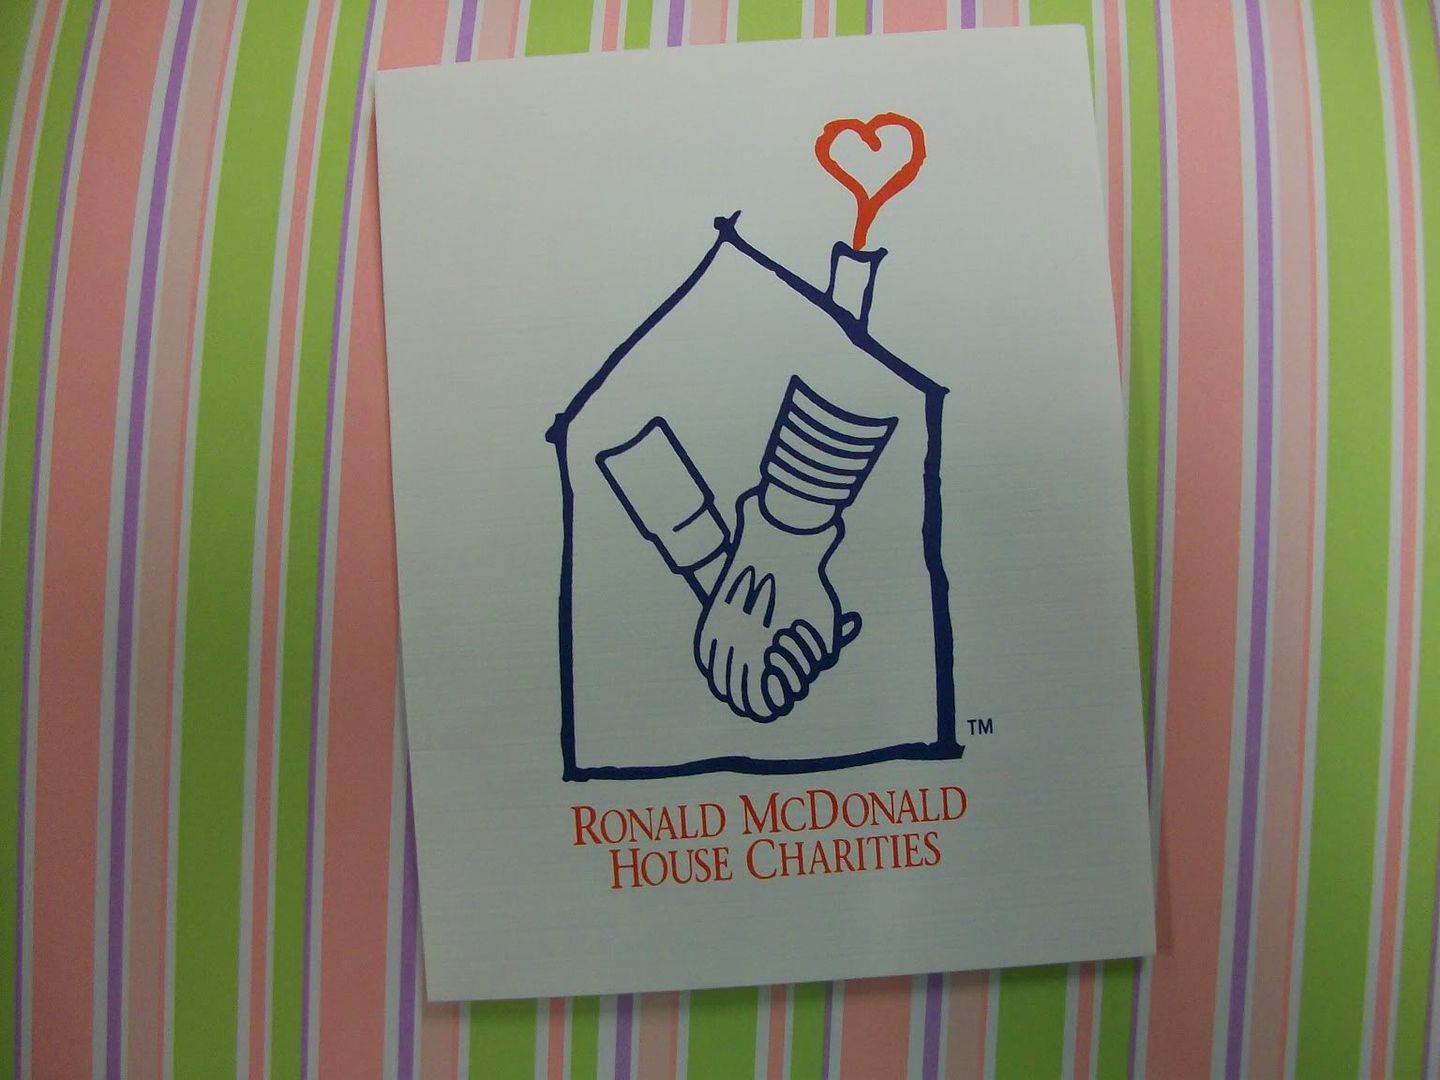
Monday, January 5, 2009
Santa Brought me a new SCRAP ROOM!!
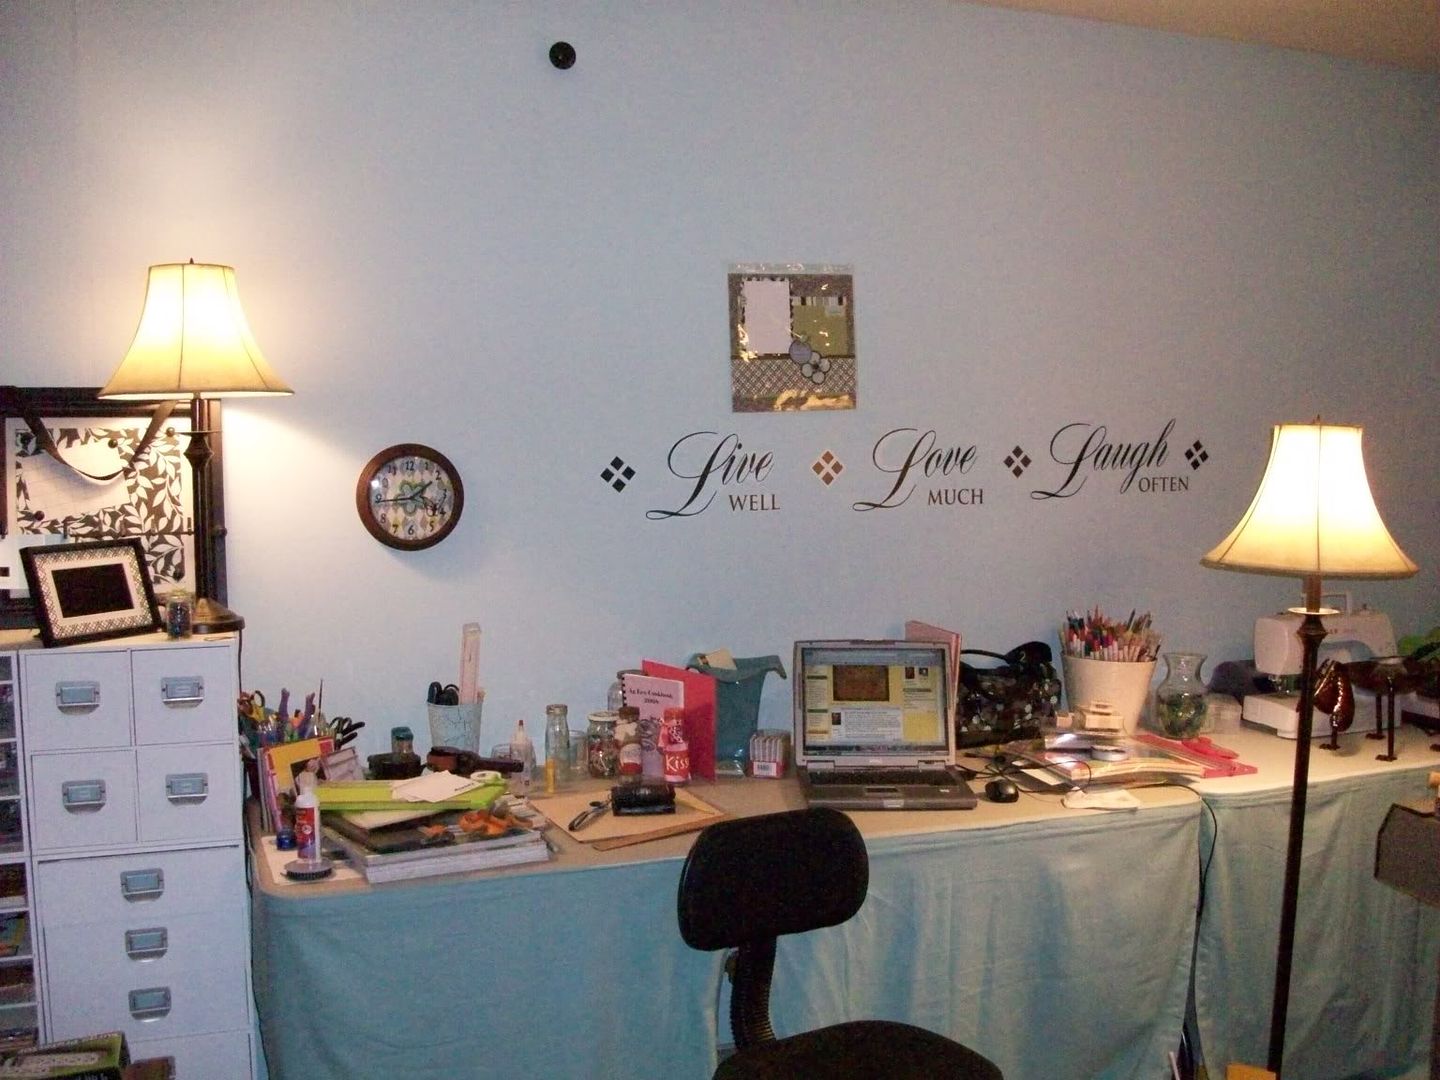
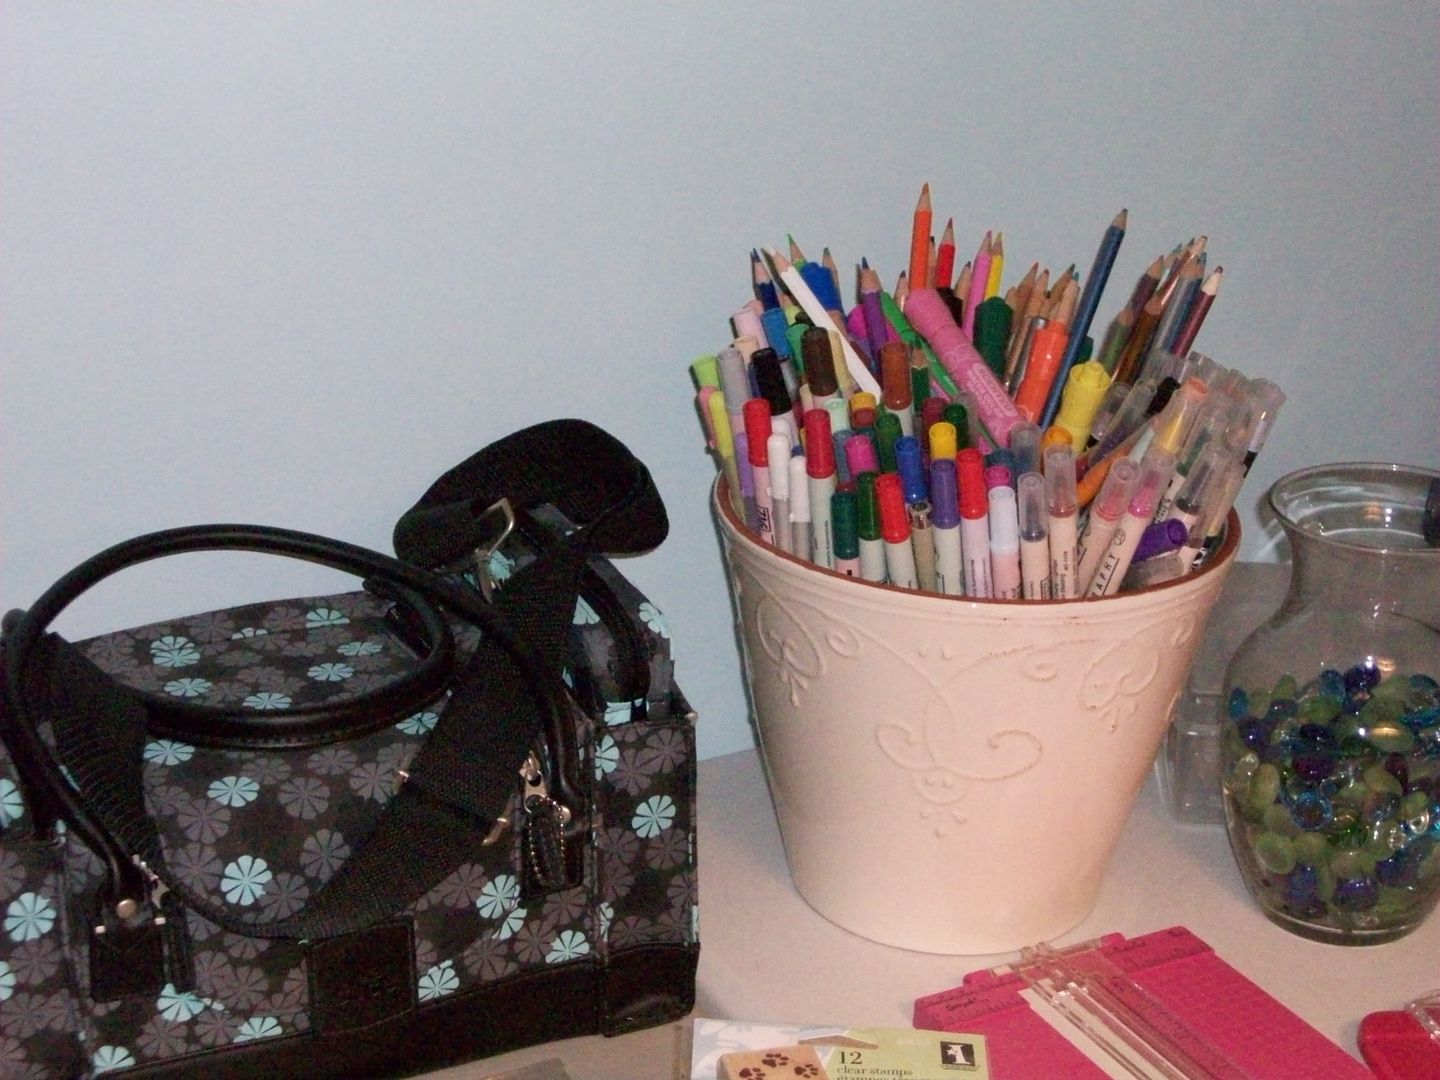
I just love my man! He got me a wireless router for Christmas then helped me clean and rearrange the garage to I could turn it into my very own space. I have been working on it slowly but it is really coming along! I took a few pictures but still need to move my son's air hocky table and I need to finish laying the wood floor. I also "need" (LOL) more of those cool white storage cubes. I will keep updating the process until I am happy!
I had a 6ft long folding table that was to be my work area. Then after clearing things out I decided I had enough space for 2 of those, one as a work space and one for all my gadgets. I went and got another one and bought a canvas tab topped curtain in a slightly darker shade than the wall to create my table skirt. Don't want to have to look at those unsightly metal legs! LOL More like, "Oohh, another place to store things!!"
I made sure I moved a cable line out there -- that was REALLY important! I have been out in my new space for a week straight every night until at least 2a.m. working away! I LOVE my new space honey, thanks so much for the help! I know you've said you feel like I've moved out =) but I couldn't have done all of this without you! Love You!
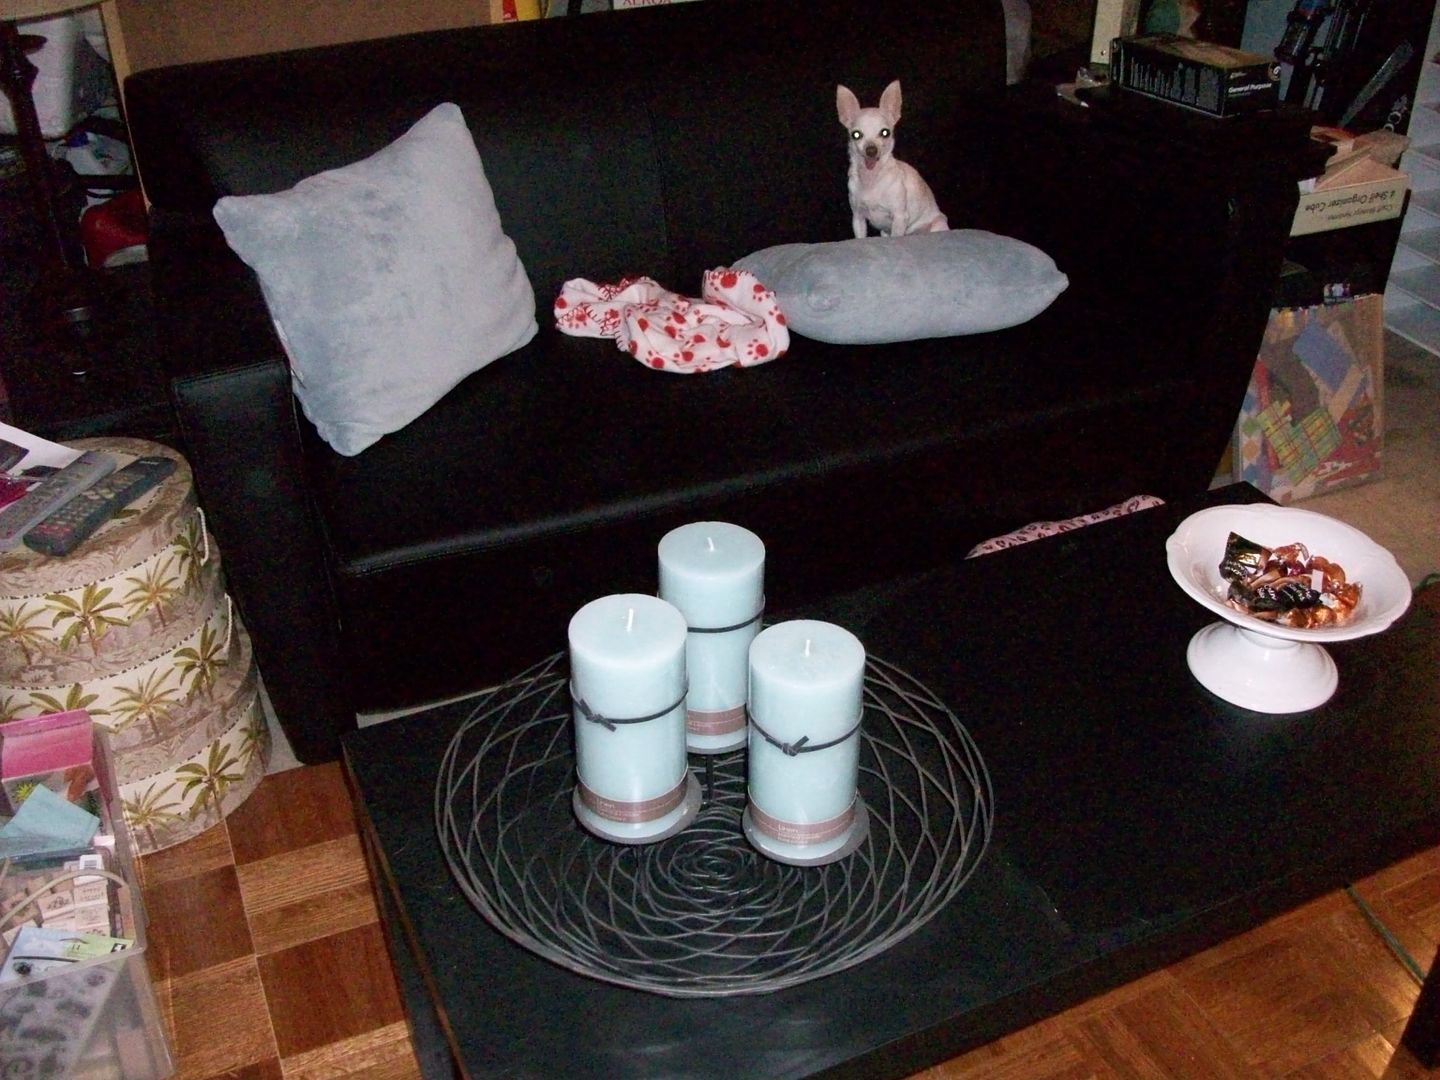
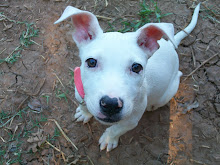
This is my little scrapping buddy Blosomrose! I just LOVE her so much. She has been my constant companion now for 11 years! =)
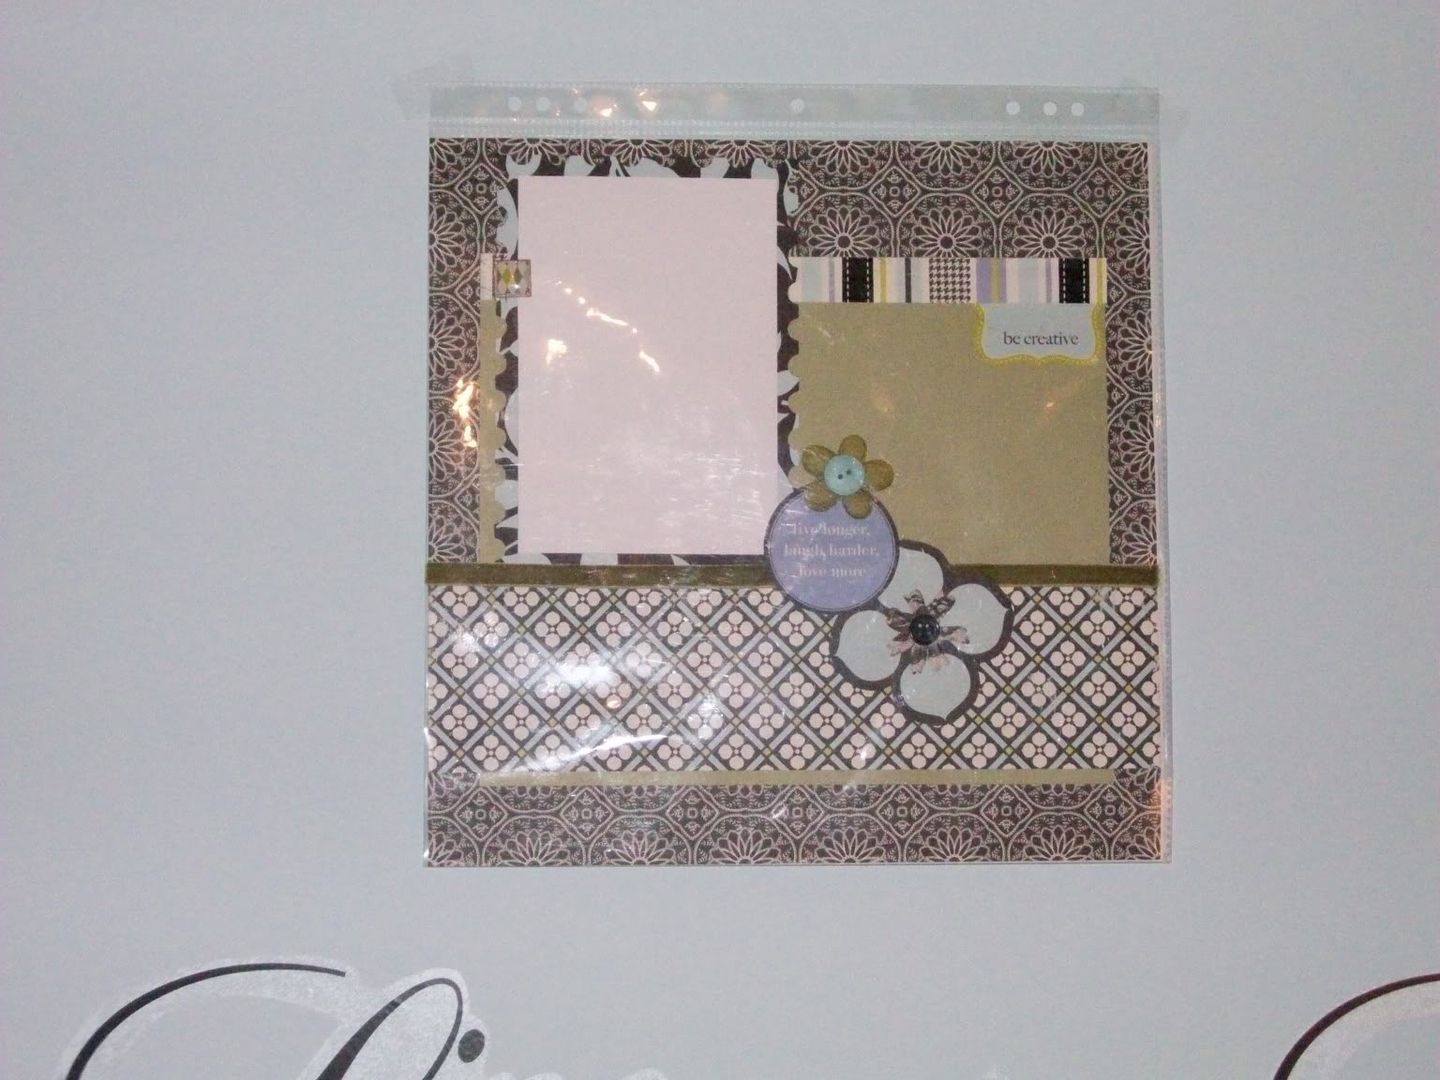
This is now in a black scrapbook page frame and has a black and white photo on the white mat. Michael's had those cool frames on sale for $4.00 last weekend! I got 3!
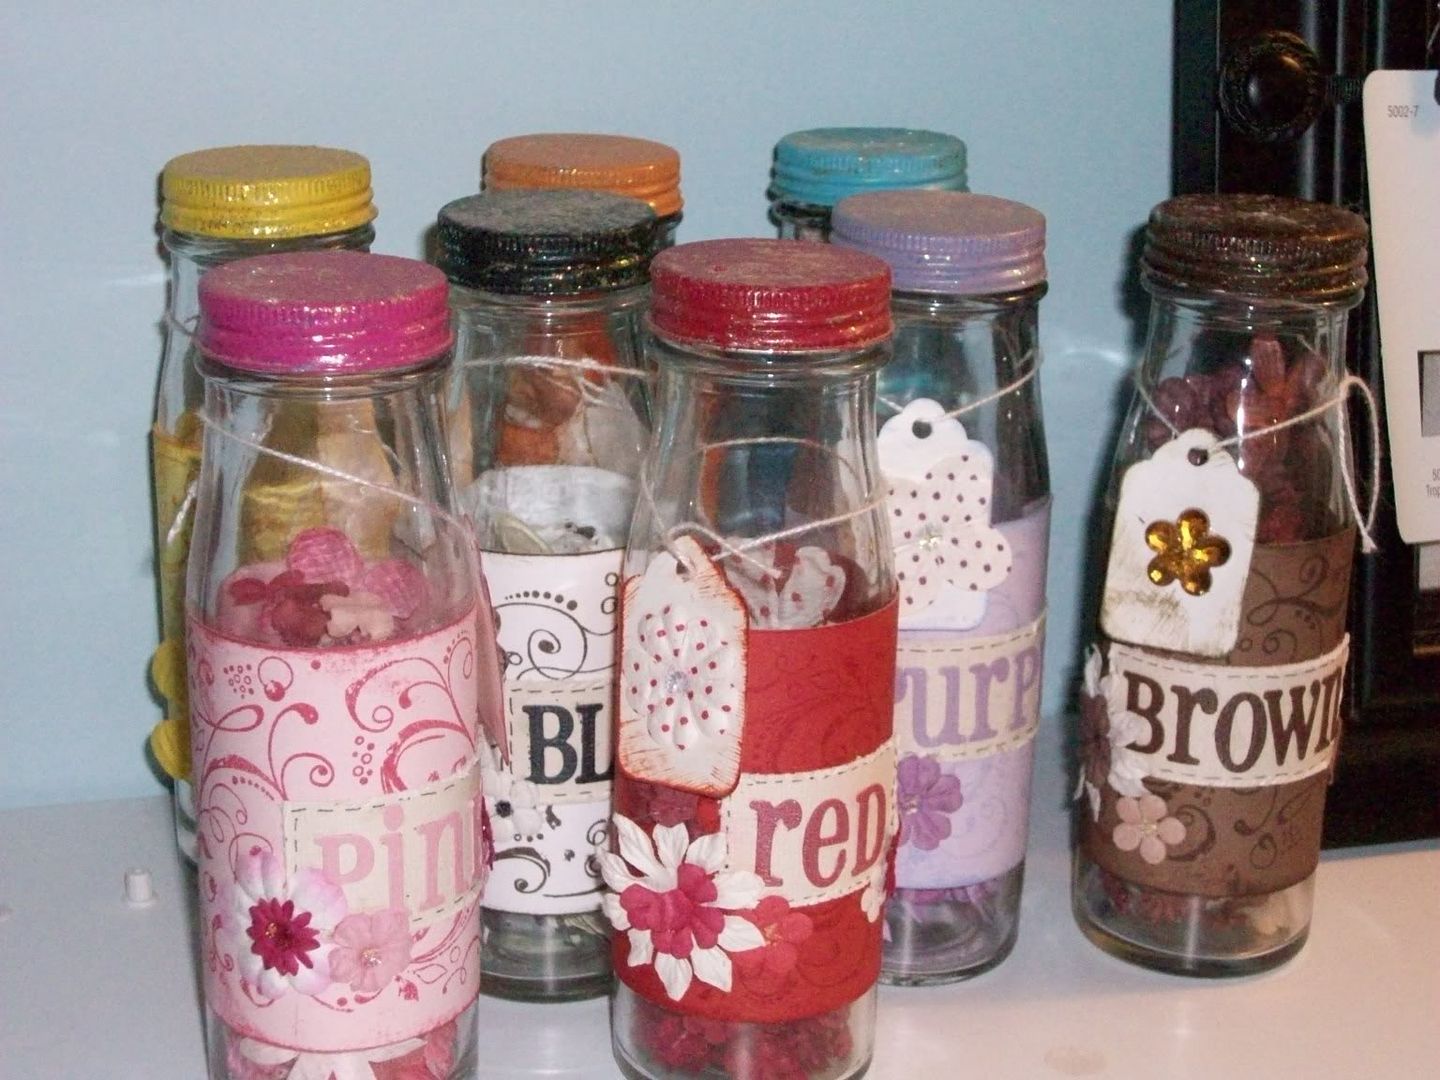
Another thing to do with those empty Prima glass jars! Adds some storage and Lots of color! Fun huh?

This project was SO much fun! I bought a cheap white plastic clock at the dollar store and painted the rim, covered the face with MM 5th Avenue papers, and used my MM Slice to cut the numbers and shapes, glittered the numbers and the cute butterfly on the second hand. Rebuilt (hahaha) my little clock and just Love it in the room! I didn't think about the little butterfly too long and hard so for 30 seconds of every minute he flies upside down and backward. Oh well....
Saturday, January 3, 2009
New Cards--I've Been Busy! =)
I am SO loving my new scrap space and yesterday I spent ALL day in there!! Just me, Blosomrose, Emmy and lots and lots of paper! =) I managed to complete 4 cards that I think are TOO CUTE! Mostly because they have moving parts!
The first is a Double Slide Pull out Dog Card

Check it out on Ebay! HERE
Next is a Dog Flip or Waterfall Card. You pull the tab and the squares begin to flip behind the other like a child's Pop Up book! These are SO FUN!!

Check it out on Ebay! HERE
Next I made the same Flip card but in a Kitty Cat theme, I know there are CAT people out there!! LOL =)

HERE
And finally, a Double Slide Baby Girl card. This one turned out really cute too! I love the soft sweet pastel colors. I started thinking that this would make a great Birth Announcement and you could add pictures and birth info. on the back side of the top and bottom pull out panels. Wouldn't that be the greatest Birth Announcement ever?

HERE
I am planning on making this card in BOY colors today!
Subscribe to:
Comments (Atom)